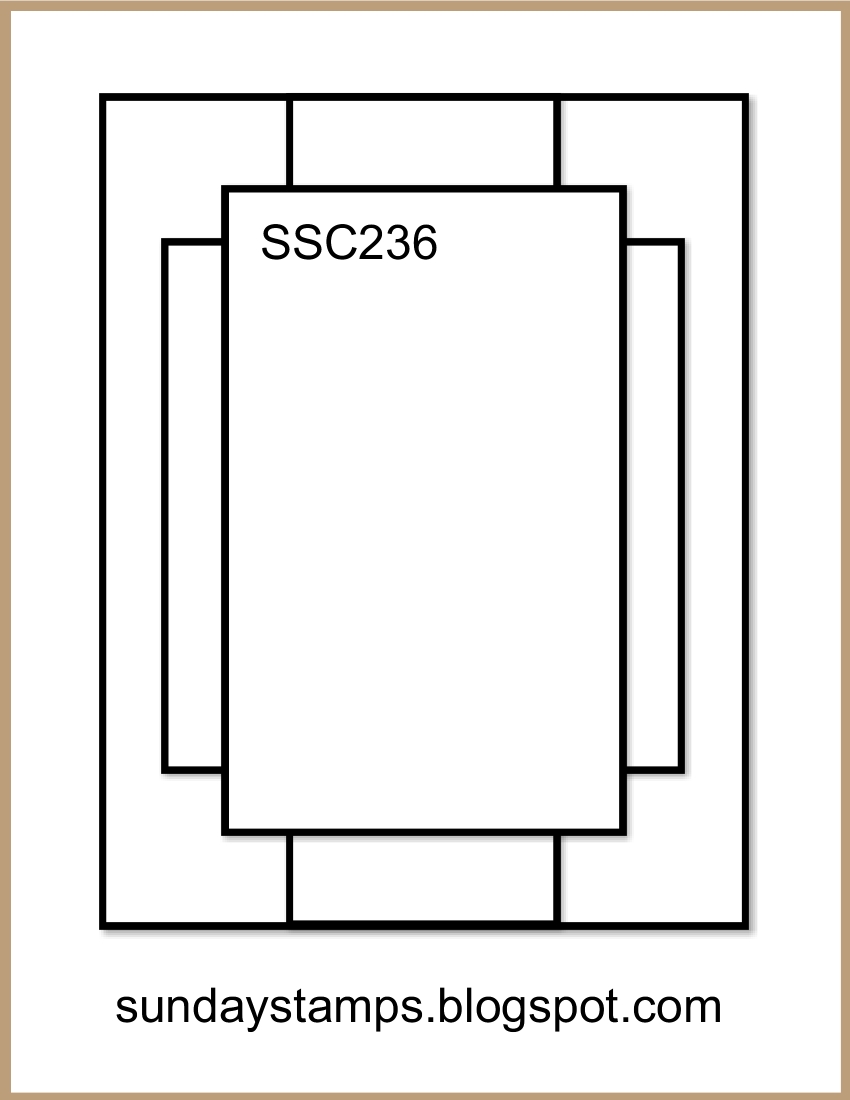
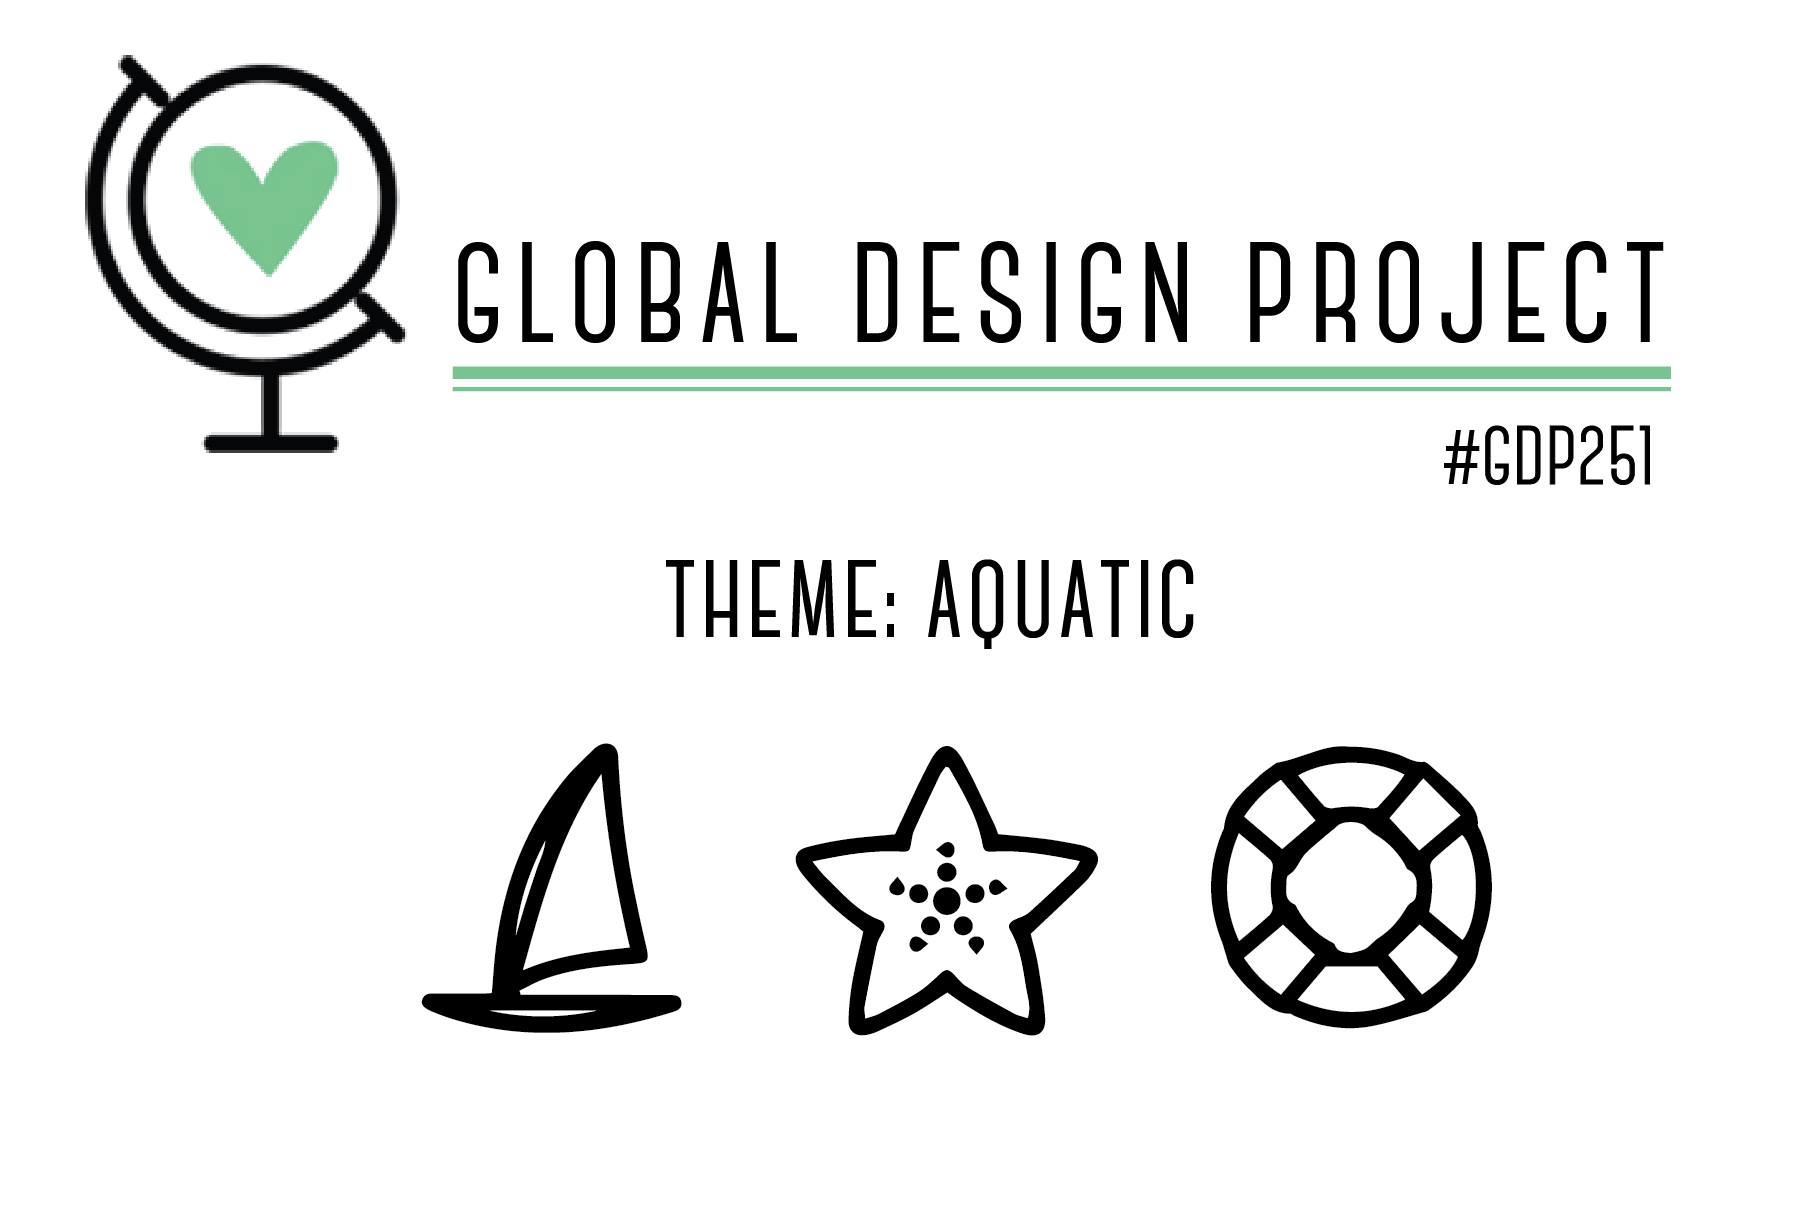
I don’t think I’ve been able to combine three challenges into one card before. However, for this card, I combined the Global Design Project 251, Freshly Made Sketches 446, and Sunday Stamps Challenge 236. Wow! The #GDP251 challenge required an aquatic theme. FMS446 wanted a slimline card, and SSC236 is a sketch challenge.
Here’s my card:
Here are the challenge banners:
Measurements:
The Granny Apple Green base is 7 inches by 8-1/2 inches, scored vertically at 3-1/2 inches.
For the front of the card, I trimmed white cardstock to 3-3/8 inches by 8-3/8 inches. I also trimmed a piece of white cardstock to 3-1/4 inches by 8-1/4 inches for the inside.
Since the Whale of a Time DSP measures 6 inches by 6 inches, I had to very carefully combine two pieces of DSP. I used two of the Pacific Point wave patterns for the front. I left the waves on the bottom, and combined the darker piece to the top. The final measurement for this DSP combination came out to 3-1/4 inches by 8-1/4 inches.
The Bumblebee DSP measures 1-1/4 inches wide by 3 inches long. Since the middle will be covered, I didn’t need to use long strips of this DSP.
After embossing a piece of 4-1/4 inches by 5-1/2 inches piece of white cardstock with the Seabed 3D embossing folder, I trimmed it to 3-7/8 inches by 5-1/4 inches.
I trimmed the turtle DSP to 2-3/8 inches by 6 inches. Dimensionals provide the popped up height.
Assembly:
Once I had all my pieces trimmed, I settled on the sentiment. Using the Momento Tuxedo Black ink, I stamped the sentiment on a scrap piece of white cardstock, then cropped it using a stitched rectangle die.
I used a piece of the Granny Apple Green DSP from the Whale of a Time set and cropped it using the Stitched So Sweetly dies. The sentiment is adhered directly to the DSP using the multipurpose liquid glue, and there are dimensionals under the DSP.
Since I’d already cut all the pieces I needed, I just needed to start at the bottom and put the card together following the Sunday Stamps sketch. It took me longer to measure and cut all the pieces than it did to assemble the card.
The Inside:
I wanted to make this a birthday card, so I used the “Hoping all your birthday fishes come true” on the inside. I guess I didn’t think too much about it, but I decided to stamp turtles on the inside to match the front of the card instead of fish to match the sentiment. In the long run, I don’t think anyone will notice other than you and me.
For some reason, I really struggled with this turtle stamp. When I tried to stamp it fresh off the ink pad, I wound up with blobs. Thankfully, I started my test stamps on my grid paper. I decided to use Just Jade and Pacific Point ink and stamped all of the turtles second generation on the white cardstock.
Finally, I stamped some air bubbles using Pool Party.
Here’s the inside of the card:
With that, I’d finished my slimline, three challenge card. I still have to make an envelope to go with it, but am hoping it will fit in a legal size envelope.
As always, thank you so much for stopping by my blog today. I’d also love to hear what you think, and greatly appreciate every comment.
Just a few more days to take advantage of BONUS DAYS!
Bonus Days! Earn a $5 coupon for every $50 in product through August 3rd.
Focus on Bundles for Bonus Days savings!
There’s a bundle I really, really want and have decided I am going to use my bonus day coupons toward the purchase of this Blossoms in Bloom bundle! It’s so gorgeous, and the cards I’ve seen using it are all stunning. Check this out:
Do You Want to Place an Order?
Of course you do! Even more so because of the products in the NEW catalog. This NEW catalog is FABULOUS!! Wait until you see the new MINI-CATALOG!! Stay tuned for sneak peeks of those items! I’ll be using some new mini-catalog items for the InKing Royalty blog hop on Wednesday!
If you are ordering less than $150.00, please use the host code shown so YOU can take advantage of the STAMPIN REWARDS YOU EARN. If you are ordering more than $150.00, please contact me first so you can get your stamping rewards! I want YOU to get the stamping rewards you earn for your order over $150.00 Any order over $50 will earn a gift from me and an August – December mini-catalog. Just take a look at the gorgeousness of this cover:
I can’t show you the inside pages until August 4th, unless you decide you just can’t wait! Contact me if you’d like to join my team, with no commitment past the initial kit. The kit is $99 for $125 worth of product, which would easily get you supplies to make your own holiday cards.
The HOST CODE for JULY is K6NND3UU.
Again, thank you for stopping by my blog today! I appreciate your time, and enjoy reading, and responding to, comments.
This color challenge have some bright and beautiful colors. I chose the bottom three colors of Daffodil Delight, Pumpkin Pie, and Poppy Parade for my card. I added Bermuda Bay as a kind of combination of the green and blue.
Here’s my card:
Here’s the challenge banner:
Forever Fern
This stamp set is gorgeous, and I’ve seen some many beautiful cards created with a wide variety of color combinations.
For this card, I stamped the largest fern stamp in Bermuda Bay directly on the card. Since I didn’t know what I would do for the layout, I stamped the ferns four times as the background of the bouquet.
Next, I stamped five of each of the other three fern patterns. I used Pumpkin Pie for the second largest fern. Daffodil Delight provided the color for the smaller grouping of leaves. The real pop of color, Poppy Parade, was used for the round berries, blooms, whatever they are.
Then I cropped all the stamped images using the coordinating Forever Flourishing dies. Since I cropped five of each, I have enough pieces left over for another card. Winner!
In order to figure out the layout of the ferns, leaves, blooms/berries, I used a small amount of removable adhesive tape in the middle of the back of each piece. Placing the removable tape in the middle of the pieces allowed me to move pieces, place them over or under, whatever I needed to do.
One of the most important things to do when dry-fitting is to take a picture of the placement of the elements on the card. Trust me on this. If you forget to take a picture, you might not wind up with the same layout you worked so hard to create.
Assembly
I didn’t use any dimensionals on any of the cropped pieces. Just by laying the pieces on top of each other I achieved the dimension for which I was looking. However, I did use dimensionals on the birthday sentiment oval. This sentiment, stamped in Bermuda Bay, can be found in the Peaceful Moments cling stamp set. Then I cropped the sentiment using the Stitched Shapes medium oval and used Pumpkin Pie to outline the edge and outline the stitches in the ditch.
The placement of the sentiment was dictated by the ribbon. I used the (retired) Poppy Parade textured weave ribbon. I already had the square knot piece leftover from another card, so that helped. In order to make the knot look “real” I put an adhesive dot in the middle of the underside of the ribbon, then rolled the ribbon around the dot. It worked. I used another adhesive dot to attach the square knot, and a third dot under the rolled center.
On the inside of the card, I stamped another Peaceful Moments sentiment, “wishing you every happiness this special day will bring” in Bermuda Bay. I also used Bermuda Bay to stamp a couple of partial stamps from the largest fern stamp, matching the front.
Instead of using DSP on the envelope flap, I simply stamped the various fern/leaf stamps using the same colors on both the flap and the front, left, bottom corner.
With that, I’d completed this card/envelope coordinated set.
As always, thank you so much for stopping by my blog today. I’d also love to hear what you think, and greatly appreciate every comment.
Bonus Days! Earn a $5 coupon for every $50 in product for the month of July.
Do You Want to Place an Order?
Of course you do! Even more so because of the products in the NEW catalog. This NEW catalog is FABULOUS!! Wait until you see the new MINI-CATALOG!! Stay tuned for sneak peeks of those items! I’ll be using some new mini-catalog items for the InKing Royalty blog hop on Wednesday!
If you are ordering less than $150.00, please use the host code shown so YOU can take advantage of the STAMPIN REWARDS YOU EARN. If you are ordering more than $150.00, please contact me first so you can get your stamping rewards! I want YOU to get the stamping rewards you earn for your order over $150.00 Any order over $50 will earn a gift from me and an August – December mini-catalog. Just take a look at the gorgeousness of this cover:
I can’t show you the inside pages until August 4th, unless you decide you just can’t wait! Contact me if you’d like to join my team, with no commitment past the initial kit. The kit is $99 for $125 worth of product, which would easily get you supplies to make your own holiday cards.
The HOST CODE for JULY is K6NND3UU.
Again, thank you for stopping by my blog today! I appreciate your time, and enjoy reading, and responding to, comments.
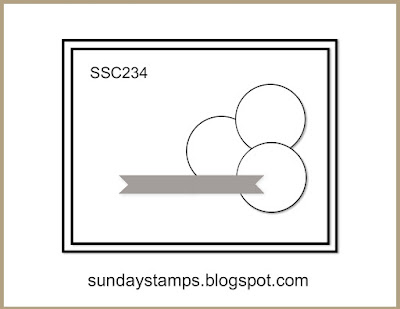
I really enjoy the Sunday Stamps Challenges because it’s like starting the new week with something new to ponder. For this challenge, I’d already created two versions of a card but I didn’t love them. Then, I thought I could still do something I really loved.
Here’s my final card:
Here’s the challenge banner:
Once I Made the Decision….
It took me longer to decide what to do, even after I decided to use the daisies on this version of the card. Once I decided on the In Good Taste DSP, the rest fell into place finally fell into place. The DSP I chose adds so much texture to the front of the card without having to do anything else to it. This pattern with the underlayer of Night of Navy really caught my attention.
With the combination of the DSP and ribbon, I thought I needed to keep the card clean and simple. The challenge sketch is also clean and simple, so I thought I had a win-win.
Using the Sunday Stamps Challenge # 234 Sketch for My Card
After deciding three of the large daisies would be too much, I stamped six of the medium size daisies in TerraCotta Tile. I also stamped three partial daisies in Rococo Rose for the daisy centers. Punching the six Terracotta Tile daisies took just a few seconds. I also used the daisy punch to punch out the partial daisies to get the centers. All I had to do was trim them down put everything together. Easy Peasy.
In order to get all my punching done at once, I also stamped the sentiment. I cropped the sentiment using the Stitched Rectangle die set, then trimmed the Terracotta Tile mat.
Measurements:
The card base is Whisper White, with a foundation mat of Night of Navy both of which got cut to 4-1/4 by 5-1/2 inches.
I cut the Terracotta Tile mat to 4-1/8 by 5- 3/8 inches. Since I try to save cardstock, I usually use the stitched rectangle dies to crop out the centers of the unseen parts of my mats. I did just that with both the Night of Navy and Terracotta Tile mats.
The DSP layer’s measurements step down another 1/8 inch on length and width. Therefore, I trimmed the DSP to 4 by 5-1/4 inches. At the same time, I trimmed a piece of DSP for the envelope flap. I always use a piece of DSP cut to 6 by 2-5/8 inches.
After adhering the two cardstock mats together using multipurpose liquid glue, I went to work on the ribbon. Lately I have been struggling with bows, so I knew I would be using a square knot. Some years ago I saw a Connie Stewart video regarding tying square knots. As a leftie, I still say her sequence in my head. Left over right, pull it tight. Right over left, pull the left. Ta-da! Success. I used a mini-glue dot to secure the ribbon to the DSP.
Finally, the time to attach the daisies arrived. I dry-fit the daisies to figure out where I needed to place the dimensionals. The bottom daisy only has two dimensionals, one at the top and the other at the bottom. Therefore, that daisy straddles the ribbon. The top two daisies each have one dimensional in the center to attach them.
I trimmed another piece of the DSP to 1/2 by 5-1/2 inches. This piece now lives on the bottom of the inside of the card. I didn’t put a sentiment on the inside because the sentiment can be used for many ocassions.
After adhering and trimming the DSP to the flap of the envelope, I had finished this card/envelope set. It’s happened many times before, but it took longer to write the blog than create the card once I figured out what I was doing.
As always, thank you so much for stopping by my blog today. I’d also love to hear what you think, and greatly appreciate every comment.
As you can tell, I have been playing around with the look of my blog. I’d greatly appreciate any feedback you have. Is it too hard to read? Are there too many colors? What do you think about the sidebar? Anything else? Thanks!
I’m now on Instagram for just my SU! creations! Finally, right? Follow me at @justpeachystamping or scan the photo below:
Pick a Free Bundle STARTER KIT PROMOTION ENDS tonight!!
What could be better than a free bundle? The HOLIDAY catalog pre-order for demos starts tomorrow!!! Demos have a Christmas in July starting tomorrow and I have my order ready!
Do you love a great deal? If you join now as a demonstrator and pick $125 of products for $99! Score!!
There could not be a better time to make your dreams of having your own Stampin’ Up! business come true.
Contact me to join my team before the end of June to take advantage of this extra special joining bonus!
Of course you do! Even more so because of the products in the NEW catalog. This NEW catalog is FABULOUS!! Special bonus, I will send you a FREE catalog with a $50 order!
The HOST CODE for JUNE is WW6HSM6A.
If you are ordering less than $150.00, please use the host code shown. If you are ordering more than $150.00, please contact me first so you can get your stamping rewards!
Again, thank you for stopping by my blog today! I appreciate your time.
Hello, welcome to the Pals Blog Hop! This month our theme is “Goodbye to January-June Mini and 2019-2020 Annual Catalogs and Hello to 2020-2021 Annual Catalog” where the Design Team is showcasing their favorites from the retiring catalogs or products in the new catalog! You’ll find the full line-up below to help you “hop” along from Pal to Pal.
The Inspiration and Sunday Stamps 230
A co-worker has been asking me to make cards for all of his needs for the past year or so. In May, 2019, I made a Mother’s Day, anniversary card for his parents, and birthday card for his mom. We were texting on Friday, and I said I could make his mother a birthday card and mail it to him. His mom’s favorite color is blue, so I chose Seaside Spray for this year’s card.
I’d been trying to figure out a card for the Sunday Stamps 230 card challenge and decided this would work. For this card, I would simply create a mirror image of the sketch.
Here’s the sketch challenge banner:
Here’s my card for the Pals Blog Hop, Sunday Stamps, and my colleague’s mother:
I used the new to me (because of a backorder) Poppy Moments die set for something new. Something old is the retiring In Color 6 x 6 DSP. Happily, the poppy dies and sentiments stamps will both carryover. I specifically used the Seaside Spray Metallic Ribbon from the holiday catalog. Demos knew that this beautiful ribbon would be carrying over. However, imagine my surprise to find it in the 2020 – 2021 catalog! I really thought it would show up again in the 2020 holiday catalog. Obviously, something blue is the Seaside Spray.
This Fun Fold is So Much Easier Than It Looks
Once again, I first saw this fun fold on Mary Deatherage’s Saturday night fb live, and you can find the link here. Truly, it is easy. It is simply a notecard attached to an A2 card. The best part is that it will fit in a medium Stampin’ Up! envelope.
I started by cutting and scoring all my paper.
The notecard base is 3 in. x 7 in. and scored at 3.5. For the top mat and inside mats, I cut white cardstock at 2.75 in. x 3.25 inches. Here’s another look at the top of the notecard:
The body of the card is 5.5 inches by 10 inches and scored at 4.25 inches and 8.5 inches. I stepped down a quarter inch for the length and width of the front white cardstock mat, and again for the DSP background. Here’s another look at that part of the card:
The foldover part of the card measures 1.5 inches by 5.5 inches. I stepped down a quarter of an inch for the white mat, making it 1.25 inches by 5.25 inches. The DSP top piece stepped down another quarter inch making it 1.00 inch by 5 inches.
I cut the inside of the card base at 4 inches by 5.25 inches. Then I used the outline die from the Poppy Moments die set in the bottom corner. Here’s another look at that part of the card:
Putting It Together!
After I adhered all the DSP pieces to the card base, I started working from the outside of the notecard. First, I dry fit the poppy and leaves to find the best position, at least for me. Then, I stamped the sentiment on the outside and inside. Next, I stamped the flowers on the inside and colored them with a Stampin’ Write Marker.
That’s when I got to the trickiest part of this card, and a step I forgot the first time I made used this fold. You can see that card here,. It kind of jumps right out that I forgot the ribbon. Ribbon? Tricky? Not really, but since I forgot it the first time, I needed to make sure I included it the second time. I cut about 20 inches of this gorgeous ribbon to start. Then I popped up the white top on dimensionals. Using tear-and-tape, adhered the ribbon to the notcard and then place the white cardstock over it. When you finish, you should have the majority of the length of the ribbon going behind the card so it ties on the left of the notecard.
Since I’d already cut out and stamped the inside white mat, I just had to crop the poppies in the corner. I’ve tried to use this die before as a border and it didn’t work at all, but I’m very pleased with the way it really accents the corner of the card.
After all of this, I thought my final step was going to be adhering the notecard to the flap, for which I used tear-and-tape. Make sure you only adhere the notecard to the flap, or nothing will open, which would be very disappointing.
I Thought I was Done….
I really did think I had completed the card once I finished putting it together. However, when I flipped the notecard back, the cardstock on the card cover looked very bare. When I started this whole process, I wasn’t sure where I was going with it. Therefore, I just kept cropping pieces of Whisper White, Basic Black, and Seaside Spray cardstock along with vellum cardstock. I actually had enough left for another whole card, so I grabbed some of those pieces and put together a large poppy, the long leaves for the top and the short wider leaves for the bottom. The vellum leaves that combination light and open, at least I think so.
Then, I really was done. I stamped and colored half of the border stamp of poppies on the front of my envelope and used adhered a piece of DSP to the envelope flap. Poof! I’d completed another card set. My co-worker is thrilled with the result, so it will be mailed to him pronto.
Back to the Pals Blog Hop Info
More inspiration awaits! Use the Blog Hop Line-up below to visit the rest of this month’s Design Team. My fellow Pals are excited to show you what they’ve created! Mark your calendars for June 10th, with our theme “New 2020-2022 In Colors.” We can’t wait to show you the newest In Colors in the Stampin’ Up! color family. Don’t miss the fun! Until then, please stay safe and have fun in your craft room.
I love to read and reply to comments. If you are so inclined, please feel free to leave a comment. If you’ve created a card based off this fun fold, color combination, or bundle, I’d love to see what you created!
Get last-chance, retiring, and discounted products from the January–June 2020 Mini Catalog. Retiring items sell fast. Get your favorites before they’re gone!
Again, thank you for stopping by my blog today! I appreciate your time.
Welcome to the Pals’ Blog Hop! While the COVID 19 pandemic is adding stress to our lives, we Pals hope this blog hop will help to lift your spirits. Let us inspire you to take a creative break and relax for a little while. This month our theme is “Special Occasions” where we have made a project for just about any occasion you can think of! You’ll find the full line-up below to help you “hop” along from Pal to Pal.
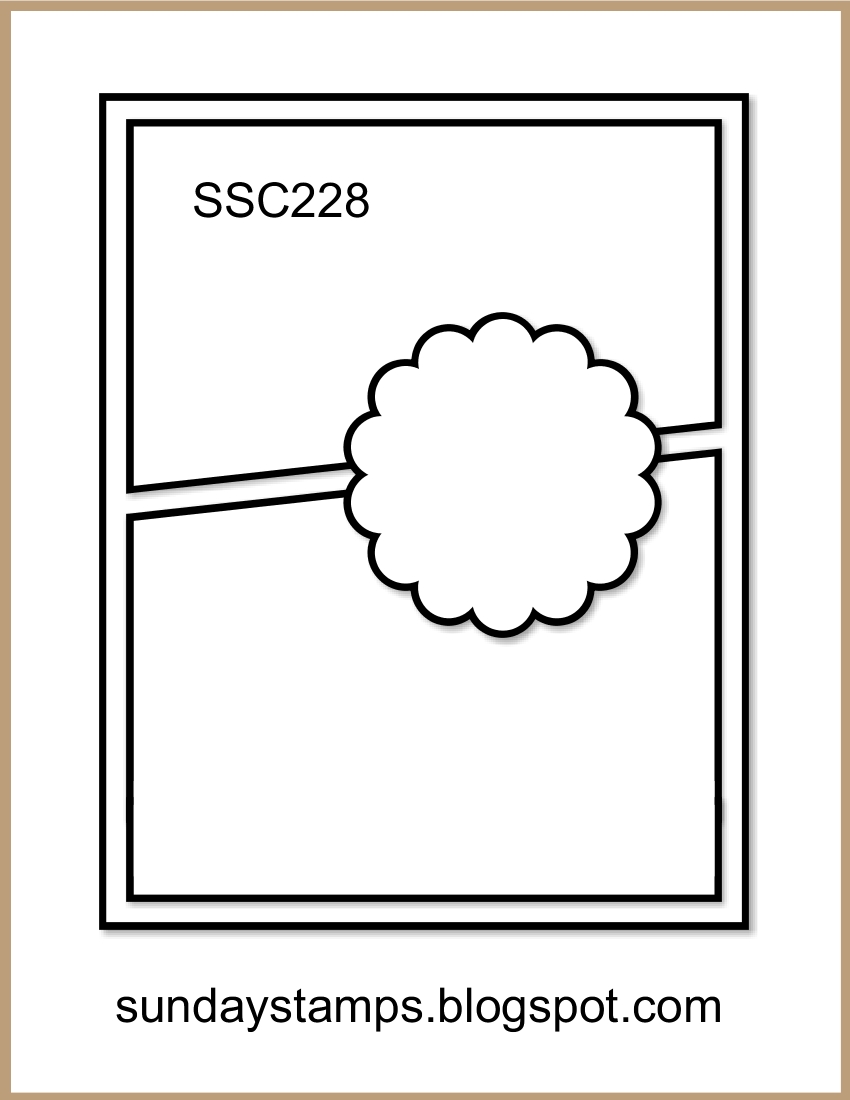
Sunday Stamps Challenge 228
I have to say, I really needed inspiration for the card layout for this hop. I thought I was ready to go a week ago. Then, about a week ago, I realized the graduation card I made wouldn’t work. That card will be blogged at a later date.
Anyway, Sunday Stamps saved me.
Here’s the challenge banner:
Two Cards, One Layout, Two Very Different Insides
Once again, I created two cards for the Pals Blog Hop. The first card is easy and fast.
Here’s that card:
Hopefully, I will remember to figure out how to get the inside and outside showing side-by-side.
Both levels of this card make use of the new Ornate Garden Suite! The DSP is stunning, and it contains a preview of a new In Color, Bumblebee. All the stamps in the corners and the flower stamps are from the new Ornate Style cling stamp set. Gorgeous!!!
Here’s the same layout, but the inside is “over the top” according to my DH.
The outside is the same layout with the DSP pieces reversed.
This is a twist and pop fun fold card.
It’s difficult to film this and try to open it at the same time. So, please excuse the quality of the short video.
It’s Not as Difficult as It Looks, Truly
If we break the card down to chunks, we can see that it truly isn’t as difficult as it looks to create this card.
Chunks:
Front layout – we all do those.
Inside DSP mats – It’s just a matter of cutting the angles.
The “book” for the lack of a better word: stamping and coloring, and we all do that.
The popping mechanism: Ok, that requires some practice, but it truly isn’t difficult.
I learned how to do this card from Mary Deatherage with Stamps-n-Lingers, and you can find the video here. Mary makes the whole process for the mechanism, and the card, look easier than you would think. Please view her video, and you will see what I mean. The video contains all of the measurements, and step-by-step directions for the mechanism. I like watching it while making the mechanism, and I can stop the video as much as I want. If the mechanism is causing you problems, Mary demonstates it again at the end.
Please give this card a try. You will be so happy you did and you will create a stunning card!
Let’s Get Back to the Pals Blog Hop!
More inspiration awaits! Use the Blog Hop Line-up below to visit the rest of this month’s Design Team. My fellow Pals are excited to show you what they’ve created! Mark your calendars for Wednesday, May 13th, when we will say “Goodbye to January Mini and 2019 Annual Catalog and/or Hello to 2020 Annual Catalog.” The Design Team will showcase their favorites from the retiring catalogs or new products from the new catalog. Don’t miss the fun! And, until then, please stay safe.
As always, thank you so much for stopping by my blog today. I’d love to hear what you think, and every comment is greatly appreciated!
This card is for the third sketch in this month’s Mojo Monday using the colors from the Sunday Stamps Challenge.
First, here’s my card:
Here are the challenge banners:
My First Thoughts
Once I decided on the sketch layout, I had to then to decide which colors to use. Honestly, the last thing I thought of when I saw the color challenge was creating an Easter card. What a completely wrong thought! Turns out that I am in love with the color combination that I used of Soft Suede, Pumpkin Pie, and Granny Apple Green. I colored the bunny using the Crumb Cake blends combo.
Since this layout, 6 x 6 color family DSP sets, these colors and the adorable bunny look so stinking cute, I am quite certain I’ve found my Easter card for my nieces and nephews. I’ve already created cards for my great nieces and soon-to-be great nephew.
Finishing Touches
The Subtle 3D embossing folder created just enough texture for this card, especially with the patterns of DSP.
Can you tell what I used for the Pumpkin Pie heart? If you guessed the detailed hearts die, you would be correct.
The bunny circle is popped up on dimensionals. I wanted the sentiment to be raised as well, but not as much as the dimensionals would have given. Therefore, I pulled out three half inch glue dots. Those suckers will give about half as much height as a dimensional, which is what I wanted.
I kept looking at the pieces when I was dry-fitting them together trying to figure out what was missing. Then it dawned on me: the two pieces of DSP, the bunny, and the sentiment block makes 4 elements on the card. I needed to add something else, but what? When I finally thought of using this detailed border die from the Painted Labels die set I realized using a piece of Pumpkin Pie DSP would finish the card off.
After adding a piece of the Granny Apple Green to the flap of the envelope, this card set was complete. I hope you think it is as cute as I do.
As always, thank you so much for stopping by my blog today. I’d love to hear what you think, and every comment is greatly appreciated!
Please stay safe, healthy, and isolated as much as possible. I know you have many choices of things to do with your time while being socially distant. I am thankful you chose to spend a little time reading my blog today.
Have a Peachy Day!
Sue
Supplies Used:
You can click on any of the products below and you will be directed to my store 24/7.
Thinking About Placing an Order?
Of course you are! Even more so because of the products in the mini-catalog and the Sale-a-Bration FREE items! The HOST CODE for MARCH is WW6HSM6A. If you are ordering less than $150.00, please use the host code shown. If you are ordering more than $150.00, please contact me first so you can get your stamping rewards and FREE SAB items!
Remember, any order over $50 qualifies for at least one FREE SAB item AND some blog candy from me.
Don’t do what I have done, and put off ordering from my wish list. I seem to miss out because when these items run out, they are gone!
Sale-a-Bration’s Third Release started today!
Again, thank you very much for stopping by my blog today!
Welcome to Just Peachy Stamping by Sue Jackson: an independent Stampin' Up demonstrator.
Through Stampin' Up!, I happily share my love of papercrafting through sales, classes, small stamping group meet-ups and workshops. I think that being a teacher in my "real life", I have a unique approach to sharing my fantastic hobby. I look forward to connecting with you!