Favorite Things for the July Pals’ Blog Hop!
Welcome to the Stampin’ Pretty Pals’ Blog Hop!
This month we’re celebrating our Favorites from the Catalog—the stamps, dies, papers, and embellishments we can’t stop reaching for! Whether you’re adding to your wish list or looking for a fresh idea to create with supplies you already own, we hope you’ll find plenty of inspiration along the way.
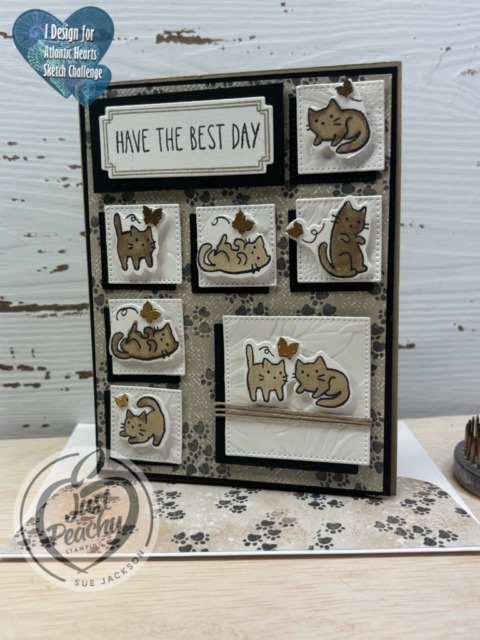
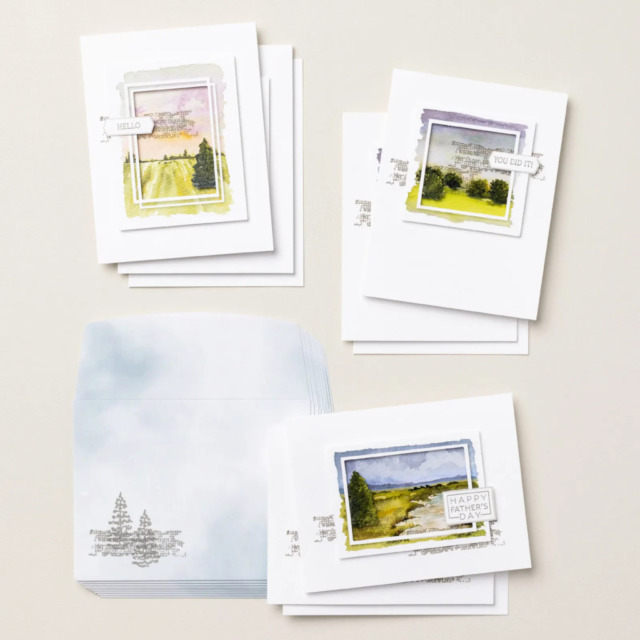
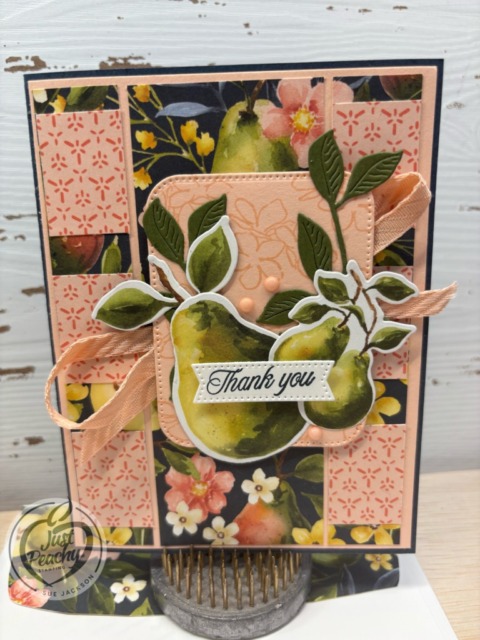
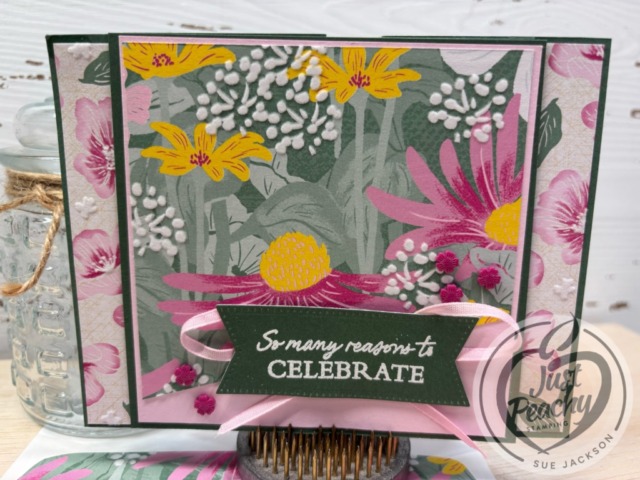
I have so many favorite current products, but the Velvet Meadow Suite of products ranks very high on my list. I also used the Stylish Shapes die set, which has been a favorite since it was first released.
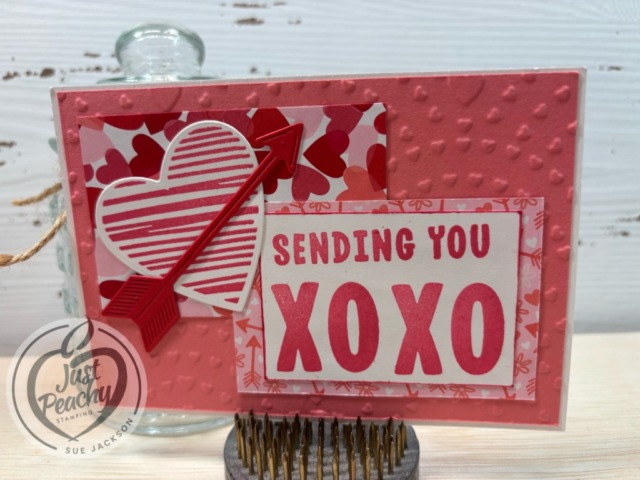
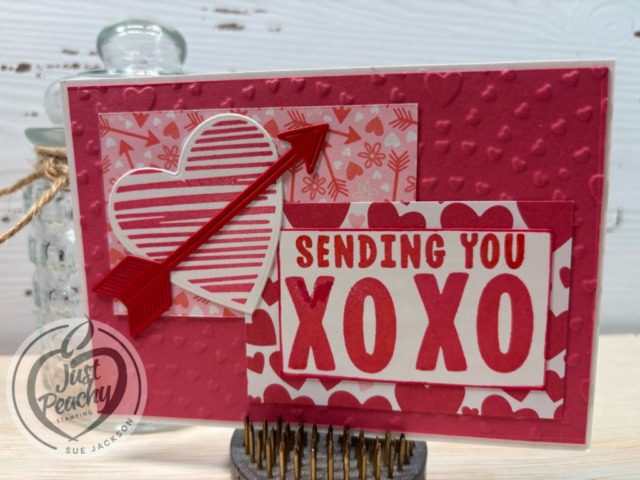
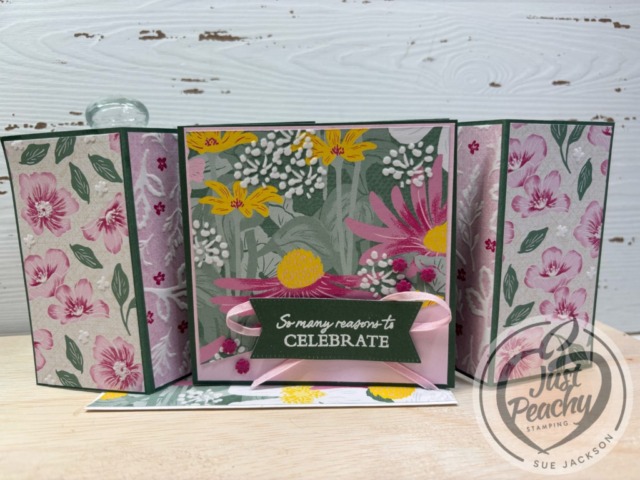
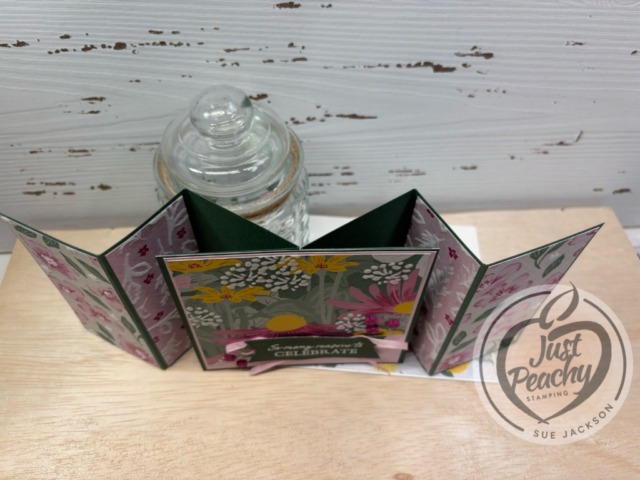
Here’s my flying seagull Velvet Meadow card:

I’ve already posted a few cards using this suite of products. You can see those cards here, here, and here.
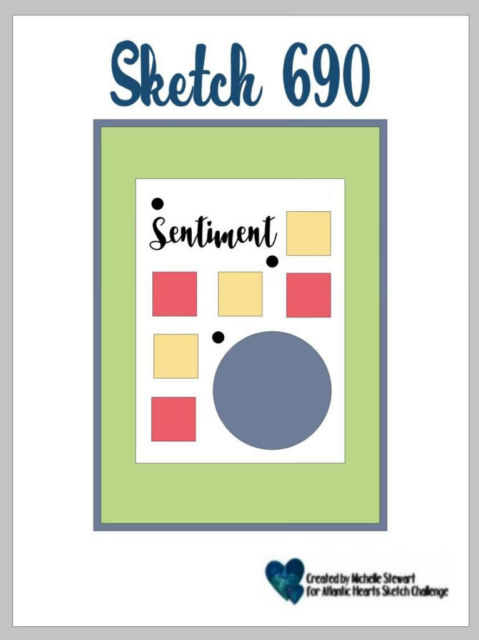
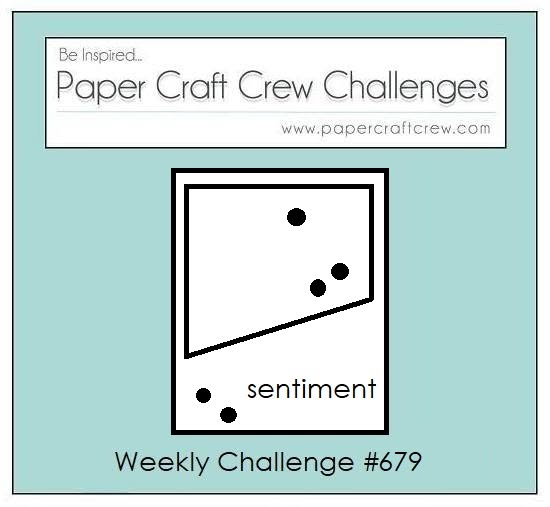
I had my second knee replacement surgery just under 3 weeks ago, and really needed help getting some creative mojo going. I’ve tried to be creative a few times, but just wound up moving things around and not really getting anything going. For this card, I started searching for sketch challenges, and found inspiration at the Paper Craft Crew Challenge. Even though the challenge closed on Tuesday, 07/07/2026, I wanted to include the sketch that inspired the front of my flying seagull card.
As always with a fun fold card, I will be adding this to the Creative Creases Challenge where the theme is always Anything Goes with a Fun Fold. I wasn’t able to get anything together for the design team, but I can add my card to the current gallery.

\
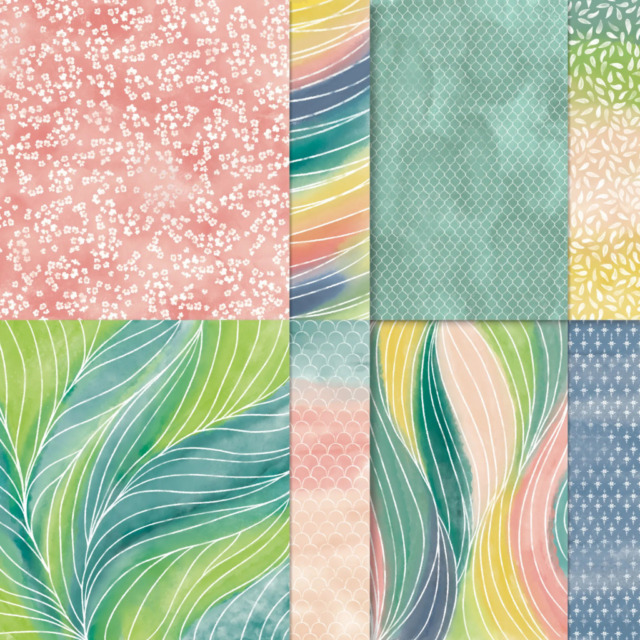
When gorgeous DSP can do all the work and carry a card, there is joy to be found in cutting up that gorgeous paper. The Flowering Meadow DSP definitely qualifies for the Love Those Pretty Papers Challenge, where the theme is always Anything Goes.

Measurements:
I’ve made a flying seagull card before, but it’s been a while and I didn’t have a template in my binder of fun folds. Therefore, I was thrilled that Mary Deatherage from Stamps-n-Lingers, made this card on one of her recent live videos. You can find the blog post, with very specific measurements and diagrams, and the video here.
- The base of the card needs two pieces of Peaceful Pine cardstock, each measuring 4-1/4 by 8-1/4 inches
- On the long side, score at 2-1/4, 4, and 6-1/4 inches
- Trim another piece of Peaceful Pine to 4-1/4 by 4-1/4 inches for the front pop up piece
- The Bubble Bath mat for the front pop-up piece measures 4-1/8 by 4-1/8 inches
- I trimmed a piece of the Flowering Meadow DSP for the front pop-up piece to 4 by 4 inches
- In order to match the PPC679 sketch, I trimmed the DSP at an angle so that the longest side measures ______ inches
- Trim two patterns of the Flowering Meadow DSP for the side panels
- The floral DSP for the two outside panels each measure _____
- The Bubble Bath and white velvet DSP patterns for the inside panels each measure ______
- Trim two pieces of white cardstock for the back of the card so that each measures ________
- I used a scrap piece of Peaceful Pine cardstock for the sentiment banner
- Trim a piece of DSP to 6 by 2-1/2 inches for the envelope flap
- Don’t forget to punch a 1-inch circle of coordinating DSP and run it through the XYRON create-a-sticker for the envelope seal
What I Did:
- I can’t begin to tell you how much easier it is to follow Mary’s video for directions for putting this card together.
- The first time I watched the video, I simply wrote down the measurements for the base of the card pieces and the scoring lines
- After watching the whole video, I used my written notes to trim the pieces I needed for the base of the card
- I put the base together by pausing the video as many times as necessary in order to make sure I had everything lined up correctly
- Mary, and her viewers, shared tips for adding the pop-up piece to the base which can be found at approximately the 7 minute mark in her video
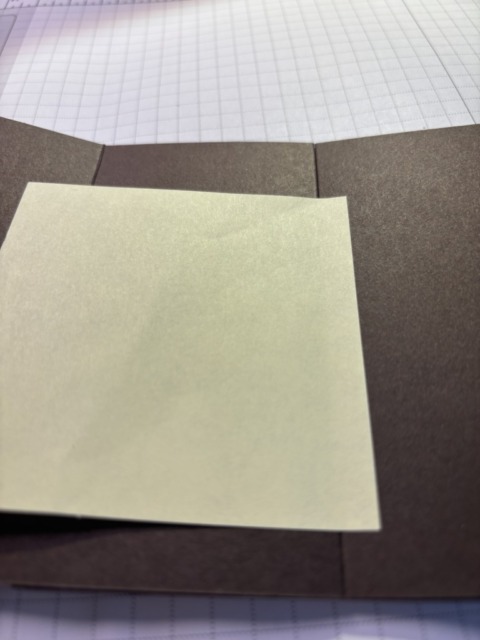
- HINT: I wanted to make sure that the two parts of the base would stay in place while I was adding the pop-up piece
- Therefore, I turned the base pieces over and used a Post-it Note to keep the edges of the folded seams together, as shown below
- I used multipurpose glue to adhere DSP and cardstock pieces together, especially since this is a thicker card
- This card will fit into a medium envelope, but will require additional postage
- The loopy loop bow, also from one of Mary Deatherage’s videos, is fastened using mini glue dots for the bow and to the back of the sentiment banner
- I added dimensionals on the back of the sentiment making sure to straddle the ribbon
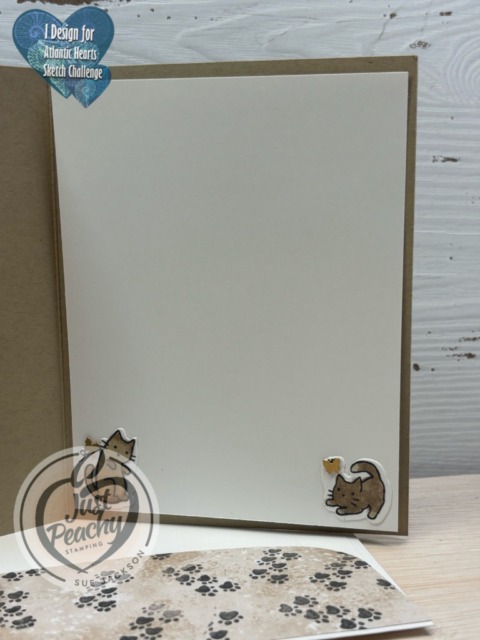
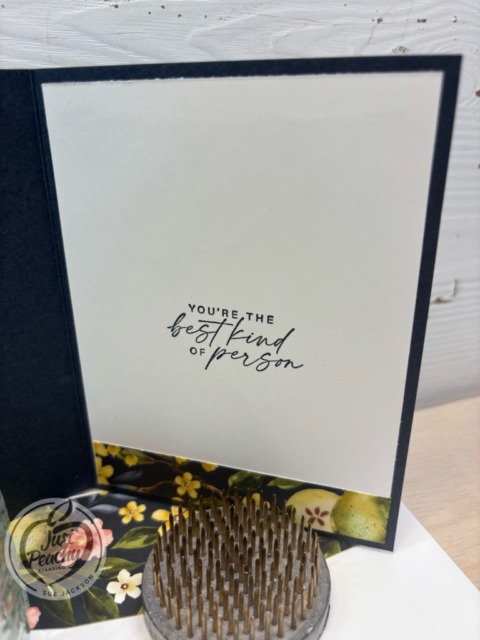
With that, I’d finished this coordinated card, envelope, and envelope seal set.
Back to the Stampin’ Pretty Pals’ Blog Hop:
Thanks for hopping with us! Be sure to visit each stop on the lineup below for even more creative inspiration. And mark your calendar for next month’s Animal House theme—you’ll love seeing all the fun projects our Pals have in store!
Stampin’ Pretty Pals Blog Hop
- Debbie Mageed
- Su Mohr
- Beth McCullough
- Tricia Chuba
- Peggy Noe
- Rae Burnet
- Sue Jackson. <<<— YOU ARE HERE!
- Stesha Bloodhart
- Lisa Ann Bernard
Thank you for stopping by today!
Have a Peachy Day!
Sue
Colors Used:
Supplies Used:

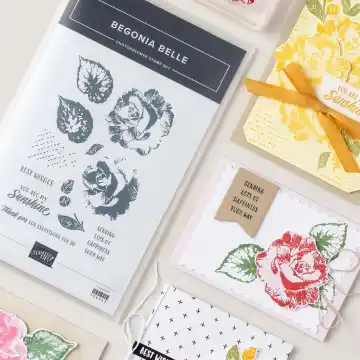
July’s Product of the Month is the Begonia Belle stamp set!
What’s New?
KITS COLLECTIONS:
– Includes designed projects that come in a range of project types.
– Is perfect for new crafters, busy crafters, or crafters who want quick and easy projects.
The Daisy Days Kit, which retails for $32.00.
Product detail
Capture your warm-weather memories in a bright sunny album you’ll want to revisit all year long. The Daisy Days Kit comes with all the scrapbooking essentials you’ll need for your album, including precut images and sentiments, journaling pieces, and pockets for cherished memorabilia. With vibrant daisies, ice cream cones, and juicy fruit to adorn the pages, this album celebrates everything we love about summer!
DETAILS
– Makes 1 album with 28 pages
– Album size: 7-3/4″ x 7″ x 1-7/8″ (19.7 x 17.8 x 4.8 cm)
– Page size: 6.5″ x 6″ (16.5 x 15.2 cm)
– Colors: Blueberry Bushel, Crisp Cantaloupe, Crushed Curry, Granny Apple Green, Pool Party, Strawberry Slush, Timid Tiger
– Sentiments printed in English, French, and German
Kit includes one of each item listed below.
– Step-by-step instructions
– Precut images and sentiments
– Printed pockets
– Acetate sheets
– Adhesive
The Gilded Gallery Kit, which retails for$25.00 is also new.
Product detail
Cards so beautiful they look like they belong on the wall, the Gilded Gallery Kit creates designs that feel truly frame-worthy. Soft lavender and coral tones, watercolor-style florals and birds, and gilded paper frames paired with gold foil give every card an upscaled, fine-art look. This kit makes it easy to create polished cards for birthdays, thanks, and sending love.
DETAILS
– Makes 10 cards: 5 each of 2 designs
– Folded card size: 4-1/4″ x 5-1/2″ (10.8 x 14 cm)
– Colors: Blackberry Bliss, Crisp Cantaloupe, gold, Golden Glow, Gray Granite, Hydrangea Hue, Misty Moonlight, Peaceful Pine, Pecan Pie
– Also available in English and French
Kit includes one of each item listed below.
– Gilded Gallery Stamp Set
– Clear stamp block
– Peaceful Pine Classic Stampin’ Spot
– Step-by-step instructions
– 10 printed envelopes
– Adhesive
Click here for the Last Chance Products
Here’s just one of the Kits on the Last Chance Products list!
Product detail
Serve up a slice of celebration with the Birthday Fancy Kit! With layered cakes, teacups, florals, and doily details in soft pastels, these 12 cards are like a birthday party in an envelope. Whether you’re crafting for birthdays or other sweet occasions, each design makes it easy to create something charming and full of cheer.
DETAILS
– Makes 12 cards
– Folded card size: 5-1/2″ x 4-1/4″ (14 x 10.8 cm)
– Colors: Darling Duckling, Fresh Freesia, gold, Lost Lagoon, Petal Pink, Strawberry Slush
– Also available in French
Kit includes one of each item listed below.
– Birthday Fancy Photopolymer Stamp Set
– Clear stamp block
– Lost Lagoon Classic Stampin’ Spot
– Step-by-step instructions
– 12 printed envelopes
– Gold foil accents
– Adhesive
KITS COLLECTION
– Includes designed projects that come in a range of project types.
– Is perfect for new crafters, busy crafters, or crafters who want quick and easy projects.