Welcome to InKing Royalty’s June Blog Hop! During this year’s blog hops, we are enjoying a year of celebrations. This month’s projects celebrate the 4th of July – the projects are inspirational, patriotic and filled with reds, whites and blues. We are excited to share our creations with you today! After you read my post, I hope you’ll hop over to the next person on the list at the base of this post.
Red, White, and Blue
What to do when you don’t have a fireworks stamp set, nor a stamp set with a star? This situation has plagued me for about a week, then I found inspiration from an unlikely source! As I was scrolling through Facebook, I came upon an ad from Life is Good t-shirts. The red t-shirt simply had a white daisy with touches of red on the petals and a star on a blue background for the star. Winner!
Here’s my card:
Three Stamp Sets and a Couple of Punches
Initially, I tried to use my Real Red blends to color the daisies, but I wasn’t happy with my results. Therefore, I pulled the Daisy Lane stamp set and the large daisy punch. The rest was pretty straight forward.
After stamping six daisies with Real Red, I punched them out with the daisy punch.
Next, I had to figure out what to do about a star in the middle of the punched 1/2 inch Night of Navy circles. Without any star stamps, I used the small five petal flower from the Special Someone stamp set. Five points on a star, five points on a flower – works for me. I used the craft white ink pad to stamp the stars. Remember, when you are using the white craft ink pad you need to add some ink before you try to use it. If you don’t, your stamps will stick to the cardstock and pull it apart when you remove the stamp. Don’t ask me how I know……..
I stacked two of the punched daisies off-centered to create the daisy. Next, I added the blue circles to the center of the flowers. Finally, I added dimensionals under each of the daisies.
For the sentiment, I used the Celebrate Sunflowers stamp set. The stamp actually says “Let’s celebrate you”. I used my Night of Navy marker to color in just the first two words and stamped it on white cardstock. After cropping the block out using the Stitched Rectangle dies, I trimmed a piece of navy to mat it. Then I put dimensionals under the right side of the sentiment and the bottom left corner. A dab of glue connects the sentiment to the daisy, and the dimensionals keep it on the red cardstock.
Putting the Card Together
For the red background, I ran a 4″ by 5-1/4 inch piece of Real Red cardstock through the Big Shot using the new Tasteful Textile 3D embossing folder. If you don’t have this very versatile embossing folder yet, it really needs to be on your next product order. It ranks right up there with the Subtles 3D embossing folder.
I already knew I would be using a white mat under the red front, with a Night of Navy card base. In the process of dry-fitting all the elements of the card, I decided I needed a ribbon of some sort. The only one I had that is from the current catalog and would work is the polka dot tulle. That’s actually a good thing because I love this ribbon and am working on my third roll of it. I simply wrapped the ribbon around the red cardstock and tied it in a square knot.
Next, I arranged the daisies in a triangle. A triangle balances out the elements on the card and provides balance.
Another tip for creating a balanced card includes an odd number of elements. I love math, all kinds, and for me, even numbers make me happy. Silly and strange, I know, and I blame it on my astrophysicist father. In this case, I have three flowers, one sentiment block, and one ribbon. Those five elements create a balanced card.
After I layered the front red and white layers, I attached them to the navy card base. For the inside, I cut down white cardstock to 4 inches by 5-1/4 inches. Then I stamped a small daisy in three corners, leaving the top left corner plain for a salutation.
Finishing Touches
I used a piece of the neutrals DSP to attach it to the flap of the envelope. After that, I stamped a daisy on the bottom corner of the front of the envelope. Since I’d punched an extra blue circle with a white flower stamped on it, I put that in the center of the daisy on the front.
With that, I’d completed this card/envelope set.
As always, thank you so much for stopping by my blog today. I’d love to hear what you think, and greatly appreciate every comment.
I hope you’ll hop along to the next stop on the blog hop, Shawn de Oliveira at Shawn Stamps. There’s lots of inspiration to be found in this group – and you don’t want to miss it!
WELCOME to our Virtual Vendor Village, where you will meet, or get reacquainted with, six women who desire to serve their village through virtual shopping!
We know this shelter-at-home time has been stressful, so we want to provide some encouragement, happiness, fun, and retail therapy for you! Please invite your friends and join us to learn new things, meet new friends, strengthen ongoing relationships – and support each other as we move forward on this journey!
I’d love to have you join us, and I’ll post the schedule closer to the dates of the event. Please email me at justpeachystamping@gmail.com if you would like an invite to this event!
Pick a Free Bundle STARTER KIT PROMOTION
Do you love a great deal? Join as a demonstrator and pick $125 of products for $99! Score!!
THEN, for a limited time, when you become a Stampin’ Up! demonstrator, you can choose any stamp/tool bundle from the new 2020–2021 Annual Catalog for FREE. That means you can choose the most expensive bundle/tool and get it FREE!
There could not be a better time to make your dreams of having your own Stampin’ Up! business come true.
Contact me to find out how you can join my team!
Do You Want to Place an Order?
Of course you do! Even more so because of the products in the NEW catalog. This NEW catalog is FABULOUS!! Special bonus, I will send you a FREE catalog with a $50 order!
The HOST CODE for JUNE is WW6HSM6A.
If you are ordering less than $150.00, please use the host code shown. If you are ordering more than $150.00, please contact me first so you can get your stamping rewards!
Again, thank you for stopping by my blog today! I appreciate your time.
The Ornate Garden suite is available now as a sneak peek for the 2020 catalog, which comes out on June 3rd. I’ve seen it and it is spectacular! As a demo, I’ve even been able to pre-order select items. My pre-order arrived yesterday and I have been playing with my new toys, er, products! Ask me how you can pre-order now as well!
Ornate Garden’s Floral DSP Does All the Work
As soon as I saw the challenge sketch I knew I was using Ornate Garden.
Here’s my card:
Here’s the challenge banner:
The Freshly Made Sketches challenges are all about clean and simple. Since the Ornate Garden DSP does all the work and carries the card. I used three of the coordinating colors for the different mats. When I am planning a card and need more than one mat, I lay pieces of cardstock on top of each other in layers. I moved the cardstock around in different orders underneath the DSP. That’s how I decided that the Early Espresso needed to be the mat for the DSP. That mat really frames the cardstock and helps it to pop off the card.
I used Old Olive for the base mat, then topped it with Terracotta Tile. Honestly, this color didn’t impress me until I purchased the Ornate Garden products. Now, I really like how it coordinates with this suite! It’s a show stopper for this pattern! After running this mat through my Big Shot in the Subtle 3D embossing folder, I layered it on top of the Old Olive.
Following the Sketch
The sketch calls for a simple sentiment banner, but the banner I created just seemed too plain by itself, even with this fabulous font and sentiment. I decided to use the Terracotta Tile ink, the Daisy Lane stamp set, and the small daisy punch to create a daisy. After stamping and punching two daisies, I just needed to layer then together.
I used dimensionals for the layered sentiment banner and the daisy. In order to keep the daisy on the same level of the banner, I only put one dimensional on the left side of the daisy. The liquid multipurpose adhesive allowed me to glue the right side of the daisy directly onto the sentiment banner.
Finishing Touches
The clean and simple lines of this card are very pleasing to the eye, at least in my humble opinion. The only embellishment I thought I needed was for the center of the daisy. I used my clear Wink of Stella to cover just the center. It’s a very subtle touch, which works well with the challenge to keep it clean and simple.
I used the fern stamp from Daisy Lane to triple stamp the inside bottom right corner. I did the same thing to the bottom right corner of the envelope.
After adhering a piece of the same pattern DSP to the envelope flap, I had finished this card set.
As always, thank you so much for stopping by my blog today. I’d love to hear what you think, and greatly appreciate every comment.
Please stay safe, healthy, during the reopenings going on around us all. It’s important to not go too fast, and it’s much better to be safe than sorry.
Of course you do! Even more so because of the products in the mini-catalog, the clearance rack, and the retiring products.
The HOST CODE for MAY is WW6HSM6A. If you are ordering less than $150.00, please use the host code shown. If you are ordering more than $150.00, please contact me first so you can get your stamping rewards! Just look at this gorgeous suite of Ornate Garden products, which is available now!
Remember, any order over $50 qualifies for a FREE gift from me AND a free catalog for the 2020 – 2021 calendar year! I’ve seen it, it is fabulous, and I have a rather extensive wishlist for the pre-order available to demos NOW! Here’s a preview of the front cover, which is all I can show you right now!
Ask me how you can not only see it NOW, but also place a pre-order as well!
Again, thank you for stopping by my blog today! I appreciate your time.
FMS has a month-long celebration planned, and this week’s sketch is from FMS#1. The original sketch remains classic. I’ve combined the two challenges, mixing the old classic with new colors.
Here are the banners for both FMS and Just Add Ink:
Here’s my card:
Pretty Peacock, Terracotta Tile, and Grapefruit Grove, Oh My!
The bold, new In Colors of Pretty Peacock and Terracotta Tile are balanced with the subtle Grapefruit Grove. I chose to use two of the In Color DSP patterns. Imagine my happiness when I noticed that the Terracotta Tile square could easily be lined up on a perfect diagonal from the Pretty Peacock pattern.
After putting those two DSP pieces down, I tried to figure out what shape I wanted to add. Basically, this card came together very quickly and easily, especially when I decided to use the large and medium daisy stamps and punches from the Daisy Lane cling stamp set. I used Grapefruit Grove for all three pieces of the daisy, and stamped two with Terracotta Tile and one with the Grapefruit Grove, which I then punched out. For the required horizontal component, I layered Polka Dot tulle ribbon and the end of the SAB Grapefruit Grove ribbon tied in a square knot. A little tip for layering ribbon: I used tear and tape on the ribbon on the underside of the card before I tried tying it.
Adding Height and Interest
Dimensionals add dimension to the top two parts of the daisy. I just glued the bottom layer to the front of the card. After adhering the daisy, I really thought I needed to add something to it without adding any more height. Therefore, I added a couple of layers of clear Wink of Stella to the center of the daisy. As I colored, I thought I would also add dimension to the middle layer, especially since I stamped Grapefruit Grove on itself. It would have been much easier to outline each petal with the Wink of Stella before putting all the layers together. However, the clear bling on the petals really created a more detailed middle layer.
Here’s a close-up of the daisy with the Wink of Stella:
I added Pretty Peacock punched sprigs under the flower, and three Grapefruit Grove enamel dots from the Happiness Blooms enamel dots. The sentiment comes from the same stamp set, as does the inside sentiment, which I also stamped in Pretty Peacock. I stamped the inside sentiment over a two layer large daisy. The first stamping was full strength and without reinking, I stamped the second set of petals.
Here’s the inside of the card:
With that,I’d finished the card. After glueing In Color DSP on the envelope flap, I stamped the smaller daisy on the front of it. Now, I’ve finished all the parts of this card/envelope set.
Thank you for stopping by today to check out Daisy Lane for this week’s Freshly Made Sketches and Just Add Ink challenges.
Happy a Peachy day!
Sue
Supply List:
Daisy Lane cling stamp set, item # 149325
In Color DSP 2019 – 2021, item # 149617
Pretty Peacock ink pad, item #150083
Pretty Peacock cardstock, item # 150880
Grapefruit Grove cardstock, item # 146972
Terracotta Tile ink pad, item # 150086
Daisy punches, item # 143713, medium daisy, item # 149517
Wink of Stella, item # 141897
Dimensionals, items #104430
TomBow Multipurpose Liquid Glue, item # 110755
Polka Dot Tulle ribbon, item # 146912
Happiness Blooms Enamel Dots, item # 148805
Whisper White cardstock, item # 100730
You Know You Want to …….
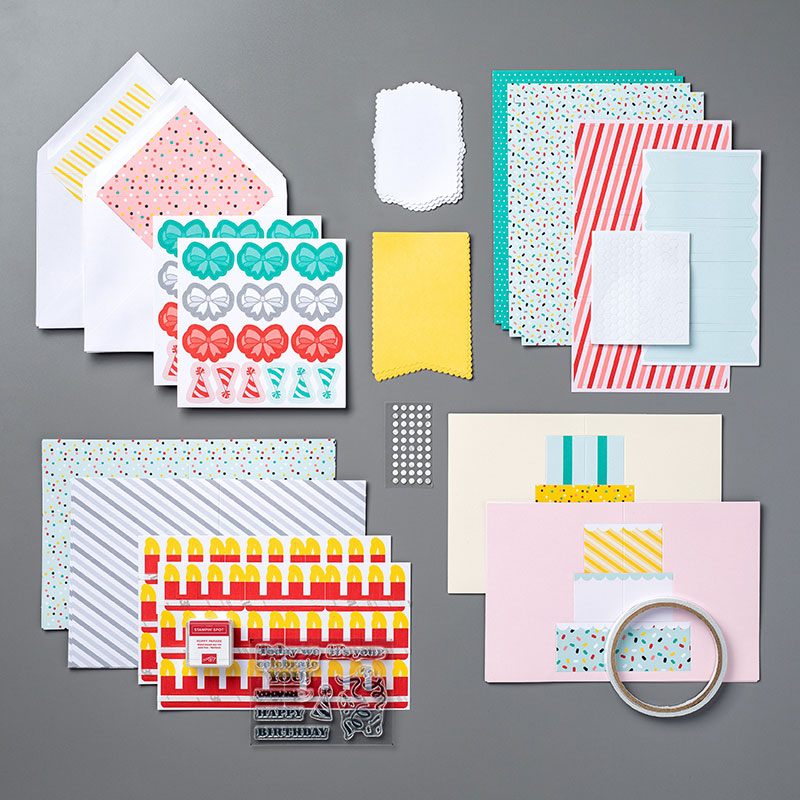
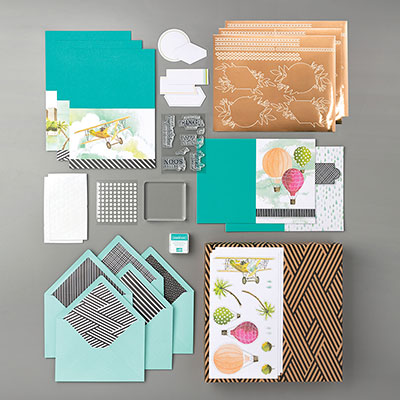
If you would like to order this fabulous stamp set today and live in the U.S. please CLICK HEREto be connected to my store. With just a few simple supplies, you, too, can create fabulous cards, and I would be honored to help you do so. Be sure to check out two of the kits featured in the annual catalog, since they are all inclusive. The first kit is the Poppin’ Birthday Past Kit, item 152024. The second kit is the Looking Up Card Kit, item 149651.
About Me
Welcome to Just Peachy Stamping by Sue Jackson: an independent Stampin' Up demonstrator.
Through Stampin' Up!, I happily share my love of papercrafting through sales, classes, small stamping group meet-ups and workshops. I think that being a teacher in my "real life", I have a unique approach to sharing my fantastic hobby. I look forward to connecting with you!