The Cutest Crew Cats for the AHSC # 690

Welcome to the Atlantic Hearts Sketch Challenge #690! It’s Team B’s turn, and we are happy to share our projects using the sketch.
Please check out the challenge’s page for the creations by the other very talented design team members. When you’ve created your own card for our challenge, please don’t forget to upload them to our gallery. We’d love for you to play along.
Here’s my card:
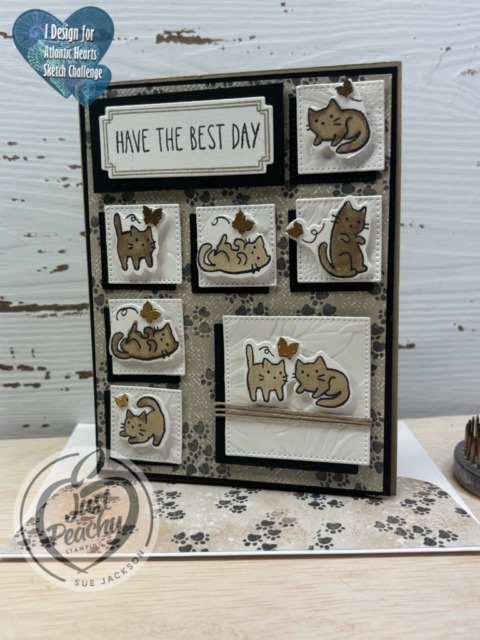
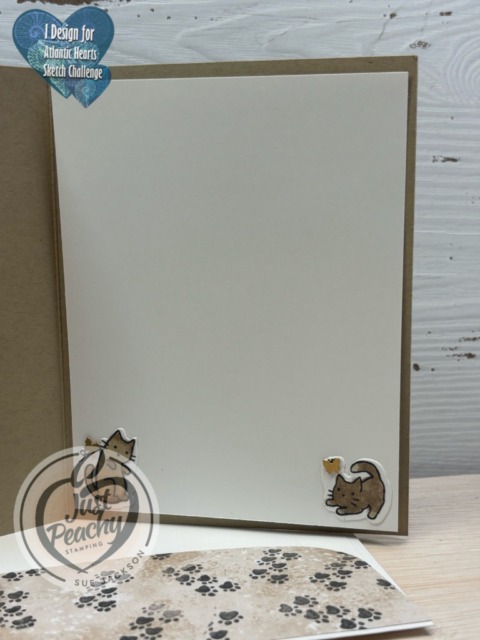
The sentiment on the front of the card is so versatile I can use the card for a variety of occasions. I’ll stamp the inside sentiment when I decide the purpose and recipient for this card.
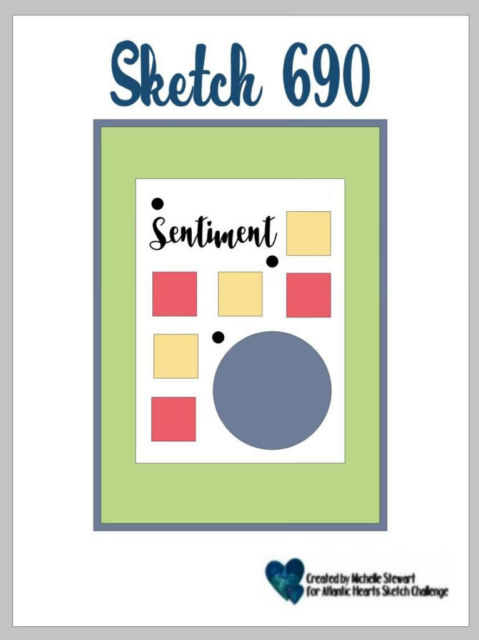
Here’s the Atlantic Hearts Sketch Challenge:
Thank you for stopping by today!
Have a Peachy Day!
Sue
Colors Used:
Supplies Used:

June’s Product of the Month is the WILD BUNCH PHOTOPOLYMER STAMP SET!

Send smiles with the Wild Bunch Stamp Set! With hand-drawn animals like a koala, penguin, snail, and highland cow, plus versatile sentiments for birthdays, thank-yous, or just because, this set can help brighten anyone’s day. Add hearts, party hats, presents, or scribbled patterns to make each card or scrapbook page even more fun.
The Wild Bunch Stamp Set is the exclusive Product of the Month for June 2026! Only available until stocks run out—don’t wait to get yours! I ordered mine last night and am so looking forward to getting it next week! Stay tuned for some cuteness!
What’s New?
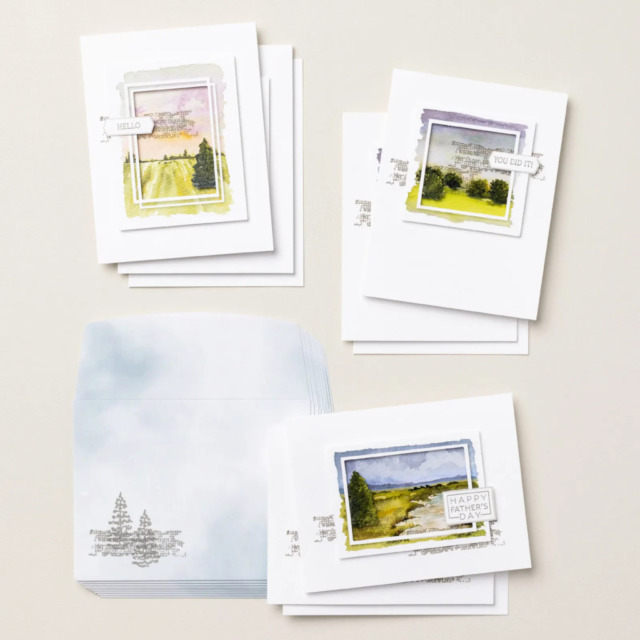
The Serene Scenes Kit, which retails for $25.00
Product detail
Have a card ready when an occasion comes up, whether it’s for Father’s Day, a quick congrats, or a simple thank-you. The Serene Scenes Kit includes coordinating card making materials and a stamp set with sentiments for both the inside and outside, making it easy to pull together something heartfelt. Create clean, simple cards that feature inviting watercolor-feel landscape scenes.
DETAILS
– Makes 9 cards: 3 each of 3 designs
– Folded card size: 4-1/4″ x 5-1/2″ (10.8 x 14 cm)
– Colors: Cloud Cover, Fresh Freesia, Gray Granite, Misty Moonlight, Mossy Meadow, Old Olive, Petal Pink, Secret Sea
– Also available in French
Kit includes one of each item listed below.
– Serene Scenes Stamp Set
– Clear stamp block
– Gray Granite Classic Stampin’ Spot
– Step-by-step instructions
– 9 printed envelopes
– Precut paper pieces
– Adhesive
KITS COLLECTION
– Includes designed projects that come in a range of project types.
– Is perfect for new crafters, busy crafters, or crafters who want quick and easy projects.