Welcome to this two week Cardz 4 Guyz challenge. Helen chose a travel theme for CFG # 274. Please stop by the challenge home page to see all of the design team’s cards. I hope you are inspired to play along with us!
Here’s the 3D version of my fun fold card:
Next is the semi-flat version. Once the card is scored, burnished, and folded, it’s not that easy to get it flat again.
Please, please, please don’t let this card scare you off! I used a video tutorial from Mary Deatherage at Stamps-n-Lingers after seeing her create it live. The only thing I would suggest you really take some time doing is the scoring of the three front pieces. I won’t tell you how I know that, just take my word for it.
Measurements:
Mary includes the measurements on her blog post the day following her live video, but I’m putting them here as well. I’ve used a current stamp and coordinating die set. Mary used the new In the Wild Suite for her card. You can find this suite on page 44 – 45 in the 2021 – 2022 annual catalog.
The base of this card measures 8-1/2 inches by 5-1/4 inches, scored at 4-1/4 inches.
Mary did all the math for you for cutting the front of the card into three strips. She includes those measurements in the video.
The first cut along the short side of the card base is at 1-3/4 inches. Make sure you ONLY cut to the middle score line.
The second cut along the short side of the card base is at 3-1/2 inches. Make sure you ONLY cut to the middle score line.
These two cuts will create the triangular folds.
I used one 6 x 6 inch piece of the whale DSP for my strips. I cut three pieces, each measuring 1-5/8 inches by 4-1/8 inches.
Please follow Mary’s directions for the score lines and for cutting the three strips diagonally.
I used a Just Jade mat on the inside. It measures 4-1/8 by 5-1/8.
The white panel in the inside measures 4 inches by 5 inches.
I already had the three white steering wheels cropped out.
I stamped all three of the white piece on the front on white scraps of cardstock.
Finishing Up
Once I got all my score lines done and burnished, I attached the triangles to the strips starting with the darkest on the bottom.
Since this was my last piece of the waves DSP, I used a coordinating piece from the whale’s DSP for the envelope flap. That piece measures 2-1/2 inches by 6 inches.
Next, I adhered and trimmed the envelope flap. Finally, I punched out a circle of the very end of the waves DSP to use as a seal for the envelope. After running it through the XYRON create*a*sticker machine, I’d finished this card/envelope/seal coordinated set.
Thanks so much for stopping by my blog today!
I’d love to hear what you think, and greatly appreciate every comment.
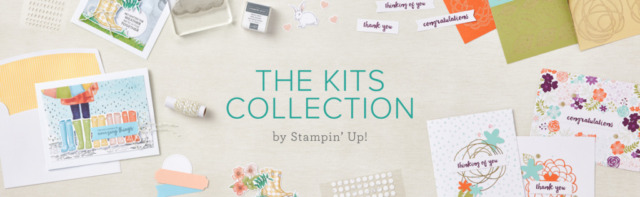
What’s New? Since you asked, it’s The Kits Collection!
Take a look at this video explaining what you get with your kit! Remember, the kits are all inclusive! Just add some of your own crafting basic tools, and you are good to go!
Do you live in the U.S. and need a demonstrator? If so, I’d love to talk to you!
Do You Want to Place an Order?
Of course you do!
If you are ordering less than $150.00, please use the host code shown. If you are ordering more than $150.00, please contact me first so you can get your stamping rewards! Any order over $50 will earn a little surprise from me.
The HOST CODE through June 30, 2021 is 26AD7SA3.
Again, thank you for stopping by my blog today! I appreciate your comments and your time.
I ordered the Blossoms in Bloom bundle a few months ago and hadn’t used it. Therefore, I decided I’d use the bundle and create a card for each of the 2021 – 2023 In Colors. The layout is the same for all of the cards, and each includes the ribbon and jewels. I also used the markers to outline the sentiment banner and clear Wink of Stella on one of the layers of blooms.
Here are my cards:
Measurements:
Each base measures 5-1/2 inches by 8-1/2 inches, scored at 4-1/4 inches.
The Polished Pink, Fresh Freesia, and Pale Papaya cards have background layers which I dry embossed using the Tasteful Textile 3D embossing folder. After I embossed the cardstock, I trimmed each of the pieces to 4-1/8 inches by 5-3/8 inches.
The Evening Evergreen and Soft Succulent cards are on Very Vanilla backgrounds trimmed to the same measurements.
Next, I trimmed each of the five In Color cardstock sheets to 5-1/2 inches by 8-1/2 inches (half sheet). Then I was able to crop both layers of the blooms in one pass.
Wink of Stella doesn’t photograph well, but there’s some on all five cards. The Polished Pink and Soft Succulent bottom part of the blooms have Wink of Stella on them. The other three have it on the top, outlines of the blooms.
Here’s a close-up look at the Wink of Stella on the Polished Pink and Evening Evergreen cards:
Everning Evergreen has WoS on the top outline layer. The Polished Pink has it on the bottom part of the blooms.
Putting the Cards Together:
Experience tells me that it’s much easier for me to mass produce cards if I have all the different pieces finished first. Then I just need to put them together assembly line fashion.
The blooms for each of the cards is popped up on mini-dimensionals, and there are quite a bunch of them underneath each of the bottom blooms. In addition, I had to cut some of the mini-dimensionals down to half size to get them to fit where I needed them.
After I attached the blooms to the card background, I tied a length of ribbon around each. Happily, I only experience bow challenges on one card, so I just tied a simple square knot.
I stamped the sentiment for all five cards using the Momento Tuxedo Black ink pad. This perfectly appropriate sentiment can be found in the Celebrate Sunflowers stamp set.
I used the stitched rectangle die to crop each sentiment. Then, I outlined each with the coordinating marker. Next, I put two dimensionals under each sentiment and attached them to the blooms.
Finally, I added an In Color Jewel to the bottom right corner of each sentiment panel.
That’s it. The five cards form a very nice gift set, at least in my humble opinion.
Thank you so much for stopping by today. I’d love to hear what you think, and greatly appreciate every comment.
My new catalog order arrives Wednesday! I plan to do an unboxing video and hope to post that later in the week.
Do you live in the U.S. and need a demonstrator? If so, I’d love to talk to you!
Do You Want to Place an Order?
Of course you do!
What could be better than placing an order?
$25 additional Stampin’ Rewards for qualifying orders!
If you are ordering less than $150.00, please use the host code shown. If you are ordering more than $150.00, please contact me first so you can get your stamping rewards! Any order over $50 will earn a little surprise from me.
The HOST CODE for May is ZM63ASKZ.
Of course, joining my team is another fabulous option! Contact me to find out how!
It’s a fabulous time to join Stampin’ Up! New team members get even MORE FREE products in their customizable Starter Kit. From 4–31 May, new team members can get $155 USD worth of products for only $99 USD + free business supplies + free shipping + all the fun being a part of Stampin’ Up!
Again, thank you for stopping by my blog today! I appreciate your comments and your time.
Welcome to another Make My Monday challenge! Mary V. chose the theme for this week, Easter or Spring crafts, and I couldn’t be happier!
Here’s my card:
My niece, her husband and four year old daughter moved recently. My great-niece has been completely obsessed with the Easter Bunny for the last year. She’s now quite concerned that the Easter Bunny will not be able to find their house. So, this card will be going in the mail to her tomorrow from the “Easter Bunny”. I wrote with my right hand for part of it. Years and years ago I shattered my right wrist. Everything that rotates broke, so I lost a significant amount of range of motion and other things. It truly looks like someone with a big old hand in a glove wrote it. I said that, while getting ready for Easter, the Bunny noticed that she moved and s/he can’t wait to see the new house. Hopefully, that will make her happy.
What I Did:
The Calypso Coral card base measures 5-1/2 by 8-1/2 inches. Then, I scored the base at 4-1/4 inches and 2-1/8 inches. Make sure you use your bone folder to really crease the score lines so the card will lay flat.
I used a panel of Pool Party DSP for the front panel and the envelope flap. The front panel measures 5-3/8 inches by 2 inches. The piece for the envelope flap measures 6 inches by 2-1/2 inches.
I colored the bunny, from the retired Welcome Easter stamp set, using the light and dark Crumb Cake blends and the Flirty Flamingo marker and dark Petal Pink blend.
I cropped the bunny using the medium Stitched Shape circle. The middle Pool Party layer was cropped from the layering circles die set. Next, I used the largest Stitched Shapes circle die to crop two circles using the Calypso Coral DSP for the largest layer. I wanted the back of the focal circle to be the same as the mat on the front. To accomplish this, I had to glue down the front flap or the card would open badly.
Inside
I really wanted to use the Arrange a Wreath die set for this card, but it’s on backorder. It should get here this week, though. therefore, I had to fussy cut the eggs from the set. I stamped two in Pool Party and two in Calypso Coral.
I also used the crate stamp from the Arrange a Wreath set and stamped it using Soft Suede ink on Crumb Cake cardstock. Then, I used the stitched rectangle dies to crop the crate. Dimensionals add height to the eggs and the basket.
All Easter baskets need grass. Therefore, I used the grass die from the Special Day die set. I adhered a piece of grass on the top of the crate and along the bottom of the inside of the card.
After I had everything adhered down, I decided to add a piece of Pool Party sheer ribbon to the crate. Believe me, it would be much easier to add the ribbon before adhering the crate down. Just saying.
Finally, I stamped “Happy Easter” in Soft Suede to the inside panel of the card.
After adhering and trimming the DSP on the envelope flap, I’d finished this card/envelope set. Hopefully, it will make my great-niece very happy!
Thank you so much for stopping by today.
I’d love to hear what you think, and greatly appreciate every comment.
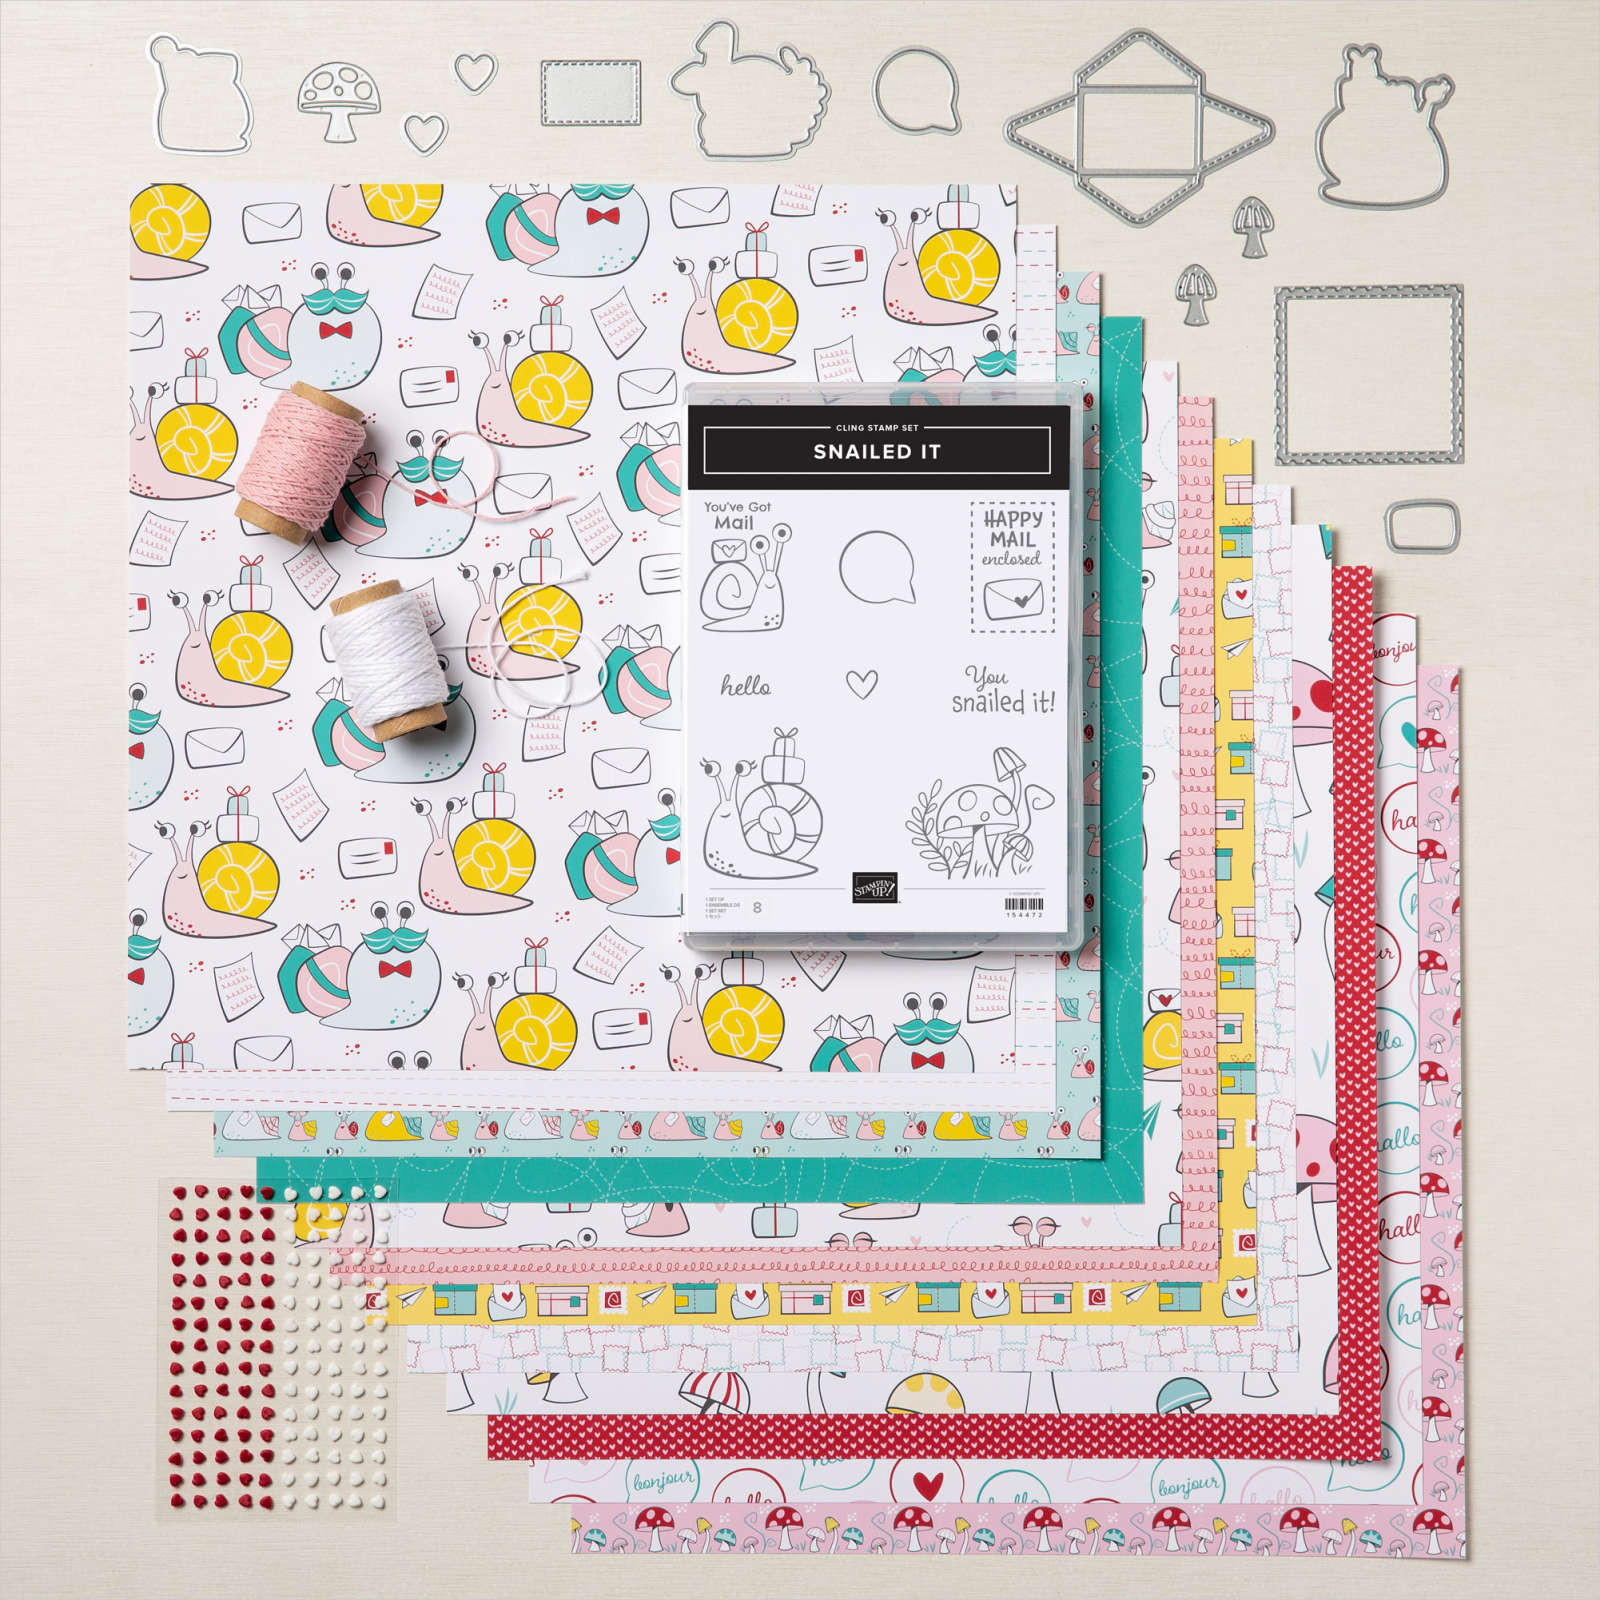
I also broke down and purchased the Snail Mail Suite. I don’t know why I waited to order it, but I’m also looking forward to using this playful combination of products! My order arrived and I can’t wait to play with it! My plan is to create six cards between tomorrow and Tuesday evening so I can give them to friends on Wednesday, the last day of school before Spring Break!!
Do you live in the U.S. and need a demonstrator? If so, I’d love to talk to you!
Do You Want to Place an Order?
Of course you do!
If you are ordering less than $150.00, please use the host code shown. If you are ordering more than $150.00, please contact me first so you can get your stamping rewards! Any order over $50 will earn a little surprise from me.
The HOST CODE for April is 6QMKRYXG.
Again, thank you for stopping by my blog today! I appreciate your comments and your time.
Welcome back to another MMM challenge! This time, our design team created HELLO themed cards.
Here’s my DT card:
I’ve wanted to use the Pampered Pets stamp set for quite a while, but all the holiday cards precluded that. However, I did use a piece of the holiday plaid DSP for the background. I’ve loved this color combination since I was a teenager (according to a colleague, I went to high school with the dinosaurs, so that tells you how long I’ve loved it). The varying shares of gray in the plaid, the Real Red and Basic Black elements pop right off the page.
What I Used:
The Real Red base measures 4-1/4 inches by 11 inches, scored at 5-1/2 inches to create a tent card.
The plaid DSP measures 5-3/8 inches by 4-1/8 inches. While I had the DSP out, I trimmed a piece to 2-1/2 inches by 6 inches for the envelope flap.
The black cardstock also measures 5-3/8 inches by 4-1/8 inches. Then I cropped the center out using the second largest stitched rectangle die. In order to give the front some dimension, I added dimensionals under the black frame.
I stamped the schnauzer and sentiment square on scrap white cardstock. Using the medium square from the stitched shapes die set, I cropped out the sentiment block.
At the same time, I trimmed a piece of white cardstock for the inside of the card to 4 inches by 5-1/4 inches.
Growing up, we had a gray and black schnauzer named Brandy. I colored this one based on Brandy’s colors. The Smoky Slate blends combination made it easy to color him. Since I wanted a lighter stomach area, I used the color lifter blend to lighten the Smoky Slate. I added very light layers of lifter until I reached the desired color.
Next, I cropped the schnauzer using the Pet Die set. In order to have the dog pop off the plaid, I cropped two Real Red dogs as well. I layered these spaced slightly wider than the colored schnauzer.
I added a Real Red collar, but the metal bone trinket covers the majority of it. There are dimensionals under the red layers so there’s some definite dimension there.
Finishing Up
The perfect ribbon and baker’s twine combination, from the Pampered Pets suite, are wrapped around the plaid DSP and ties in a knot on the front.
I placed the dog just over the ribbon and the sentiment square, also mounted on dimensionals, straddles the ribbon. Therefore, all three ground each other on the front of the card.
Next, I needed to work on the envelope. After I adhered and trimmed the DSP on the envelope flap, I turned my attention to the front of the envelope.
I decided to stamp the back view of the schnauzer on the front of the card. In order to use blends on the envelope, I had to put a piece of scrap cardstock inside the envelope underneath the stamped image. I also used the Smoky Slate to color this cutie.
With that, I’d finished this card/envelope combination.
Thank you so much for stopping by today.
I’d love to hear what you think, and greatly appreciate every comment.
Do you live in the U.S. and need a demonstrator? If so, I’d love to talk to you!
Do You Want to Place an Order?
Of course you do! It’s Sale-a-Bration AND there’s a new mini-catalog!
If you are ordering less than $150.00, please use the host code shown. If you are ordering more than $150.00, please contact me first so you can get your stamping rewards! Any order over $50 will earn a little surprise from me.
Do you live in the U.S. and need a demonstrator? If so, I’d love to talk to you!
Do You Want to Place an Order?
Of course you do!
If you are ordering less than $150.00, please use the host code shown. If you are ordering more than $150.00, please contact me first so you can get your stamping rewards! Any order over $50 will earn a little surprise from me.
The HOST CODE for JANUARY is 7EUAPNKA.
It’s Sale-a-Bration!
It’s Mini-Catalog Time!
Mini-catalog + Sale-a-Bration = FREE Products!
Here are pictures of some of the FREE items I’ve already earned!
Again, thank you for stopping by my blog today! I appreciate your time.
I’ve said a few times before that I live in Central Florida, about halfway between Orlando and Daytona Beach. It has snowed, if you call flurries snow, a few times but not in many years. Winter for us is normally about 3 weeks long in December/January. We had near freezing temperatures a few nights ago, but the days have been in the 60s and low 70s I love this weather. My Southern California transplanted husband absolutely can not stand it.
Anyway, here’s my card for the Cardz 4 Guys # 262 challenge:
The snowflake background might look a bit familiar since I used it for another design team card, which you can see here. When I created the first one, I thought it would be good to create a second one to use at another time.
A Bit of a Repeat
I think the subtle variations of color in the Balmy Blue background show up better in person. Since I did not want a solid piece of colored cardstock, I used a sponge brayer. The brayer allowed me to create a very subtle texture using the Balmy Blue ink.
Once the ink completely dried, I had some fun with the snowflake stamp from Snowman Season and some VersaMark ink. First, and foremost, I made sure to use my embossing buddy all over the background. The buddy lifts oils from fingerprints, which creates cleaner images. Next, I randomly stamped the snowflakes all over the blue background. Make sure to turn the snowflake stamp so you don’t create a uniform pattern. Then I covered the snowflakes with white embossing powder, and heat set it all. Don’t you just love watching the magic happen?
I used glossy white cardstock and the fabulous curvy dies to create the snow drifts. The curvy die made the whole process so easy since I wanted to have different shaped drifts.
The Snowman and the Layout
Since I didn’t want to use the punched out snowman, I need to figure out what I was going to do. I finally decided that I would use the snowball juggling snowman. After stamping and coloring him, I loosely fussy cut him out so I could put him on top of the snow drift. Then, I added five elegant faceted gems for the snowballs.
The layout is from a sketch challenge. Of course, I didn’t write down what challenge it was. I used the reverse side of scraps from the First Frost DSP for the shiny diagonal pieces at the top.
Thank you so much for stopping by today.
I’d love to hear what you think, and greatly appreciate every comment.
Do you live in the U.S. and need a demonstrator? If so, I’d love to talk to you!
Do You Want to Place an Order?
Of course you do!
If you are ordering less than $150.00, please use the host code shown. If you are ordering more than $150.00, please contact me first so you can get your stamping rewards! Any order over $50 will earn a little surprise from me.
The HOST CODE for JANUARY is 7EUAPNKA.
It’s Sale-a-Bration!
It’s Mini-Catalog Time!
Mini-catalog + Sale-a-Bration = FREE Products!
Here are pictures of some of the FREE items I’ve already earned!
Again, thank you for stopping by my blog today! I appreciate your time.
I think that anytime snowmen are used on a card, happiness just flows from the card. However, I live in Florida and I have fond memories of winters on Long Island, New York. Since the northeast U.S. is going to have the biggest winter storm in 3 years later this week, I don’t think anyone up there shares my current opinion.
Here’s my card:
This card came together so quickly, I made eight more for a gathering of friends later this week.
Here are the different versions:
The basic elements of the card remained the same.
What I Did:
No matter the color, the base for the card measures 4-1/4 inches by 11 inches, scored at 5-1/2 inches to form tent cards.
The white cardstock on the front measures 4-1/8 by 5-3/8 inches.
Since I had the white out, I trimmed the inside panel of the cards to 4 inches by 5-1/4 inches.
I trimmed he Classic Christmas DSP piece for the front to 2-1/2 inches by 3-1/2 inches. At this time I also trimmed pieces for the envelope flaps to 6 inches by 2-1/2 inches.
Next, I stamped the snowmen onto white cardstock using the Momento Tuxedo Black stamp pad. Make sure to let it dry thoroughly before trying to crop it out. I may or may not struggle with this part and may or may not wind up with smudges. You think I’d learn……
While I waited for the snowmen to dry, I chose and then stamped the front sentiments using the Festive Corners photopolymer stamp set. Even the MERRY sentiment is part of this versatile set!
After I’d stamped and colored all the corners, I ran the white cardfront through the Big Shot using either the Woodland or Subtle embossing folder.
Finally, I colored the snowmen’s hats and scarves using the card base color and Sahara Sand. The Pumpkin Pie marker seemed to be perfect for the carrot noses. I colored the few rocks on each with the light Basic Grey blend.
I used the largest oval die from Stitched Shapes to crop all the snowmen. Both the scalloped oval and plain oval mats came from the Layering Ovals die set.
After I had all the dimensionals on the ovals, I decided I needed something else for dimension and texture. Therefore, I used the fine tip glue pen and just applied dots of glue to the snowflakes and all the coal pieces on the snowman. Again, patience is imperative. All the ovals needed to completely dry while laying flat.
Putting It Together
Once I had all my pieces, I just combined everything.
I used dimensionals under the snowman ovals and the mat ovals.
The Seaside Spray ribbon is thin enough that I only needed to use some multipurpose liquid glue for the DSP piece.
The (retired) Cherry Cobbler and Mossy Meadow ribbon is thicker so the DSP pieces needed a bit of height. Therefore, I used some large (really large) glue dots.
I used the liquid glue to attach the white cardstock pieces to the front and inside of the card.
After gluing the DSP to the envelope flap and trimming it, I’d finished these coordinated card and envelope sets.
Just a little tip I finally figured out: I’d been using adhesive to seal all my envelopes for the past 9 months because of that which shall not be named. After sealing the envelopes, I wrote “No saliva was used to seal this envelope” on the back of each. I finally thought there had to be a better way, and I actually found something that works for me! I’ve been punching out coordinating DSP circles to use as seals for the envelope flaps. Now, I don’t need to write that I didn’t use saliva because the seals make that point obvious.
Thank you so much for stopping by today.
I’d love to hear what you think, and greatly appreciate every comment.
Do you live in the U.S. and need a demonstrator? If so, I’d love to talk to you!
Of course you do! Even more so because you are now realizing you need more products for your holiday cards, right? I know I have ordered twice in the past three weeks.
If you are ordering less than $150.00, please use the host code shown. If you are ordering more than $150.00, please contact me first so you can get your stamping rewards! Any order over $50 will earn a little surprise from me.
The HOST CODE for DECEMBER is 7Y27249U.
Mini-Catalog Sneak Peek of the Catalog Cover!
I can show you the cover, but not the insides, YET! I will be able to show you what I purchased as soon as it comes in though!
Welcome to Just Peachy Stamping by Sue Jackson: an independent Stampin' Up demonstrator.
Through Stampin' Up!, I happily share my love of papercrafting through sales, classes, small stamping group meet-ups and workshops. I think that being a teacher in my "real life", I have a unique approach to sharing my fantastic hobby. I look forward to connecting with you!