Aug 3, 2019 | Freshly Made Sketches |
Over the Moon for Freshly Made Sketches
It seems lately that my cards have been made with angels or cows. After this card, I think I am going to have to put the cows away for a while. I should be getting adorable walrus stamps this week, along with my holiday catalog pre-order.
Here’s the challenge banner:
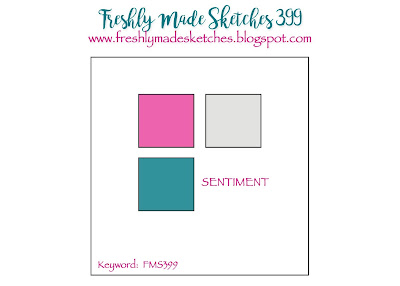
Here’s my fun and adorable card:

The Process
For this challenge, I stamped each of the cows in Memento Tuxedo Black ink. I then colored each of the three cows using the Basic Black, Smoky Slate, and Petal Pink blends combos. I also used the So Saffron blends for the flower, the center of which I colored using the gold Wink of Stella.
Once again, I turned to the Stitched Shapes die set to crop the cows and the mat for the sentiment, which fit perfectly on the smallest square. As I frequently do, I colored in the ditch of the sentiment and cow squares using a Blueberry Bushel marker.
I knew I wanted Blueberry Bushel and Basic Black to be the prominent colors behind these cute cows. I cut my black mat, and started to dry fit the cropped squares on the front of the card, I felt that it needed something else. Since the sketch called for the squares to be higher on the card, I first thought of ribbon to break up some of the white space below. It didn’t work, at least I thought it did not work. I grabbed one of the cows and the Smoky Slate ink pad and started stamping. To accomplish a softer look, I did stamp each cow off before placing it on the white background. Mission accomplished.
When I was ready to pop up the sentiment on dimensionals to adhere it to the black mat, I realized I needed more definition between the two dark colors. I dipped the edge of each side of the square on the StazOn White ink pad. This little bit of extra definition allowed the sentiment to stand out even more.
Finally, I stamped the cow on the front of the envelope, and randomly on the flap to decorate the envelope. With that, the card was done.
As Always, I am Grateful for Your Time and Visit
I know there are many, many blogs written by Stampin’ Up! demos, and I appreciate the time you spend visiting mine.
Thank you very much!
Have a Peachy day!
Sue
If you live in the U.S. and are in need of a demonstrator, please CLICK HERE to be connected to my store. I would be honored to help you create cards using simple to advanced techniques and supplies. Placing an order with me would also entitle you to a free copy of the Holiday Catalog being released the first week of September.
Supply list:
Over the Moon stamp set, item 149331
Smoky Slate blends combo, item 145058
Petal Pink blends combo, item 147272
So Saffron blends combo, item 149557
Basic Black cardstock, item 121045
Whisper White cardstock, item 100730
Blueberry Bushel cardstock, item 146968
Memento Tuxedo Black ink pad, item 132708
Smoky Slate ink pad, item 147113
Jul 29, 2019 | Freshly Made Sketches |
Freshly Made Sketches 398
This sketch challenge called for a clean card. My clean card used Daisy Lane photopolymer stamp set, Painted Harvest stamp set,and All Things Thanks (retired) stamp set. I also used the large daisy punch and the leaf punch for the card. At first, I thought this would be a #simplestamping card, but it did not turn out that way.
Here’s the sketch banner for this challenge:

Here’s the card I created:


The Process
I started with all the stamped items I would need. Therefore, I stamped 3 sets of leaves from the Painted Harvest stamp set in Old Olive on Old Olive card stock, which I then punched out. I used the light Old Olive blend to just ass some additional texture to the leaves.
Staying with the Old Olive, I started stamping the ferns on the Whisper White cardstock.
Here’s an example of the first stamping off:

At first, I was only going to do one set of stamped off ferns. I created the triple ferns by stamping the fern, then slightly pivoting the stamp and stamping the second time, then repeating for the third stamp.
At this point I realized I would need more stamped off ferns in order for them to show behind the large daisy. Therefore, I just started the trio stamping process to form a very loose circle.
Finishing up with the Old Olive, I inked the sides of both the white cardstock on the outside and inside.
I stamped the inside sentiment, then the front sentiment so I could put the ink pad away. The fewer ink pads on my desk, the better.
The Daisy
While I like the lined pattern daisy stamps from Daisy Lane, I thought the So Saffron ink would just blend into the white. Therefore, I pulled out the So Saffron blends combo. I started blending using the light and dark from the center out making sure none of the petals were blended the same.
Dimensionals provided the pop between the bottom and the top daisy. After gluing the layered daisy onto the middle of the fern trios, I dry fit the leaves, then glued them down as well.
I added a clear faceted gem to the center of the daisy (but I am still not sure about that look). Next on the list, placing the sentiment.
I added the burlap ribbon for a bit of contrast and texture which also anchored all the elements. Then I created the sentiment banner and dry fit it on the ribbon. Can I begin to tell you how stinking pleased I was that two of the punched leaves just peak out from under the sentiment.
Stamping the daisy over the inside sentiment and decorating the envelope finished off this card.
Thank you very much for stopping by my blog today.
Have a Peachy day!
Sue
If you live in the U.S. and are in need of a demonstrator, please CLICK HERE to be connected to my store. I would be honored to help you create cards from beginner levels, to casual, and to avid levels. Placing an order with me would also entitle you to a free copy of the Holiday Catalog being released the first week of September.
Just a few more days to earn bonus coupons! $5 coupon for every $50 spent.

Jun 29, 2019 | Color Throwdown, Freshly Made Sketches |
FMS394 and ctd549 for a Colorful Combination
These two challenges are two of my “favorites”, at least this week. The clean, fresh FMS sketch seemed to pair perfectly with ctd this week to create a cute little thank you card.
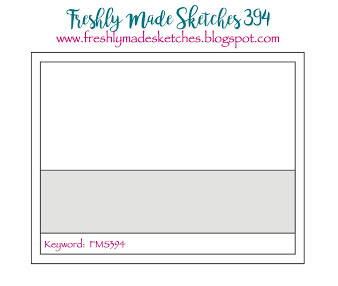
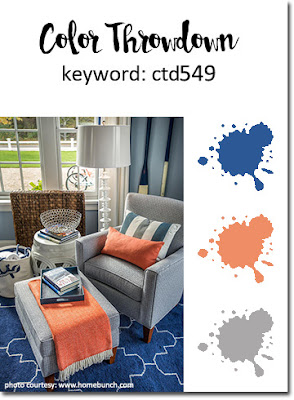
The challenge banners follow:
I chose to use the newly retired Bella and Friends stamp set, which I just realized was actually retired when the new catalog launched. Sadness.
Here’s my card:

Keeping it Clean and Simple
I needed all the white space on this card, but didn’t want it to just be plain white. Therefore, I used the Subtle TIEF, which quickly becamse my favorite and most used embossing folder. I get the best of both worlds: white space and a little, subtle texture.
My choice for the orange on this card is inspired by the Painted Seasons DSP using Grapefruit Grove. I’ve only recently opened the package of DSP and love the colors and most of the patterns, especially this simple repeating pattern.
Following the FMS layout and the ctd colors, I layered the DSP on a piece of Basic Gray. I also used Basic Gray for all the stamping, and for coloring in the bone, which seemed to fade right into Bella so I outlined it in Basic Black. While I thought this plan would work, I quickly found out the outline jumped off the card, and not in a good way. Therefore, I colored over the black and the gray with Smoky Slate, which really toned the bone down.
Putting the Card Together
The layering circle die set provided the perfect sizes of circle for Bella, and the scalloped mat peeking out from under her. Blueberry Bushel cardstock provided all the mats: card base, Bella’s circle, and the sentiment mat. I cropped both of the sentiment pieces using the Rectangular Stitched layering die set (a must have!). I also colored Bella’s collar using Blueberry Bushel. Originally, the heart from the stamp was colored using Grapefruit Grove, but I later decided to cover the heart with a single piece of bling from the metallic exposy shapes.
That’s it. Finished. A fresh, clean, card using a great color combination. All is well. Life is good.
Thanks for stopping by today! I know your days are busy, and I appreciate your time.
Have a Peachy day!
Sue
Jun 10, 2019 | Color Throwdown, Freshly Made Sketches |
 Combining a Color Challenge with a Sketch Challenge
Apr 6, 2019 | Freshly Made Sketches |
Painted Seasons
The Painted Seasons DSP was a limited time product during Sale-a-Bration. However, I did not break into it until a week ago and now want to use it all up. I am trying to be much better about using my DSP rather than hoarding it. Sometimes I cut it up, sometimes I don’t. I immediately thought of this DSP stack when I saw the Freshly Made Sketches challenge this week. Personally, I think it is the perfect paper for it. When I broke into the DSP pack, I found a few papers which are going to be transformed into One-Sheet Wonders this weekend!
Here’s the FMS382 sketch:

As always, clean and simple rules with FMS.
Here’s my card:

Color Choices Abound
This gorgeous pattern contains a multitude of colors, but I chose to highlight the Poppy Parade and Pumpkin Pie, with accents of Early Espresso. All of the papers used were outlined using the Early Espresso Stamping Write Marker. While the challenge had only one mat, I chose to use two. I ran the Poppy Parade cardstock through the Big Shot using the Swirls and Curls TIEF just for a bit of dimension peeking out from the DSP.
The sentiment is from Varied Vases and, poof, this card is an all-ocassion card. I snipped one end into a banner, and tied the Poppy Parade ribbon onto the other end. Ta-da. Clean and Simple, and it matches the challenge.
Thank you for stopping by!
Have a Peachy Day!
Sue
Mar 24, 2019 | Color Throwdown, Freshly Made Sketches, What Will You Stamp? |
This Should Have Been a Three-fer.
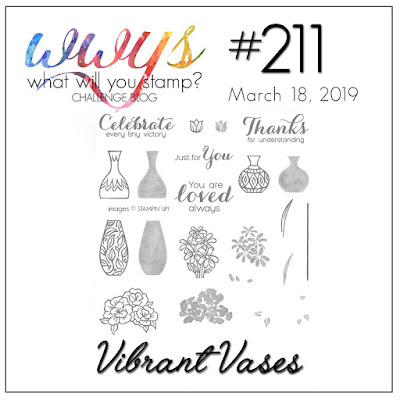
When I created this card, it was for the What Will You Stamp Challenge, WWYS#211 for the Vibrant Vases, and Freshly Made Sketches FMS380 provided the layout. I missed the deadline for WWYS#211, but I am going to make the FMS380 deadline. The color pallette was provided by Color Throwdown, ctd535.
Here are all the challenge banners:
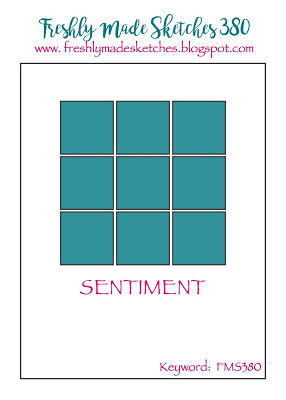

Here’s my Vibrant Vases, Freshly Made Sketches, and What Will You Stamp card:

Flower Fun
I first stamped all the flowers in Basic Black, and then used the two-step stamps for the roses and the daisies in Daffodil Delight. Coloring over the stamped Daffodil Delight ink with my Stamping Up Stamp Write markers allowed me to lightly shade the flowers.
I thoroughly enjoyed coloring these flowers with the Daffodil Delight, Old Olive, and Real Red Stamping Write Markers. I didn’t dare try to use the Stamping Blends because the flowers were small and I didn’t want it to run. Coloring relaxes me, and when the SU stamps provide beautiful images, how could I not love the coloring.
The sentiment is also from Vibrant Vases. I used the Stitched Shapes small rectangle to crop the flowers, and the Rectangle Stitched dies for the sentiment. All the squares and the sentiment got the popped-up treatment from some dimensionals. Finally, I placed some of my current fave ribbon, the tulle polka dots, under my greeting and I was done.


