Myths and Magic for Fab Friday #135
If it’s possible to completely love a bundle and DSP…..
This would be one of my favs. Myths and Magic DSP, the Magical Day stamp set, and the Magical Mates thinlets. LOVE! I’ve used it for a number of challenge cards, and this Fab Friday entry is yet another one. The images are so much fun to color and coordinate with the fabulous DSP. I am thankful that, even though this set is retiring, I will be using it for my community service card club at the high school where I teach. So,much.fun!!
Here’s my card:

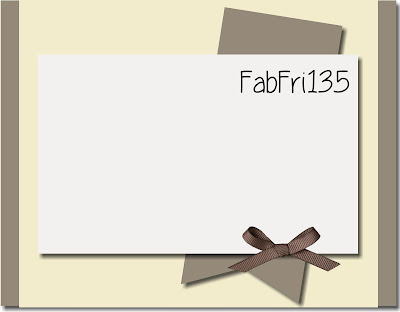
Here’s the challenge sketch:
Creative Liberties
The base of my card is Tranquil Tide with Lemon Lime Twist on top of it. Then there is a layer of the Bermuda Bay glitter paper from the SAB catalog. It was at this point that the card really started to evolve. I tried a number of different pieces of DSP for the top base piece and the rectangle piece on top of the banner as well. Good news is that, after I cut out all my tries, I have a number of pieces ready to go for another card. I finally decided on the cloud DSP. I thought it is much more subtle than other patterns and also adds interest.
If at first you don’t succeed, try, and try again and again and again.
After all my tries, I knew I couldn’t try to add another piece of paper on top of the banner, which is the Old Olive Glitter Paper from the same stack as the Bermuda Bay. I knew I wanted to use the dragon I colored, and also knew the sentiment I wanted to use. After discarding more choices, I finally decided on the two ovals in place of the layer on top of the banner. The Stitched Shapes thinlits cropped the ovals. Then I used the Tranquil Tide marker to outline the ditch of the stitches in the white oval. The Myths and Magic thinlets make cropping the dragon a snap.
The Tranquil Tide oval was adhered directly to the DSP while mini-dimensionals popped up the dragon. I stamped the sentiment directly on the oval (which would have been a lot easier to stamp before I cropped), and that oval is popped up using regular dimensionals. Mini-dimensionals popped up the banner and the dragon. After I got everything dry fit, I thought the top of the banner HAD to have something small on it, so I grabbed the thinnest Bermuda Bay ribbon I had and tied a small knot. Next step was to adhere all the pieces on the card.
Bling and More
After squinting to look at the card (another nickel goes in the mail for Brian King), I knew two things: 1.) something definitely had to go on the top left corner, and 2.) the dragon looked blah next to all the glitter paper. I grabbed the Tutti-Fruitti adhesive backed sequins in Lemon Lime Twist for the top left corner. I thought I had them on straight until I looked at the close-up of the card. Then I added a few layers of the clear Wink of Stella to the dragon. It’s so difficult to get the Wink of Stella to show on a picture, but it’s there, I promise.
I enjoy reading your comments, so please feel free to leave one.
Have a Peachy Day!