Beautiful Gallery DSP for the Atlantic Hearts Sketch Challenge #664

Welcome to the Atlantic Hearts Sketch Challenge #664
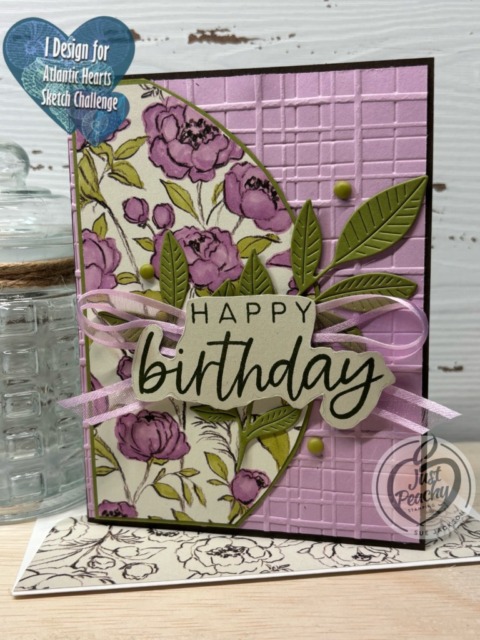
I used the Beautiful Gallery DSP (designer series paper) for this challenge, and am so pleased with the color combination of Basic Beige, Early Espresso, Fresh Freescia, and Old Olive!
Please check out the challenges page for the creations by the other very talented design team members. When you’ve created your own card for our challenge, please don’t forget to upload them to our gallery. We’d love for you to play along.
Here’s my card:
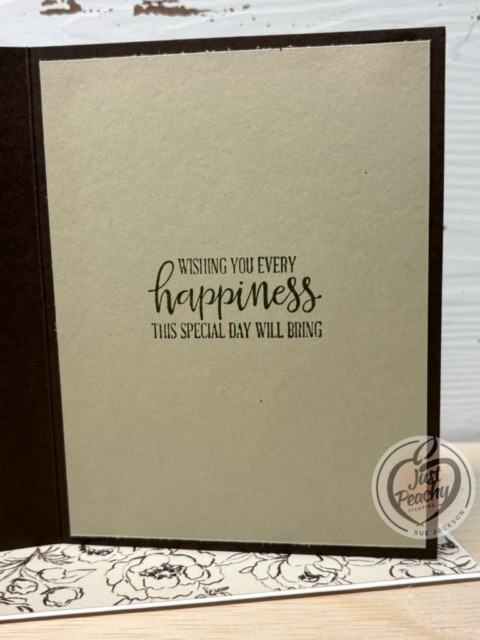
And the inside:
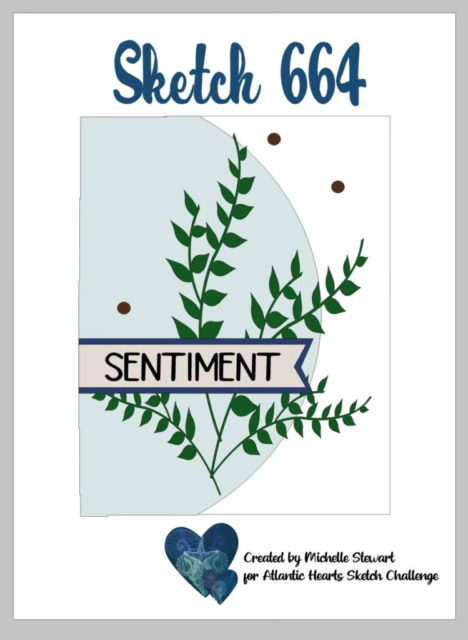
Here’s the challenge sketch:
Measurements:
- The Early Espresso base measures 8-1/2 by 5-1/2 inches, scored at 4-1/4 inches
- After embossing a piece of Fresh Freesia cardstock using the 3D Plaid embossing folder, I trimmed it to 4-1/8 by 5-3/8 inches
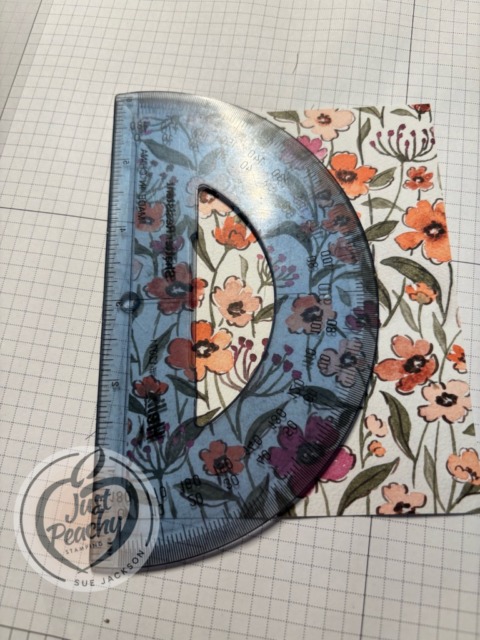
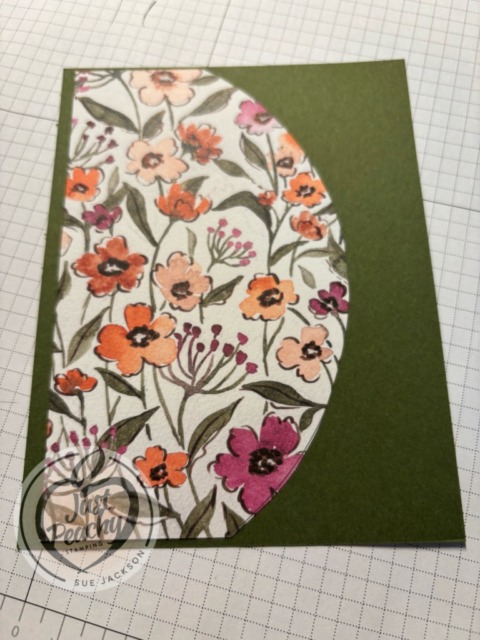
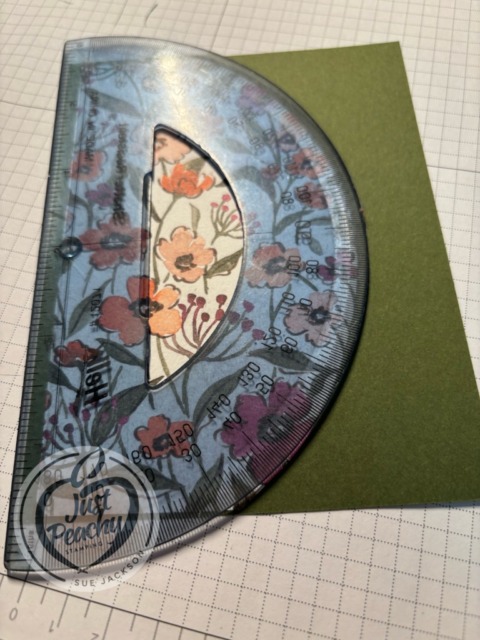
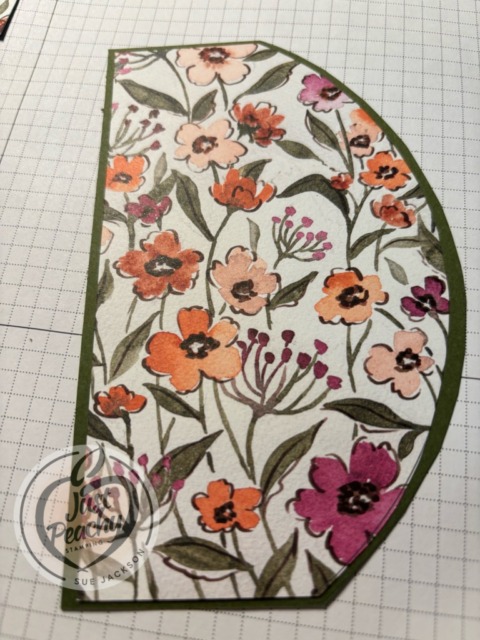
- Next, I used a protractor to trace and fussy cut the circle parts of the Beautiful Gallery 6 x 6 inch DSP (designer series paper) and the Old Olive mat, as shown below (different DSP and cardstock, same process):
What I Did:
- Unless otherwise noted, I used multipurpose liquid glue to adhere pieces together
- I used the Fresh Freesia and Old Olive blends combos to color the flowers and the leaves
- After fussy cutting the two layers, I adhered them as shown
- Then, I adhered the fussy cut layers to the plaid embossed layer, then adhered the layers to the base of the card
- I stamped the birthday sentiment for the front in Mossy Meadow ink and fussy cut that as well
- HINT: After stamping the sentiment, I used the stamp to outline the shape I needed to cut
- After cropping the foliage from Old Olive cardstock using a die from Nature’s Symphony die set, I adhered it to the front of the card
- I used Fresh Freesia ribbon to make a loopy loop, which I adhered with glue dots, then added a glue dot to adhere it to the front of the card
- Next, I added dimensionals to the underside of the birthday sentiment and adhered it over the ribbon
- I stamped the sentiment for the inside using Mossy Meadow ink on Basic Beige cardstock and adhered it to the base
- Finally, I added some Old Olive dots to the front of the card
With that, I’d finished this coordinated card, envelope, and envelope seal set
The Loopy Loop Bow:
I was able to watch Mary Deatherage’s, from Stamps -n- Lingers, Perfectly Pears tutorial. In that video, she showed her loopy-loop bow. That’s what I used for the front of my card. I’m bow-challenged and this technique allows me to relatively easily add ribbon without adding the bulk of a tied bow. If you’ve never seen her videos, you owe it to yourself to watch them. I think she’s the Queen of the Collage. Gorgeous cards!!
Thank you for stopping by today!
Have a Peachy Day!
Sue
Colors Used:
Supplies Used:
It’s Time for Bonus Days!

Here’s a video explaining the BONUS DAYS!
What better way to earn the January Product of the Month? Bonus Days & Product of the Month – Yes, Please!
Versatility is key! With the Fabulous Sayings Stamp Set, you’ll always have the right words on hand—whether you’re creating birthday cards, thank-you notes, or a cheerful hello.

You can purchase the Product of the Month item for only $5 USD | $5 CAD when you spend $75 USD | $100 CAD or more in a single order. I’ve already ordered this item and am looking forward to adding these sentiments to my other sentiment stamp sets.


