
Welcome to the Cardz 4 Guyz #378 challenge! Pamela, our host for this challenge, chose Autumn or Fall for the theme. When you finish here, please visit the challenge site to see what the rest of the talented design team members created. Then, don’t forget to upload your creations to our gallery. We look forward to seeing your creations there!
I live in Central Florida and we don’t really have a fall season. I grew up on Long Island, and I loved everything about fall – cooler, sweater weather, changing colors, the smell of leaves when they are raked – and I miss it all. Well, maybe not raking, but definitely miss the smell.
I do live on a small lake, and the sunsets over the lake are stunning. They will get darker now, and much earlier, but I still love the sunsets. I purchased the Prairie Grass stamp set specifically for this reason – seeing the silhouettes during sunset over the lake. So, that’s how my card relates to my Autumn and Fall.
Here’s my clean & simple fall card for a guy:
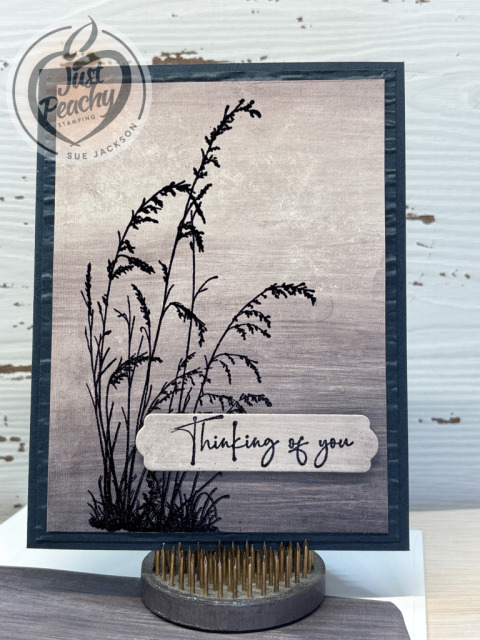
Since this is an all-occasion card, I haven’t stamped a sentiment on the inside yet. When I figure out the purpose of this card, I will go back and stamp it using black ink. In the meantime, the 4 by 5-1/4 piece of Basic Beige is being held in place with removable tape.
Clean & Simple:
- Trim a piece of Secret Sea cardstock to 8-1/2 by 5-1/2 inches, scored at 4-1/4 inches
- Trim another piece of Secret Sea cardstock to 4-1/4 by 5-1/2 inches
- I used a piece of the Beautiful Gallery 6 x 6 inch DSP (designer series paper) trimmed to 4 by 5-1/4 inches
- The sentiment on the outside, which is from The Right Words stamp set, was stamped and cropped from a scrap piece of Basic Beige cardstock
- Trim a piece of Beautiful Gallery DSP to 6 by 2-1/2 inches for the envelope flap
- Then, punch a 1-inch circle from coordinating cardstock and run it through the XYRON create-a-sticker for the envelope seal
- After running the single piece of Secret Sea cardstock through the Cut & Emboss Machine using the Birch Wood 3D embossing folder trim it to 4-1/8 by 5-3/8 inches
- Unless otherwise specified, I used multipurpose liquid glue to adhere pieces together
- After running your embossing buddy over the piece of DSP, stamp the prairie grass image in VersaMark ink
- Cover the image with black embossing powder, flick the back of the DSP to remove excess powder and heat set your image with your heat tool
- Run the embossing buddy over your scrap piece of Basic Beige cardstock, then stamp the sentiment in VersaMark ink
- Flick the back of the cardstock to remove excess powder and heat set with your heat tool
- Make sure you let the sentiment cool so it thoroughly sets before cropping it out using a banner die from the Beautiful Butterflies dies
- Add dimensionals to the back of the sentiment and adhere to the DSP
- Adhere the DSP to the embossed cardstock, then adhere the embossed cardstock to the base of the card
- That’s all there is to creating this coordinated card, envelope, and envelope seal set
Thank you for stopping by today!
Have a Peachy Day!
Sue
Colors Used:
Supplies Used:
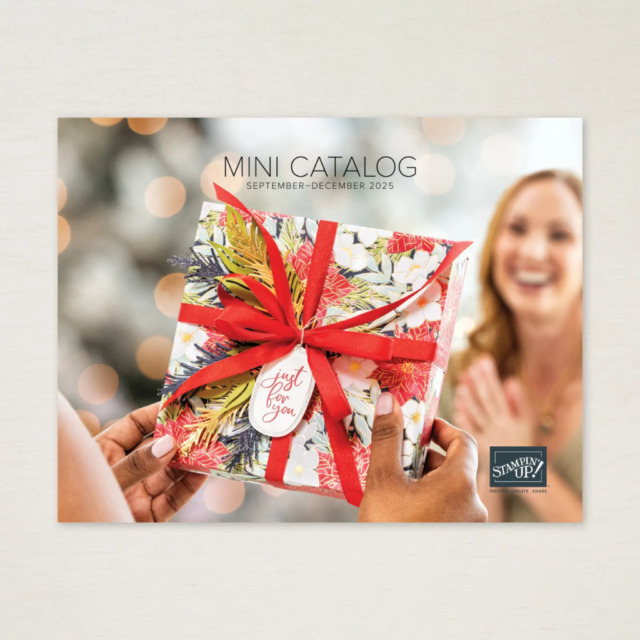
It’s Live!
The September – December 2025 Mini-Catalog is now available!
Of course, this means there are new Online Exclusives as well! Here are some examples:
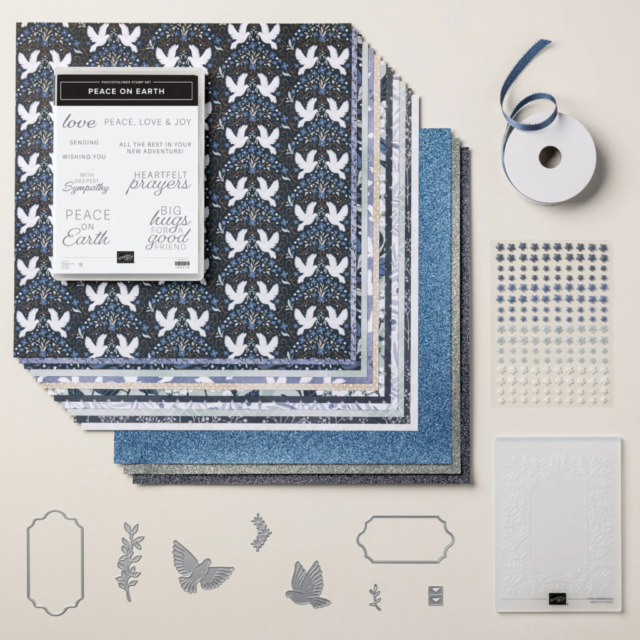
This Peaceful Garden Suite Collection is beautiful, and I love non-traditional colors for Christmas. I thought I would be able to use this suite for all my Christmas cards.
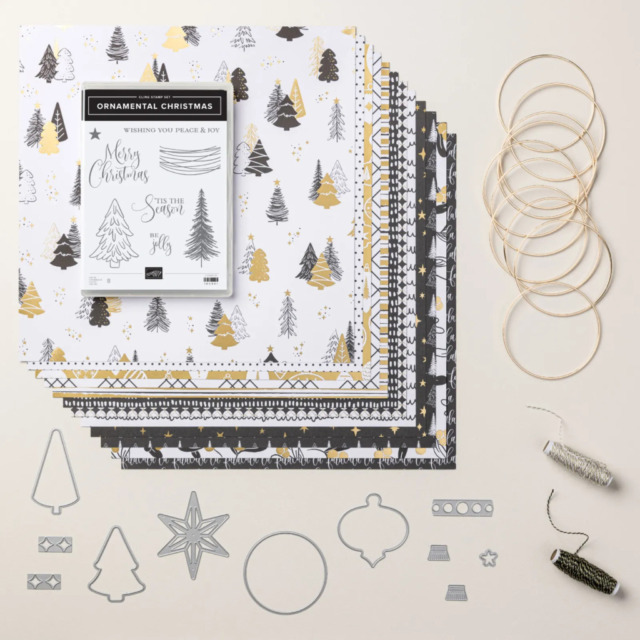
This Modern Christmas Suite Collection is absolutely gorgeous! I told myself that I wouldn’t need anything other than the Peaceful Garden Suite Collection. I was wrong. This suite is already in my cart:
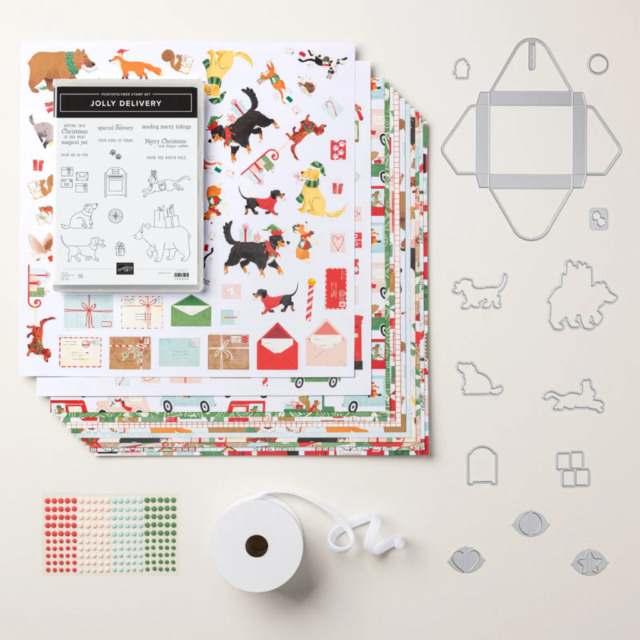
Of course, I had to get a cute Christmas critters set of products. This Jolly Delivery Suite fit the bill perfectly:


I am a fan of this Prairie Grass stamp set…ever card I have seen using it…fantastic!! As always your card offers great inspiration to those who decide to play along with us over at Cardz 4 Guyz!! You rocked our new FALL/AUTUMN challenge with that Prairie Grass stamp set. #C4G378