Welcome to the newest Make My Monday bi-weekly challenge #261. Our host, Dawn, chose Autumn Harvest or Fall for the theme. When you finish here, please visit the challenge site to see what the rest of the very talented design team members created. Then, don’t forget to upload your creations to our gallery. We look forward to seeing your creations there!
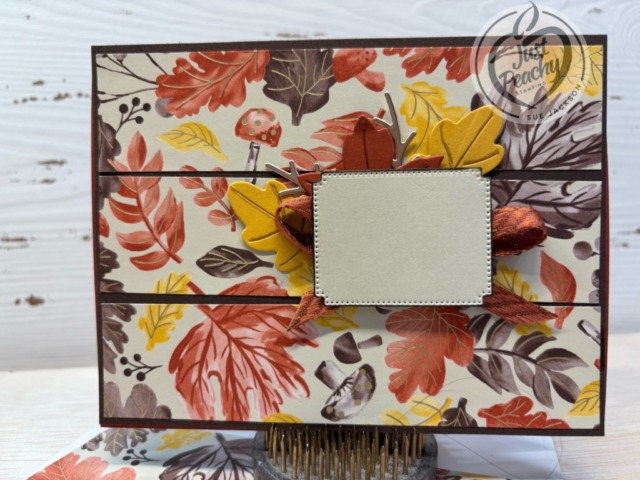
Here’s my card, and an explanation of the blank sentiment block follows.
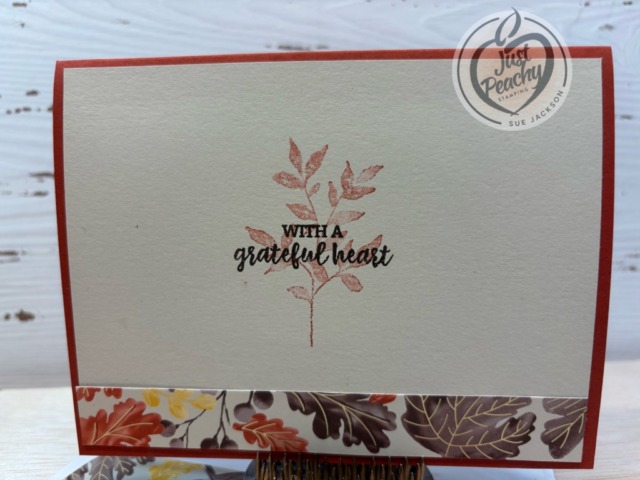
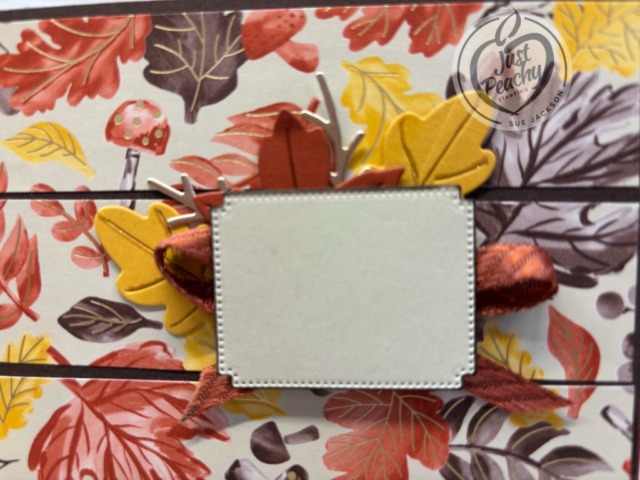
in addition, here’s the inside and a close-up of the leaves and ribbon behind the blank sentiment block:
Here’s my explanation for the blank sentiment block on the front:
I used the online exclusives Gathering Together DSP (designer series paper) and paired it with the retired Autumn Leaves photopolymer stamp set and coordinating dies. The die was made to go with a sentiment that says “Autumn teachers us that change can be beautiful”. I had the stamp on my desk, I fit the stamp into the die to make sure it would fit perfectly. My desk was a mess, as was the desk where I have my Cut & Emboss machine. I cropped the block from Basic Beige cardstock.
When I went to stamp the sentiment, I realized the stamp that was on my desk (!) was missing. Gone. I’ve looked everywhere, pulled everything out that I used and put away all kinds of stuff. Still missing. I’m down to pulling apart everything in my very full wastebasket. This was meant to be a Thanksgiving card, so I have some time to find it. In the meantime, I have a blank sentiment die cut.
Measurements:
- The Cajun Craze base measures 8-1/2 by 5-1/2 inches, scored at 4-1/4 inches to create a tent fold card
- Trim a piece of Early Espresso cardstock to 4-1/8 by 5-3/8 inches
- Next, trim 3 strips of the Gathering Together DSP to 5-1/4 by 1-1/4 inches
- HINT: I trimmed a piece of the DSP to 5-1/4 inches, then trimmed the 1-1/4 inch strips so the patterns flowed together
- Be sure to check twice for the matching pieces before you adhere them to the Early Espresso cardstock
- Trim another piece of the DSP to 6 by 2-1/2 inches for the envelope flap
- I also trimmed a piece of the DSP to 5-1/4 inches by 3/4 inches for the inside of the card
- While I used scrap Basic Beige cardstock for the sentiment block, I trimmed a piece of the cardstock to 5-1/4 by 4 inches for the inside of the card
- Punch 1 1-inch circle from coordinating DSP and run it through the XYRON create-a-sticker for the envelope seal
- HINT: I started doing this during COVID and really like the way the seals finish off the envelope flap, so I am still including them
- I used scraps of Cajun Craze, Crushed Curry, and gold foil for the leaves and branches behind the sentiment and ribbon
- Since there’s gold in the veining on some of the leaves in the DSP, I used a gold Wink of Stella brush to add gold veining on the cropped leaves
What I Did:
Unless otherwise noted, I used multipurpose liquid glue to adhere pieces together
- Adhere the Early Espresso cardstock to the front of the base of the card
- Make sure that your DSP strips are aligned correctly, then adhere to the Early Espresso mat leaving space between the strips
- Crop the leaves and the gold foil branches using the Autumn Leaves dies
- Dry fit your leaves and gold foil branches, then adhere to the center strip of the DSP on the front
- Color both sides of a length of white ribbon using the dark Cajun Craze blend
- HINT: Believe me, you really want to allow the ribbon time to dry before trying to use it on your card; I made that mistake once and learned my lesson
- After letting the ribbon dry, create a loopy-loop bow and adhere it using glue dots
- In a world in which you didn’t misplace the sentiment stamp, stamp it in Early Espresso ink on the scrap of Basic Beige cardstock
- Crop the cardstock and outline it with your Early Espresso marker
- Check on the placement of your sentiment block so it straddles the leaves and ribbon
- Add a double layer of mini-dimensionals to the back of the sentiment block to adhere it to the front of the card
- Using the leave spray from the Textured Notes stamp set, add Cajun Craze ink to the stamp and stamp it off twice before stamping on the Basic Beige cardstock for the inside
- Stamp the sentiment over the leaves using Early Espresso ink
- Adhere the strip of DSP for the inside of the card to the bottom of the Basic Beige cardstock
- Adhere the Basic Beige cardstock to the inside of your card
- With that, I’d (almost) completed this coordinated card, envelope, and envelope seal set
The Loopy-loop Bow:
I was able to watch Mary Deatherage’s, from Stamps -n- Lingers, Perfectly Pears tutorial. In that video, she showed her loopy-loop bow. That’s what I used for the front of my card. I’m bow-challenged and this technique allows me to relatively easily add ribbon without adding the bulk of a tied bow. If you’ve never seen her videos, you owe it to yourself to watch them. I think she’s the Queen of the Collage. Gorgeous cards!!
Thank you for stopping by today!
Have a Peachy Day!
Sue
Colors Used:
Current Supplies Used:
It’s Live!
The September – December 2025 Mini-Catalog is now available!
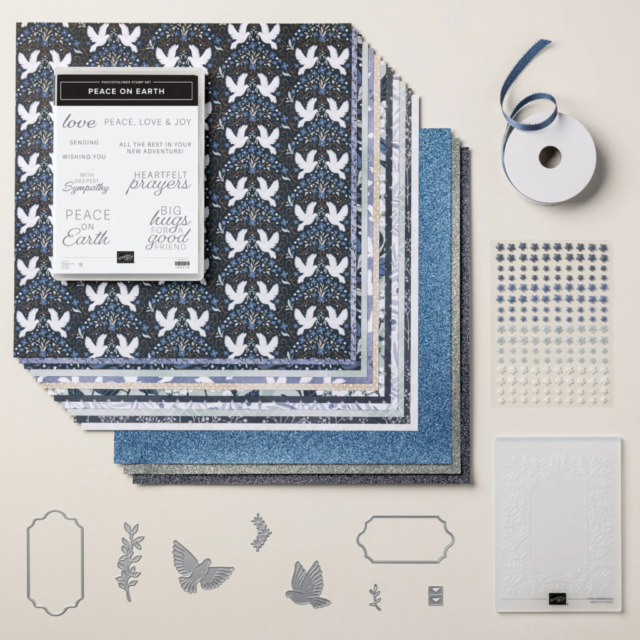
Of course, this means there are new Online Exclusives as well! Here are some examples:
This Peaceful Garden Suite Collection is beautiful, and I love non-traditional colors for Christmas. I thought I would be able to use this suite for all my Christmas cards.
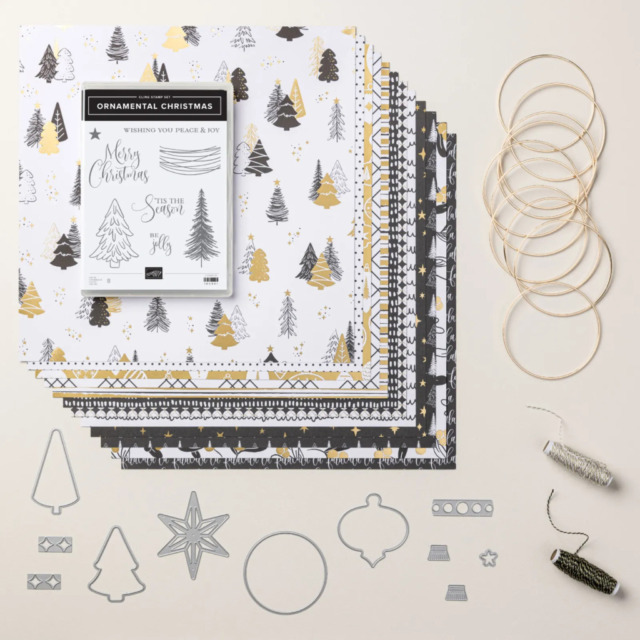
This Modern Christmas Suite Collection is absolutely gorgeous! I told myself that I wouldn’t need anything other than the Peaceful Garden Suite Collection. I was wrong. This suite is already in my cart:
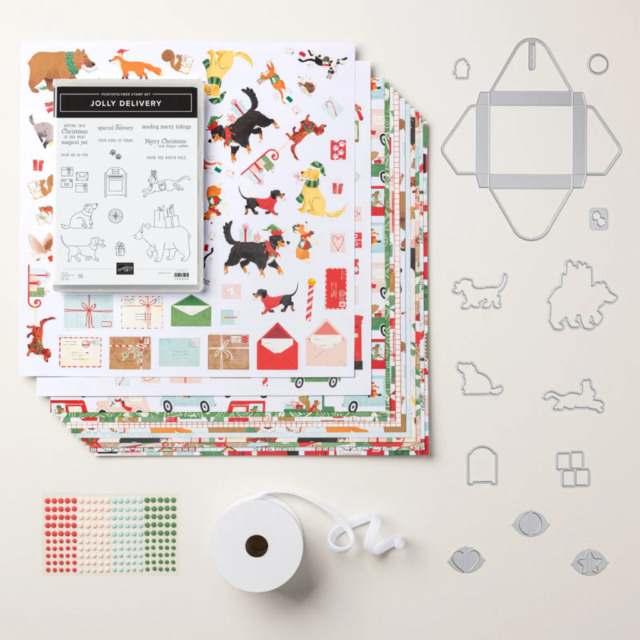
Of course, I had to get a cute Christmas critters set of products. This Jolly Delivery Suite fit the bill perfectly: