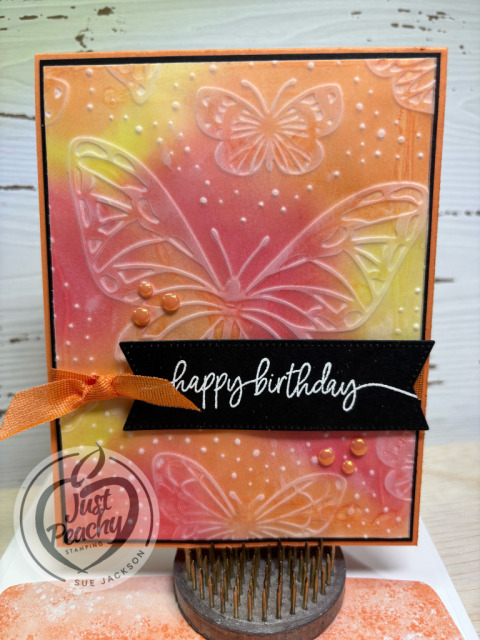
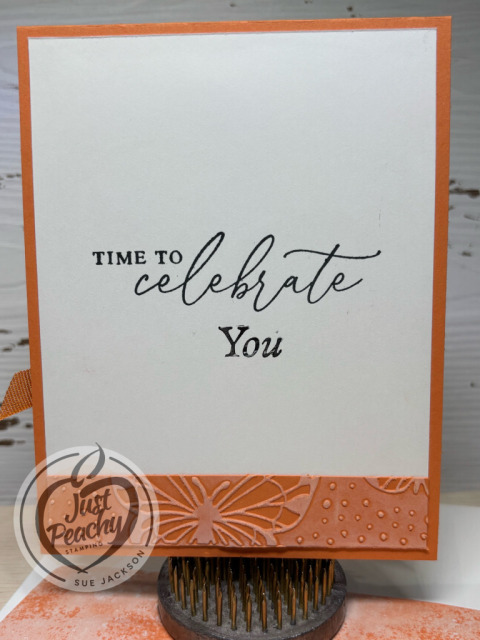
Welcome to my one card, two challenges post. As always, the theme for The Creative Crafters challenge # __ is always Anything Goes. This month, for me, anything goes means two birthday cards combining the 2025-2027 In Colors, vellum, and embossing folders. I had so much fun creating the butterfly embossed card, I wanted to make another one using the sunflower embossing fold.
Here are my cards:
Measurements:
- I used a tent fold, and that base measures 11 by 4-1/4 inches, scored at 5-1/2 inches
- For the second card, I used a base measuring 8-1/2 by 5-1/2 inches, scored at 4-1/4 inches
- The black cardstock mats measure 4-1/8 by 5-3/8 inches
- I cropped the sentiment banners from each piece of the mat cardstock using the Stylish Shapes die set
- Each card has a piece of white cardstock for the inside, each of which measure 4 by 5-1/4 inches
- I started with 2 pieces of vellum measuring 5-1/2 by 4-1/4 inches, one for each card
- I trimmed coordinating in Color DSP to 6 by 2-1/2 inches for each envelope flap
- Then, I punched a 1-inch circle of DSP for each envelope seal and ran them through my XYRON create-a-sticker machine
What I Did:
- Unless otherwise specified, I used multipurpose liquid glue to adhere pieces together
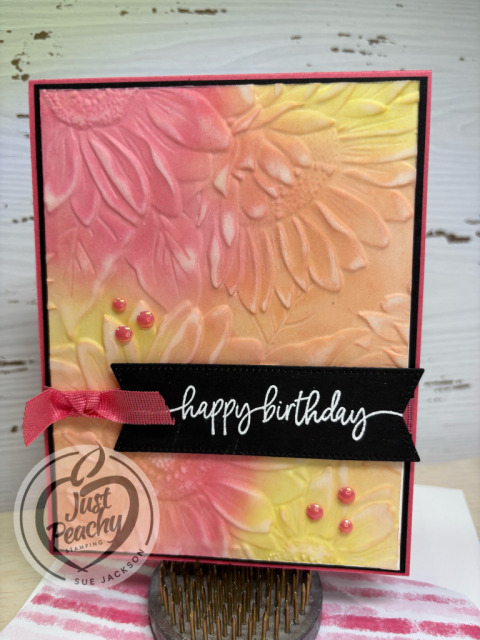
- I used blending brushes and the Strawberry Slush, Timid Tiger, and Darling Duckling inks to color the vellum
- After blending colors on the back of the vellum, I adhered the vellum to the white cardstock by lightly covering the entire back of the vellum with multipurpose liquid glue
- Then, I embossed each piece with a 3D embossing folder
- Trim each piece of vellum/white cardstock to 5-1/4 by 4 inches
- Lightly swipe the white craft ink pad over the embossed images to create highlights
- Wrap a piece of ribbon around the 3 layers for the front and tie it in a square knot.
- After wiping down your sentiment banners using an embossing buddy, stamp your sentiment using VersaMark ink
- Cover the ink with white embossing powder and set it with your heat tool
- Add dimensionals to the back of the sentiment banners and adhere to the front of the card
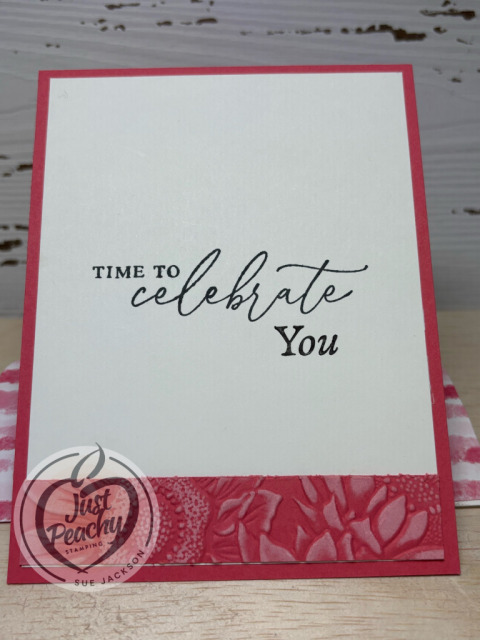
- Stamp your inside sentiments on the piece of white cardstock
- Emboss a piece of cardstock to match your card base using the embossing folders
- After lightly swiping white craft ink over the embossed cardstock, trim it to 4 by 1 inch and adhere it to the inside white cardstock
- Adhere the inside white cardstock to the card
- With that, I’d finished these coordinated cards, envelopes, and envelope seals
Thank you for stopping by today!
Have a Peachy Day!
Sue
Colors Used:
Supplies Used:
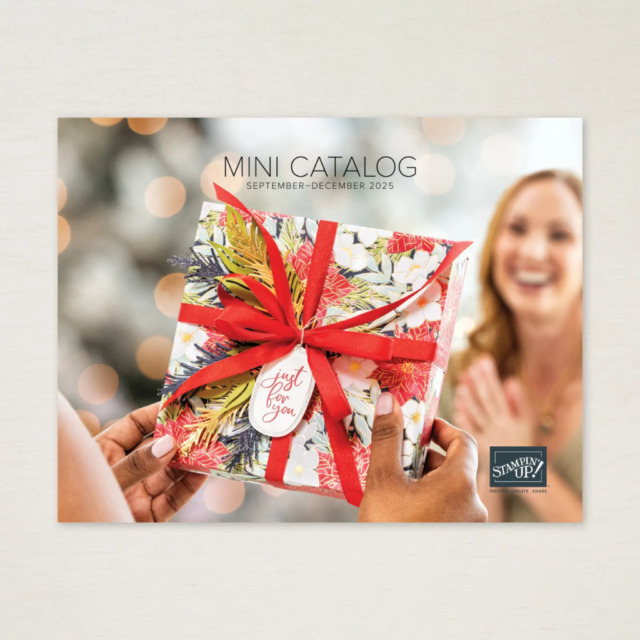
It’s Live!
The September – December 2025 Mini-Catalog is now available!
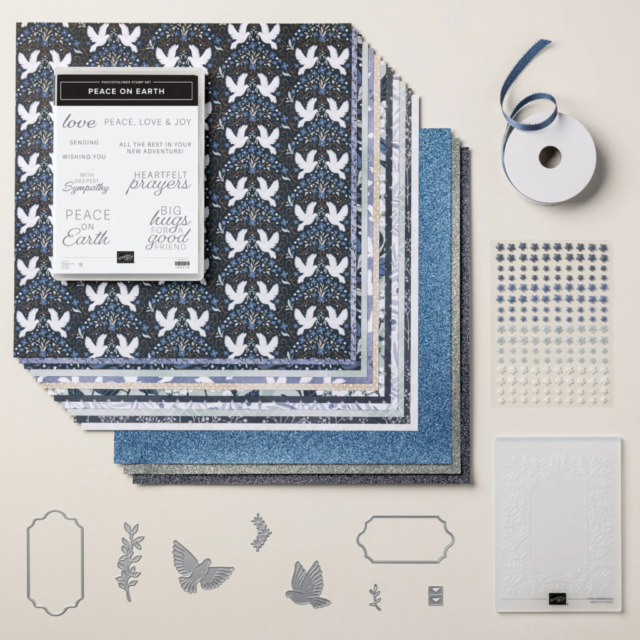
Of course, this means there are new Online Exclusives as well! Here are some examples:
This Peaceful Garden Suite Collection is beautiful, and I love non-traditional colors for Christmas. I thought I would be able to use this suite for all my Christmas cards.
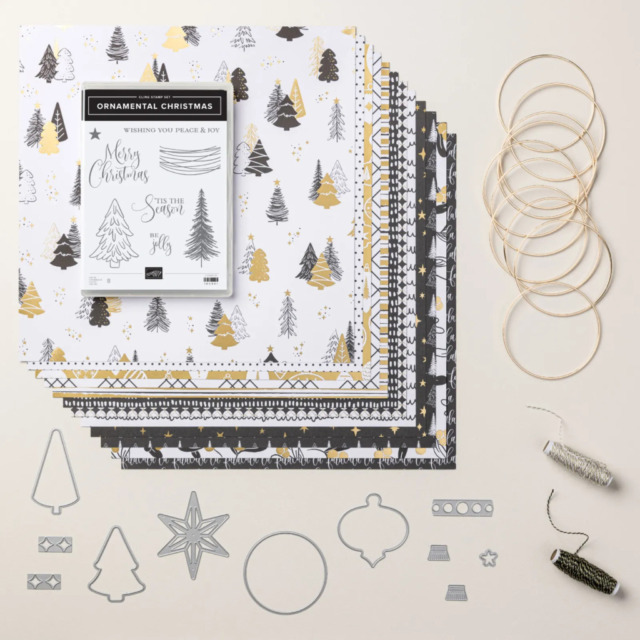
This Modern Christmas Suite Collection is absolutely gorgeous! I told myself that I wouldn’t need anything other than the Peaceful Garden Suite Collection. I was wrong. This suite is already in my cart:
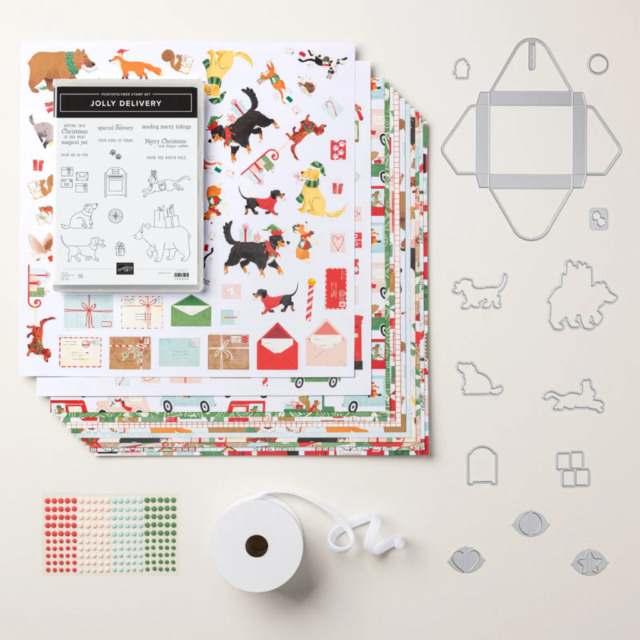
Of course, I had to get a cute Christmas critters set of products. This Jolly Delivery Suite fit the bill perfectly: