Welcome to the newest Make My Monday bi-weekly challenge #259. Our host, Tee, chose Fun with Stencils for the theme. When you finish here, please visit the challenge site to see what the rest of the very talented design team members created. Then, don’t forget to upload your creations to our gallery. We look forward to seeing your creations there!
Here’s my card:
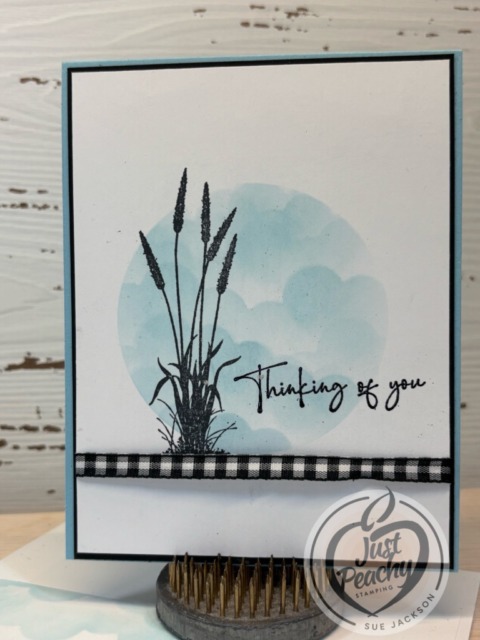
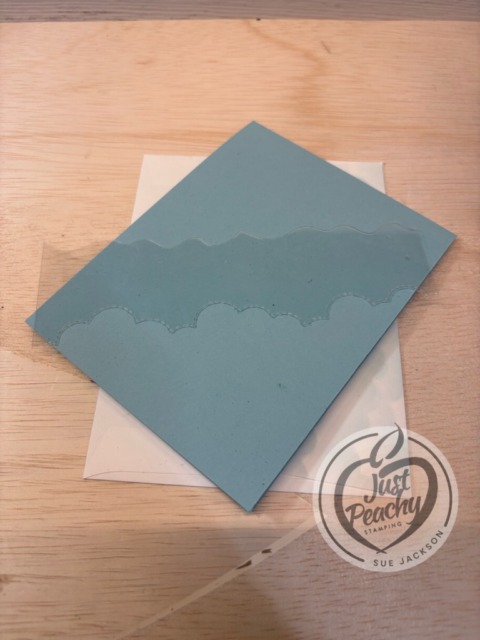
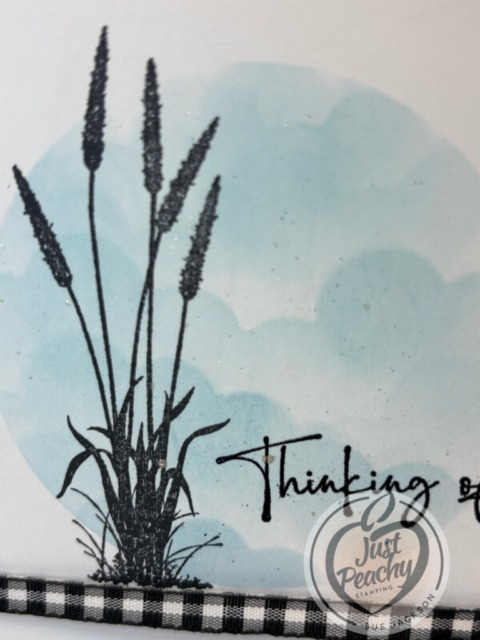
I used a circular stencil to mask off the front, inside corner, and the front of the envelope. I created the Balmy Blue clouds using a stencil I created using a piece of acrylic from the Basic Border die set. After I created the clouds and stamped the prairie grass along with the sentiment, I put the circle stencil back on the front of the card. I flicked some clear Wink of Stella on the clouds. The close-up of the front hopefully shows at least some of the Wink of Stella.
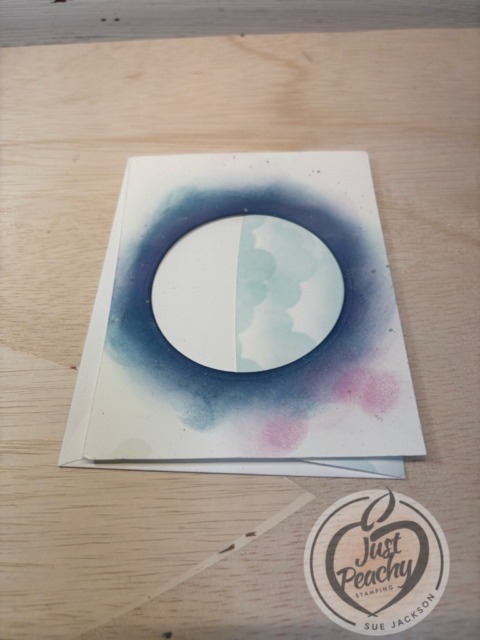
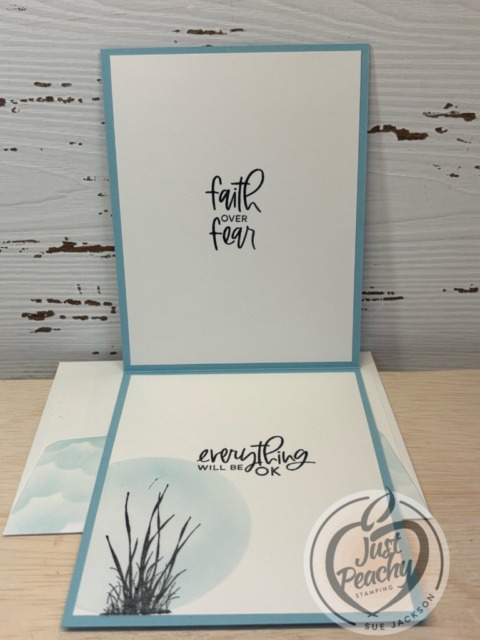
A dear friend will be getting this card after a number of my friends/colleagues sign the card, which explains the two pieces of white cardstock on the inside.
Measurements:
- Trim a piece of Balmy Blue cardstock to 4-1/4 by 11 inches, scored at 5-1/2 inches to create a tent card
- Trim a piece of white cardstock to 4-1/8 by 5-3/8 inches for the front of the card
- You need two pieces of white cardstock for the inside measuring 4 by 5-1/4 inches
- I used a piece of the retired black and white gingham ribbon for the front, which helps anchor the prairie grass
What I Did:
- I placed the circular mask on the front piece of white cardstock
- Next, I used Balmy Blue ink and a blending brush with the clouds stencil, starting from the bottom of the circle and working my way up
- I stamped the prairie grass in Momento Tuxedo Black ink on the side of the cloud-filled circle
- After using my embossing buddy on the circle, I stamped the outside sentiment using VersaMark
- Add WOW! black embossing powder to the sentiment and heat set with your heat tool
- Add the circle mask back to the front of the card and flick clear Wink of Stella onto the front
- Using a blending brush, Balmy Blue ink, and the circular mask, add color to the bottom left corner of the inside piece of cardstock and on the same place on the front of the envelope
- Use the blending brush, Balmy Blue ink, and the cloud stencil to color the envelope flap
- Stamp the prairie grass using black ink
- Use two pieces of tear-n-tape to adhere the ribbon to the back of the front piece of white cardstock
- I only used multipurpose liquid glue to adhere the paper pieces
- Finally, I punched a 1-inch circle from a piece of Balmy Blue 6 x 6 inch DSP (designer series paper) and ran it through my XYRON create-a-sticker
- With that, I’d finished this coordinated card, envelope, and envelope seal set
Thank you for stopping by today!
Have a Peachy Day!
Sue
Colors Used:
Supplies Used:
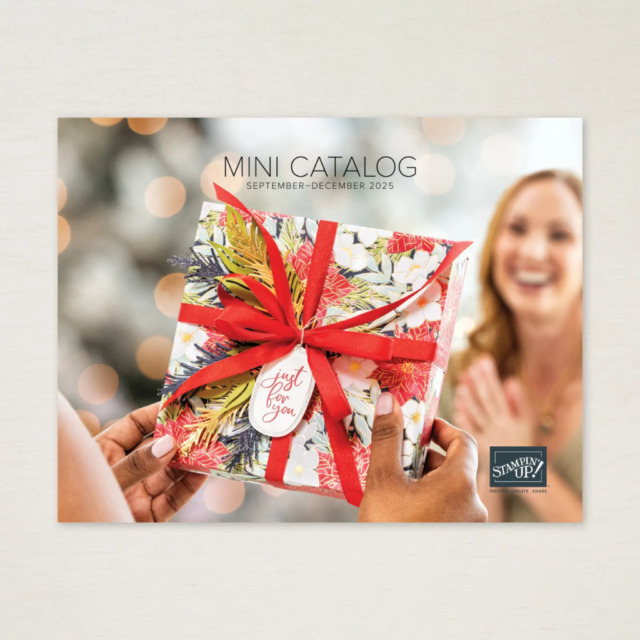
It’s Live!
The September – December 2025 Mini-Catalog is now available!
As a demonstrator, I was able to pre-order some of these items. Take a look at the products I’ve already purchased:
The first suite I purchased is this Peaceful Garden Suite Collection! You can see some cards using this suite here and here.
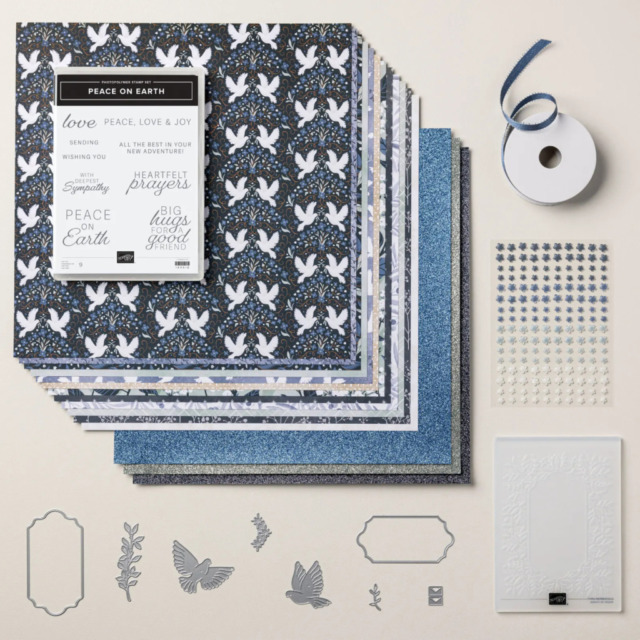
This DSP is stunning!
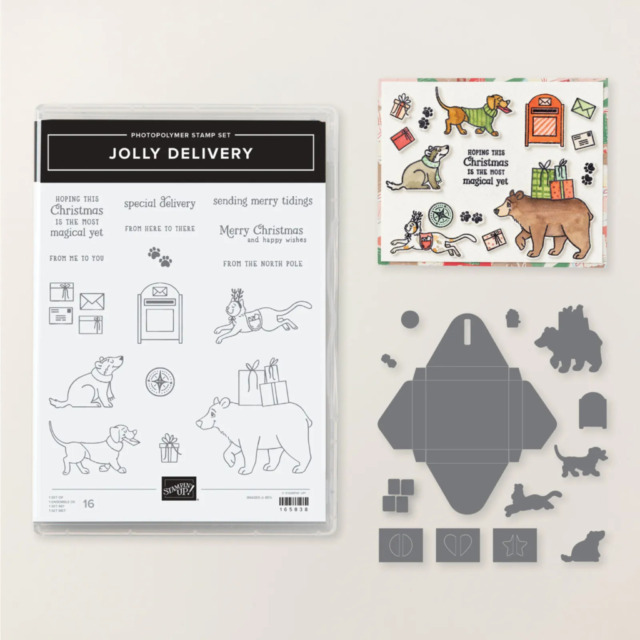
If you like Christmas Critters, this Jolly Delivery Bundle is for you!
Don’t forget the matching 12 x 12 inch DSP: