
Welcome to the August, 2025 edition of the Sparkles Christmas Challenge! Our host for this month’s challenge, Debbie, chose Add a Tree for the theme. When you get finished here, I hope you will visit the challenge site to view the creations from the very talented members of our design team. After you’ve created your own themed card, please don’t forget to upload it to our gallery.
I want to thank everyone who played along with my July theme. It was so difficult to choose just three winners and one special mention.
Once I started making a card for this month’s challenge, I couldn’t stop. I wound up with one card for the challenge blog today, and three others using different colors and front sentiment.
First, here’s the original card:


Here are the next three cards:


What I Did:
- The bases all measure 8-1/2 by 5-1/2 inches, scored at 4-1/4 inches
- For the envelope flaps, I trimmed DSP to 6 by 2-1/2 inches
- Then I punched 1-inch circles from coordinating DSP for each envelope and ran them through the XYRON create-a-sticker for the envelope seal
- After I ran the white cardstock through my Cut & Emboss using the Painted Trees 3D embossing folder (retired), I trimmed each to 4-1/8 by 5-3/8 inches
- Then, I used the clear Wink of Stella brush and “painted” the raised part of the embossed trees
- I used the retired Countryside Corners die set to crop the center from each of the embossed white cardstock, but using the Textured Notes dies or the arches dies would also work
- Using a larger Countryside Corners die, I cropped the cardstock for the mat of the cropped white cardstock
- I stamped each sentiment using the ink color to match the cardstock, and the three are cropped from Stylish Shapes banner die
- I cropped the cropped Peace on Earth sentiment using a nested essential die
- Each sentiment die was outlined with the coordinating Stampin’ Write markers
- The sentiments for the three additional cards comes from the retired Whimsical Trees stamp set
- The Christmas trees on the inside were from a retired Christmas set as well which I’ve purged so, sadly, I don’t know the name of the set
- I adhered the loopy-loop bows, from Mary Deatherage, using glue dots
- i used dimensionals to adhere the sentiments
- Finally, I added the enamel dots
- With that, I’d finished these 4 coordinated card, envelope, and envelope seal sets
HINT: When I am working on mass producing cards, I do each element of the cards together. For example, trim all the bases, emboss all the white cardstock, use the Wink of Stella on all the embossed trees, etc. Therefore, when it’s time to put each together, I just grab pieces and finish off the cards.
The Loopy Loop Bow:
I was able to watch Mary Deatherage’s, from Stamps -n- Lingers, Perfectly Pears tutorial. In that video, she showed her loopy-loop bow. That’s what I used for the front of my card. I’m bow-challenged and this technique allows me to relatively easily add ribbon without adding the bulk of a tied bow. If you’ve never seen her videos, you owe it to yourself to watch them. I think she’s the Queen of the Collage. Gorgeous cards!!
Thanks for stopping by today!
Have a Peachy Day!
Sue
Colors Used:
Current Supplies Used:

Halloween in July? My daughter certainly thinks so!
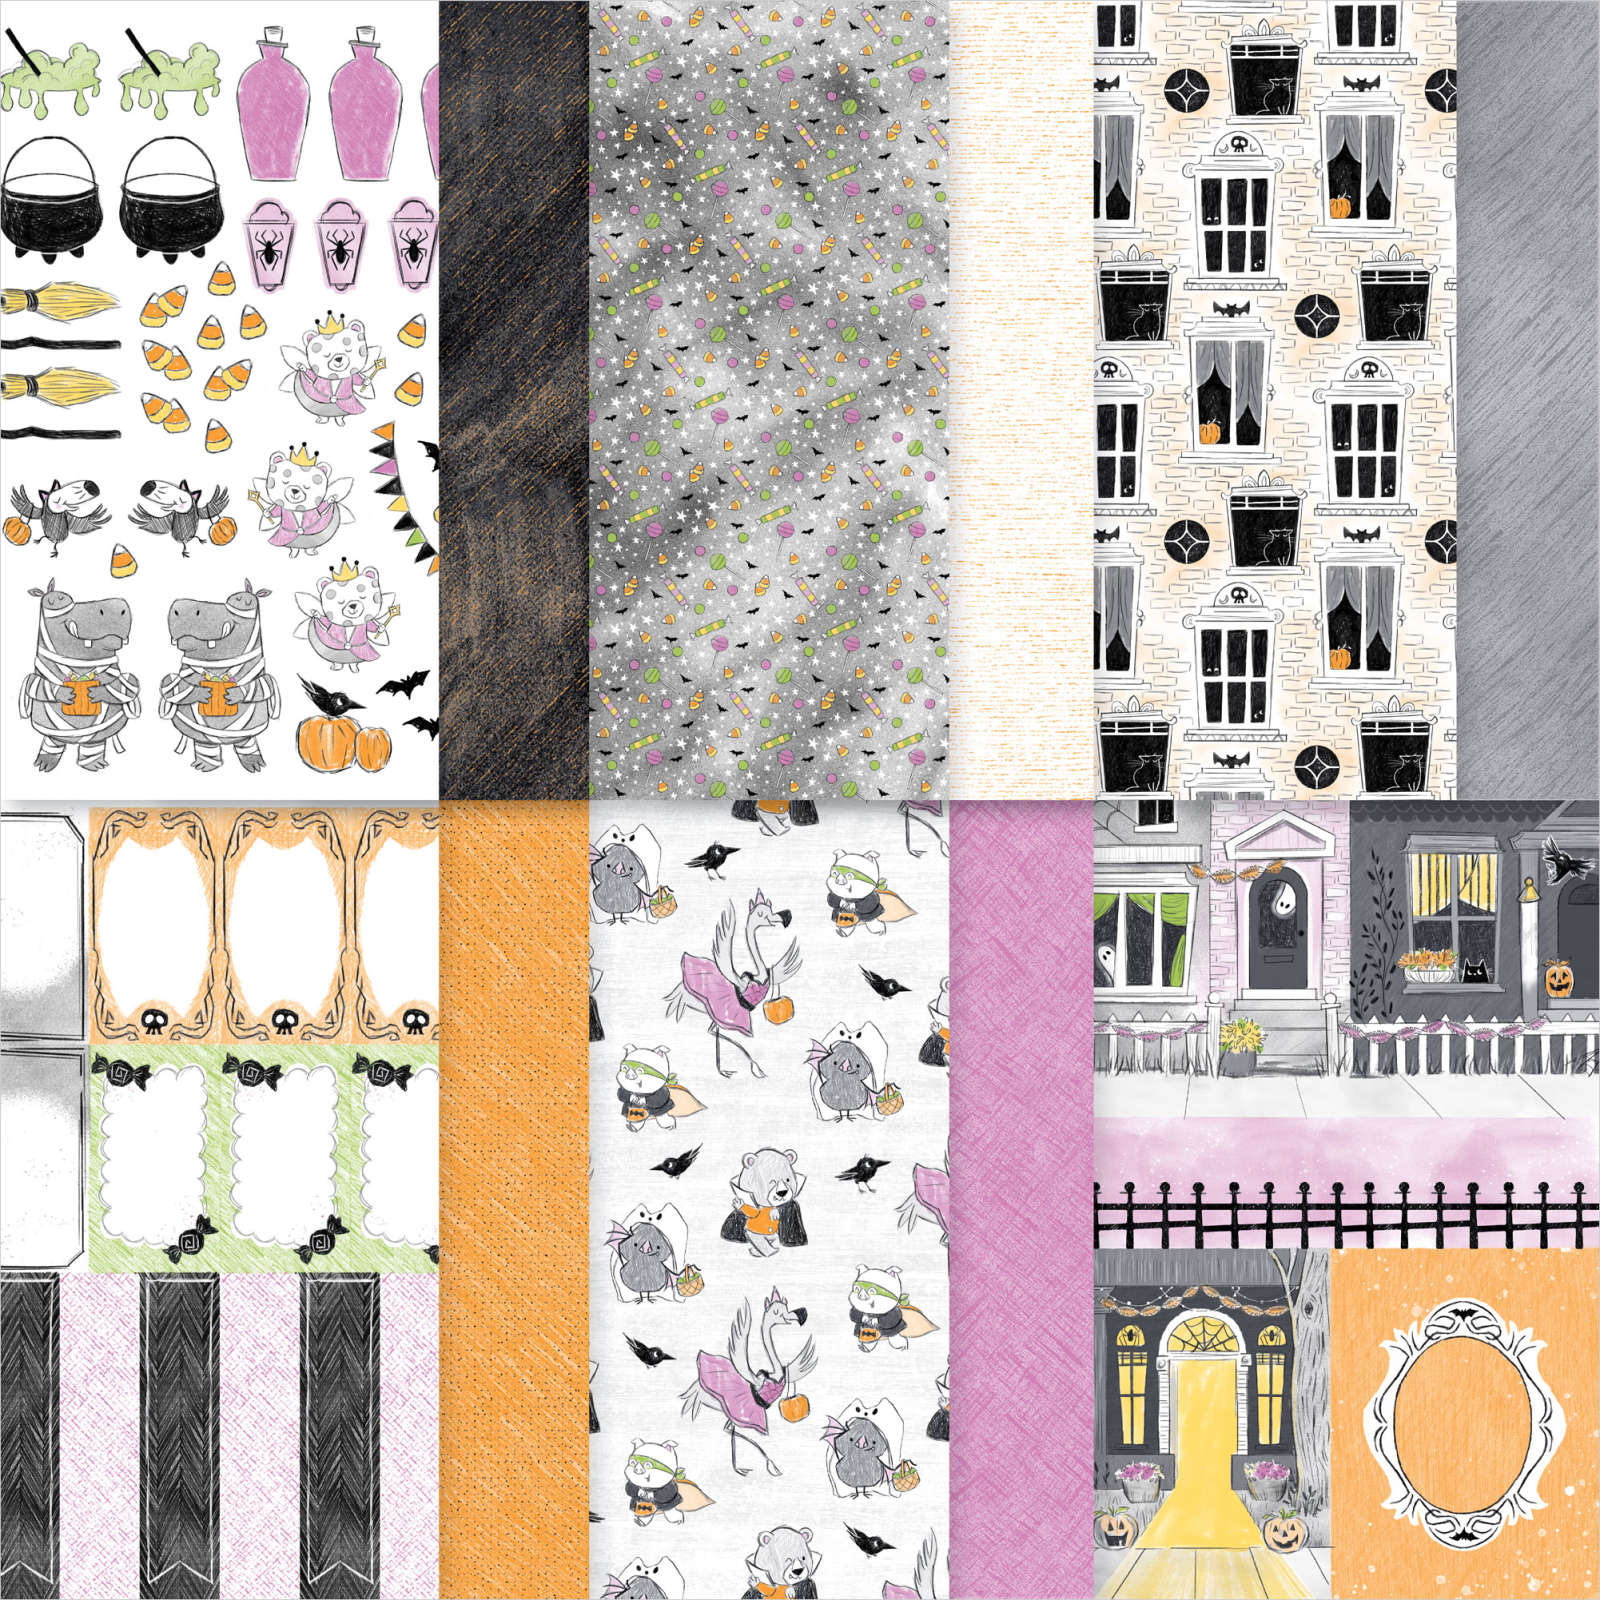
I normally do not need very much in the way of Halloween sets, but I just can’t help myself! I’ve already purchased this Spooky Sweet DSP pack, which includes patterned paper, precut images, and cut-apart scenes and elements. It’s perfect for creating tags and gift packaging for Halloween goodies, accents for scrapbooks, or other spooky-cute paper crafts.
Take a look at all this cuteness! The first page has all the precut images. So cute!
I could’ve stopped there, and would’ve had more than I needed for Halloween. However, I didn’t stop there. I got this Fright Night bundle as well.


