
Welcome to the weekly Atlantic Hearts Sketch Challenge! Challenge #640 is for Team B, which is my team. I love getting kickstarted with a sketch, then just letting the card come together. Sometimes, I know exactly what I want to do. Other times, like for this week’s challenge, the card evolves. Everyone on Team A and Team B would all love for you to play along with the sketches and then post your creations to the challenge gallery. Don’t forget to come back tomorrow to see the creations of the design team. We hope our projects inspire you to play along with us.
Here’s my butterflies and belated birthday card:


Here’s the sketch from AHSC #640:

Measurements:
- The Petunia Pop base measures 5-1/2 by 8-1/2 inches, scored at 4-1/4 inches
- Trim a piece of black cardstock to 41/8 by 5-3/8 inches
- After dry embossing a piece of white cardstock with the Beautiful Butterflies 3D embossing folder, trim it to 4 by 5-1/4 inches
- Trim another piece of white cardstock to 4 by 5-1/4 inches for the inside of the card
- The Petunia Pop and Summer Splash DSP (designer series paper) each measure 4-3/4 by 2 inches
- Trim a piece of DSP to 6 by 2-1/2 inches for the envelope flap
- Punch a 1-inch circle for the envelope seal and run it through your XYRON create-a-sticker
- You will need a piece of scrap paper for the sentiment panel on the front
Putting the Card Together:
- Unless otherwise noted, I used multipurpose liquid glue to adhere elements together.
- Stamp the outside sentiment from Coneflower Celebrations using Momento Tuxedo Black ink
- The inside sentiment is also from the Coneflower Celebrations stamp set and is stamped in black ink
- Wipe down some DSP using the embossing buddy from the embossing additions tool set
- This is a very important step since it removes oils and dust from the DSP or cardstock
- Stamp the butterflies on the wiped down DSP using VersaMark ink, then cover in black embossing powder and heat set with your heat tool
- Crop the butterflies using the die from Beautiful Butterflies die set
- Crop the outside sentiment using a die from the Textured Notes set
- Adhere the front layers and the inside layer to the base of the card
- Use a length of Petunia Pop ribbon to create a loopy loop (see below)
- Add dimensionals to the back of the sentiment panel and the butterflies on the front of the card and adhere
- I also adhered an embossed butterfly to the bottom of the inside panel
- Finally, I added three Petunia Pop enamel dots to the front of the card
- With that, I’d finished this coordinated card, envelope, and envelope seal set
The Loopy Loop Bow:
I was able to watch Mary Deatherage’s, from Stamps -n- Lingers, Perfectly Pears tutorial. In that video, she showed her loopy-loop bow. That’s what I used for the front of my card. I’m bow-challenged and this was a pretty easy way to add ribbon without adding the bulk of a tied bow. If you’ve never seen her videos, you owe it to yourself to watch them. I think she’s the Queen of the Collage. Gorgeous cards!!
Colors Used:
Supplies Used:
Halloween in July? My daughter certainly thinks so!
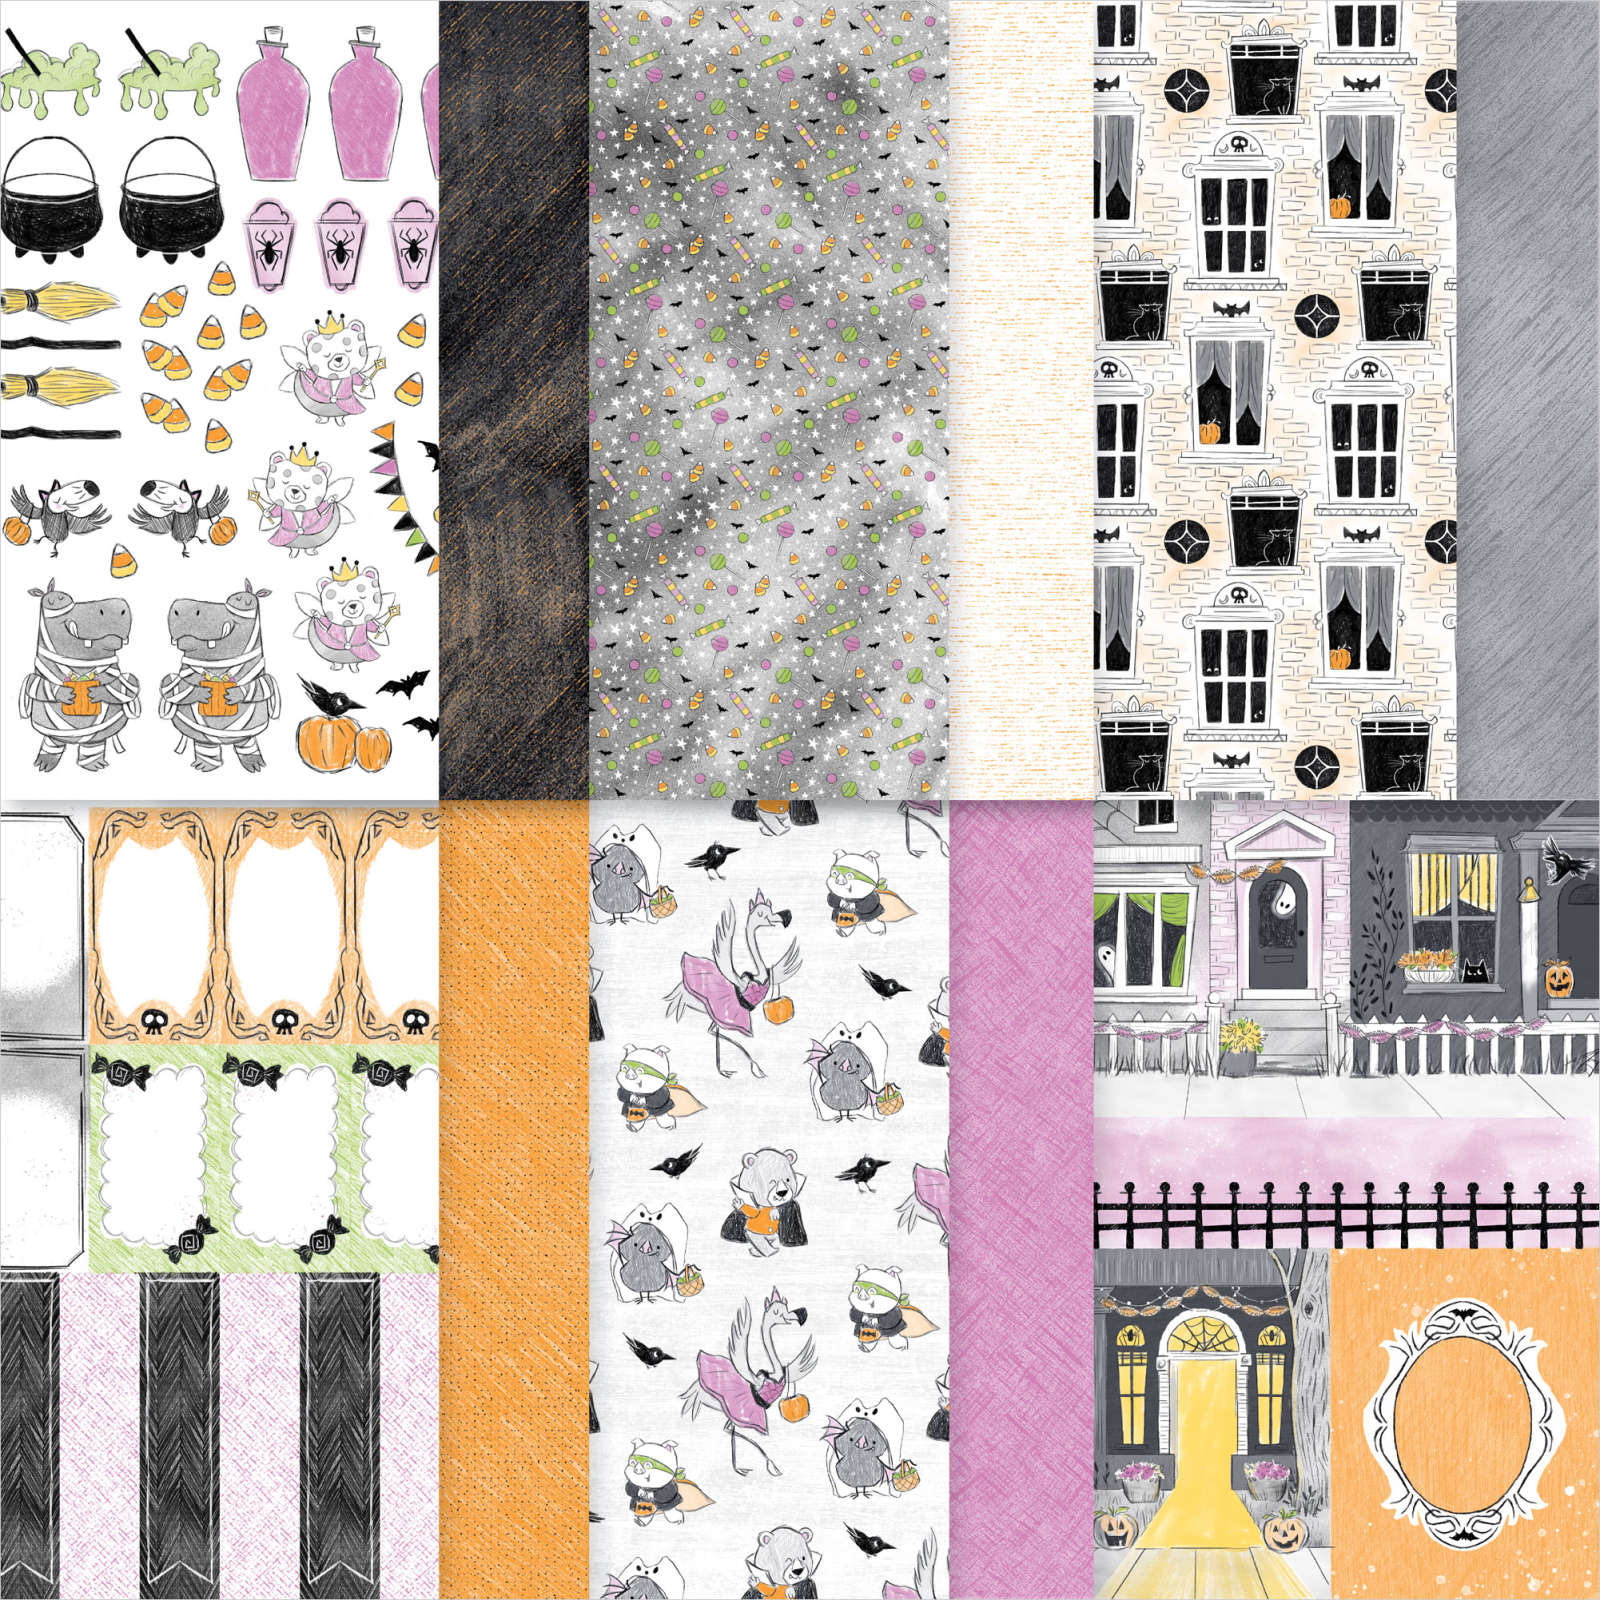
I normally do not need very much in the way of Halloween sets, but I just can’t help myself! I’ve already purchased this Spooky Sweet DSP pack, which includes patterned paper, precut images, and cut-apart scenes and elements. It’s perfect for creating tags and gift packaging for Halloween goodies, accents for scrapbooks, or other spooky-cute paper crafts.
Take a look at all this cuteness! The first page has all the precut images. So cute!
I could’ve stopped there, and would’ve had more than I needed for Halloween. However, I didn’t stop there. I got this Fright Night bundle as well.


