
Welcome to the newest Make My Monday bi-weekly challenge #257. Our host for #257, Pamela, chose Masculine Cards for the theme. When you finish here, please visit the challenge site to see what the rest of the very talented design team members created. Then, don’t forget to upload your creations to our gallery. We look forward to seeing your creations there!
Here’s my masculine card:


This woodgrain DSP (designer series paper) from Country Woods and the camping DSP from Weekend Adventures just seemed to work together for this card. I’ve seen a. number of cards using torn DSP and thought I could use that to create a CAS (clean and simple) card for this challenge.
I’ve already posted a card using the Weekend Adventures DSP and you can see that one here.
Measurements:
- The Early Espresso base measures 8-1/2 by 5-1/2 inches, scored at 4-1/4 inches
- Next, I trimmed a piece of the Country Woods DSP to 4-1/8 by 5-3/8 inches
- The Weekend Adventures DSP measures 4-1/8 by 2 inches
- Carefully tear the Country Woods DSP, making sure that the open space in the tear will cover the background DSP
- Trim another piece of the Country Woods DSP to 6 by 2-1/2 inches for the envelope flap
- Punch a 1-inch circle from the woodgrain Country Woods DSP for the envelope seal and run it through the XYRON create-a-sticker
- Trim a piece of white cardstock to 4 by 5-1/4 inches for the inside of the card
- Use a scrap piece of white cardstock for the outside sentiment
Putting the Card Together:
- Unless otherwise noted, I used multipurpose glue to adhere pieces together
- Adhere the torn Country Woods DSP to the Weekend Adventures DSP making sure that the combined pieces measure 4-1/8 by 5-3/8 inches
- Stamp the outside sentiment on the scrap of white cardstock using the Sweetly Scripted stamp set
- Stamp the inside sentiment and the cross-hatch lines in Early Espresso ink using the Spring Corners stamp set
- To coordinate the inside with the outside, I decided to stamp the cross-hatch lines on the front as well
- Crop the sentiment using the banner from the Stylish Shapes die and outline it with a Pumpkin Pie marker
- Wrap twine around the front DSP pieces three times, securing the ends using glue dots behind the front piece
- Add dimensionals to the sentiment banner so they straddle the twine and adhere to the front of the card
- Adhere the DSP panel to the front of the cardstock base
- Adhere the inside white cardstock to the base
- With that, I’d finished this CAS masculine card and coordinated envelope and envelope seal
Thanks for stopping by today!
Have a Peachy Day!
Sue
Colors Used:
Supplies Used:
Halloween in July? My daughter certainly thinks so!
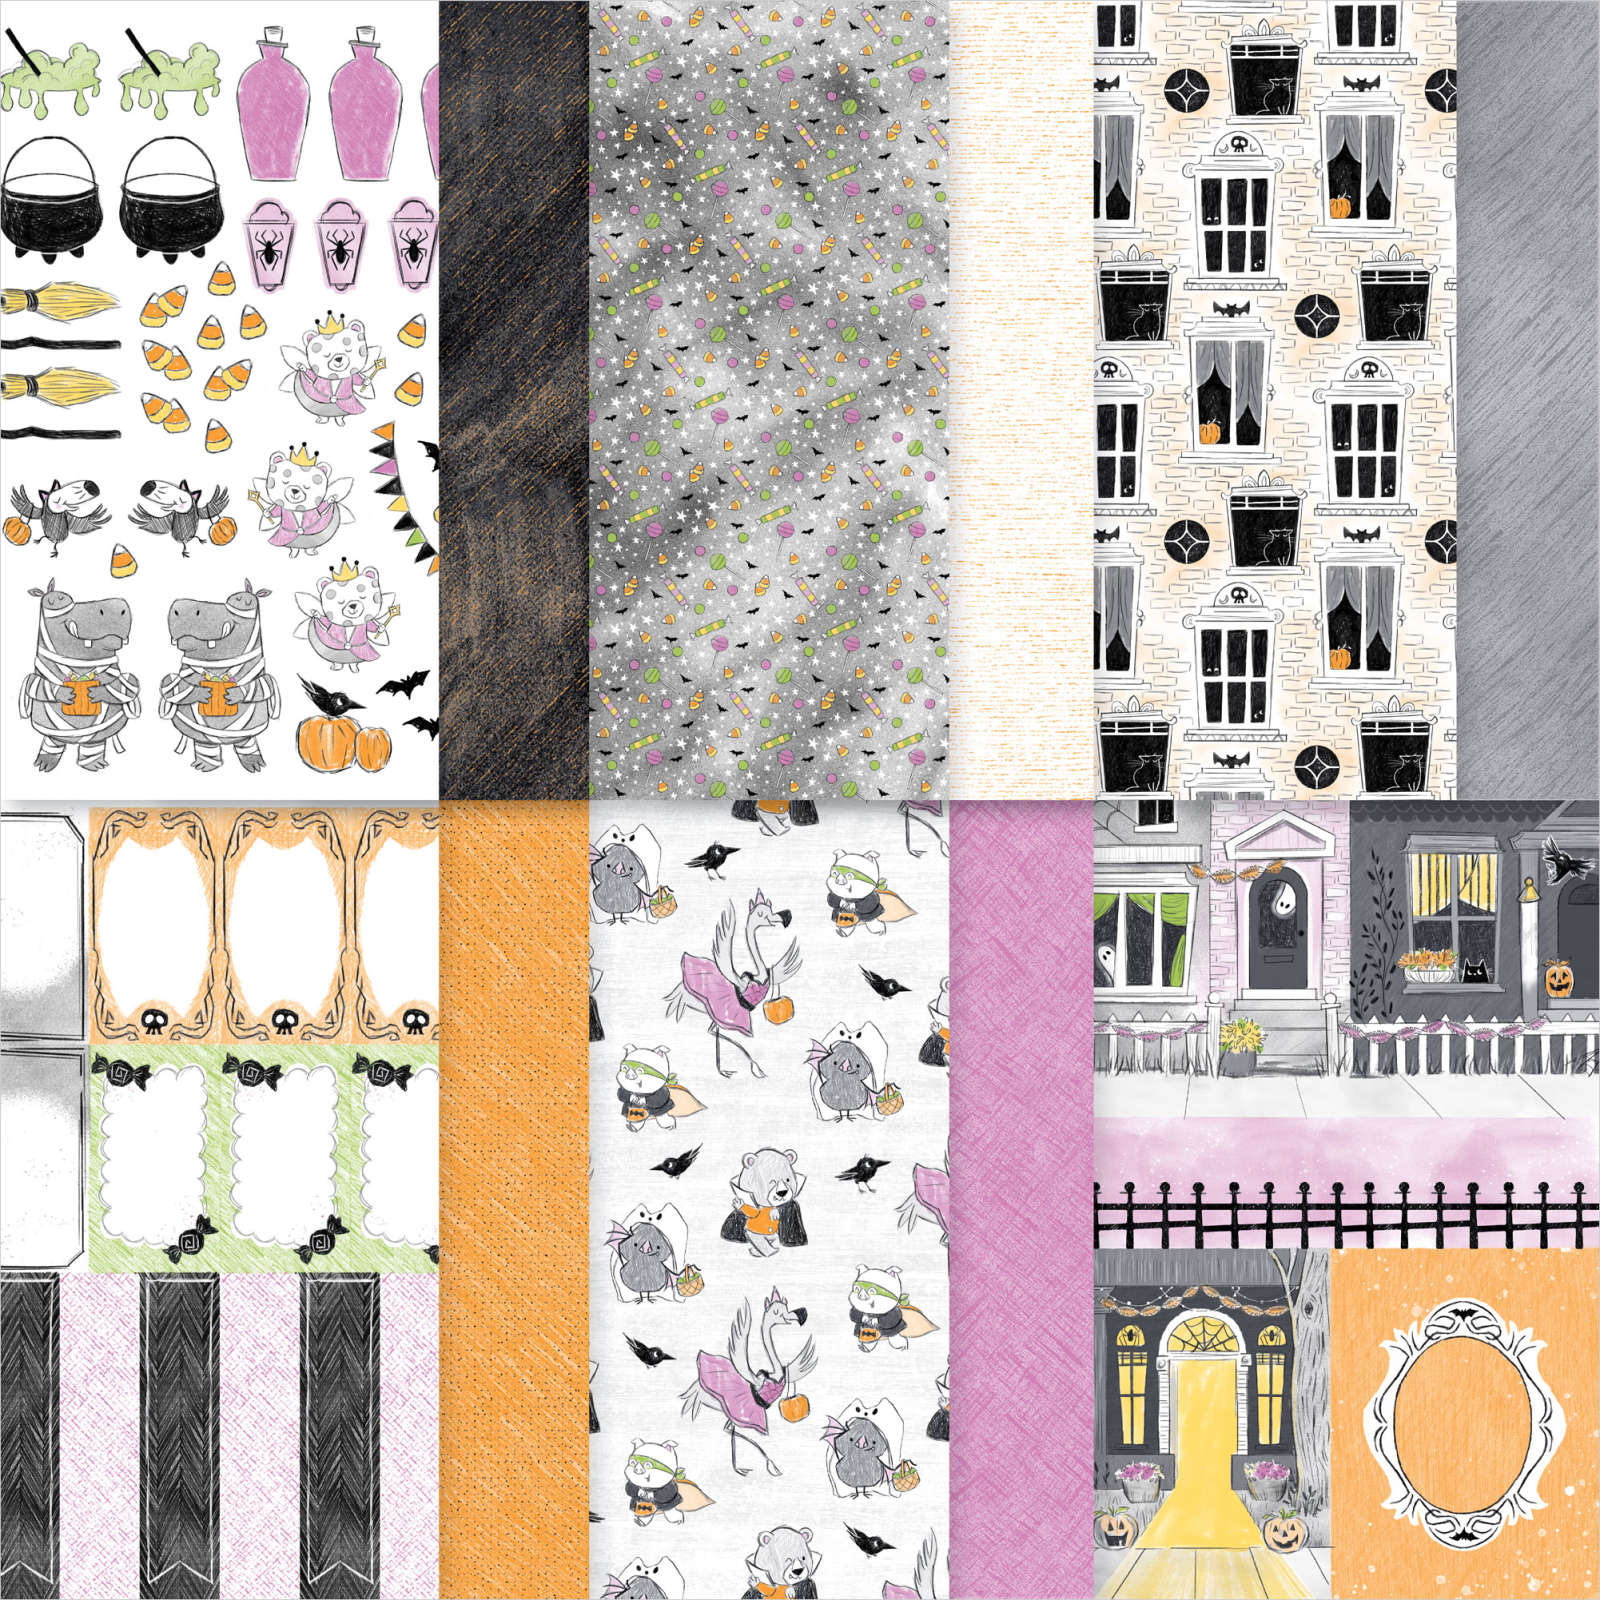
I normally do not need very much in the way of Halloween sets, but I just can’t help myself! I’ve already purchased this Spooky Sweet DSP pack, which includes patterned paper, precut images, and cut-apart scenes and elements. It’s perfect for creating tags and gift packaging for Halloween goodies, accents for scrapbooks, or other spooky-cute paper crafts.
Take a look at all this cuteness! The first page has all the precut images. So cute!
I could’ve stopped there, and would’ve had more than I needed for Halloween. However, I didn’t stop there. I got this Fright Night bundle as well.

Now, all I “need” are these shiny stars, and I will be all set! It’s already in my cart for my next order.


