Welcome to the June edition of the SU! Demo Fun Fold Blog Hop! This is my second post for today. You can see the first post for the Cardz 4 Guyz challenge here.
If you haven’t already guessed, I am a big fan of fun folds and get inspired by this blog hop every month! I always look forward to seeing what the other demos have created for the hop. These ladies are all super talented and creative. Please hop along with us using the links below.
Since this is a fun fold, I will also be adding it to the Creative Creases challenge. You can find that link here.
I went to the YouTube channel for one of my favorite demos, JanB, from England. I found her video for a sliding windows card. You can find her video here.
Here’s my card:
Here’s a (not very good) video showing how the windows work:
This video box is massive! Sorry about that. I’ll try to figure out how to make it smaller.
Also, I outlined all my DSP (designer series paper) pieces using my Basic Black Stampin’ Write Markers. The card is thick enough, and using the extra cardstock or dimensionals will make it too think for a medium white envelope.
JanB’s video:
While JanB’s video is wonderful to follow along so you can make the card, I used the U.S. measurements and still had to adjust a couple of things. I figured the easiest thing to do would be to take pictures of the pieces you would need to create the card. All measurements are shown are inches.
Here’s that gallery:
Some tips for putting it together:
First, once you get all the pieces trimmed out, you can follow along with JanB’s video. I’m sharing some tips I found to make it easier. While the card looks complicated, it’s good for a casual or avid papercrafter.
HUGE HINT:
I messed up my first try using Lemon Lime Twist cardstock and had to start over. I cut out all the pieces from some Fresh Fresia cardstock. Then, I followed the video and used my favorite Adtech removable tape to adhere the pieces together. Then, I trimmed down all these Pumpkin Pie pieces using multipurpose liquid glue.
HINT: I found it much, much easier to follow the directions for adhering the two tabs. However, I made tabs longer and then trimmed them down after I had everything adhered. JanB’s video show that she lined up the tabs so they would match up with the outside edge. I struggled doing it that way.
The above photo is after the tabs were attached and trimmed. I also had adhered the horizontal piece that will keep the tabs from flopping around.
HINT: The back piece, which will cover all the glue and pencil marks, measures 4-1/8 by 5-1/2 inches.
HUGE and IMPORTANT HINT: This is showing the placement for the liquid glue for the window pieces. DO NOT DO THIS! You only need a line of glue on the end of the tabs. Next time, I will use some tear & tape for the windows. There’s too much glue shown above and your windows will stick. DO NOT DO THIS!!
If you do get too much glue on these tabs, let it dry and then run your embossing buddy over the excess to keep it from sticking.
Back to the SU! Demos Fun Fold Blog Hop:
I hope you will follow the links below to hop along with us! If you get lost, you can use the list below to help you find your way. The next demo on the list is Beth McCullough with Stamping Mom.
If you don’t already have a Stampin’ Up! demo with whom you work, I’d love to be your stamping buddy! If you are placing an order for under $150, please use the host code above. If you are placing an order over $150, please contact me so you can get the benefit of the Stampin’ Rewards you will earn. OR, you can take advantage of the joining promotion going on through the end of the month with no long-term commitment! Spend $99 and get $155 of product! Winner!
JUST A FEW MORE DAYS! BOTH OF THE FOLLOWING PROMOTIONS END ON JUNE 30,2023
JUST A FEW MORE DAYS! BOTH OF THE FOLLOWING PROMOTIONS END ON JUNE 30,2023!
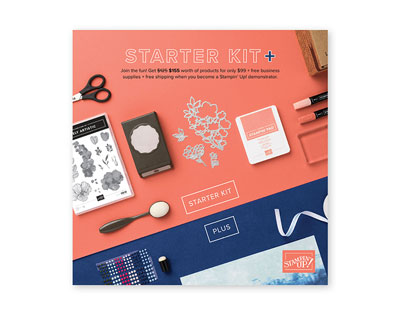
It’s a fabulous time to join Stampin’ Up! New team members will get even more FREE products in their customizable Starter Kit. Between 1–30 June, those who sign up can get $125 USD | $165 CAD$155 USD |$206 CAD worth of products for only $99 USD | $135 CAD + free business supplies + free shipping + all the fun being a part of Stampin’ Up!
If you live in the U.S. and want to be a part of my team, please contact me at justpeachystamping@gmail.com.
Select DSP packs are 15% off until June 30,2023!
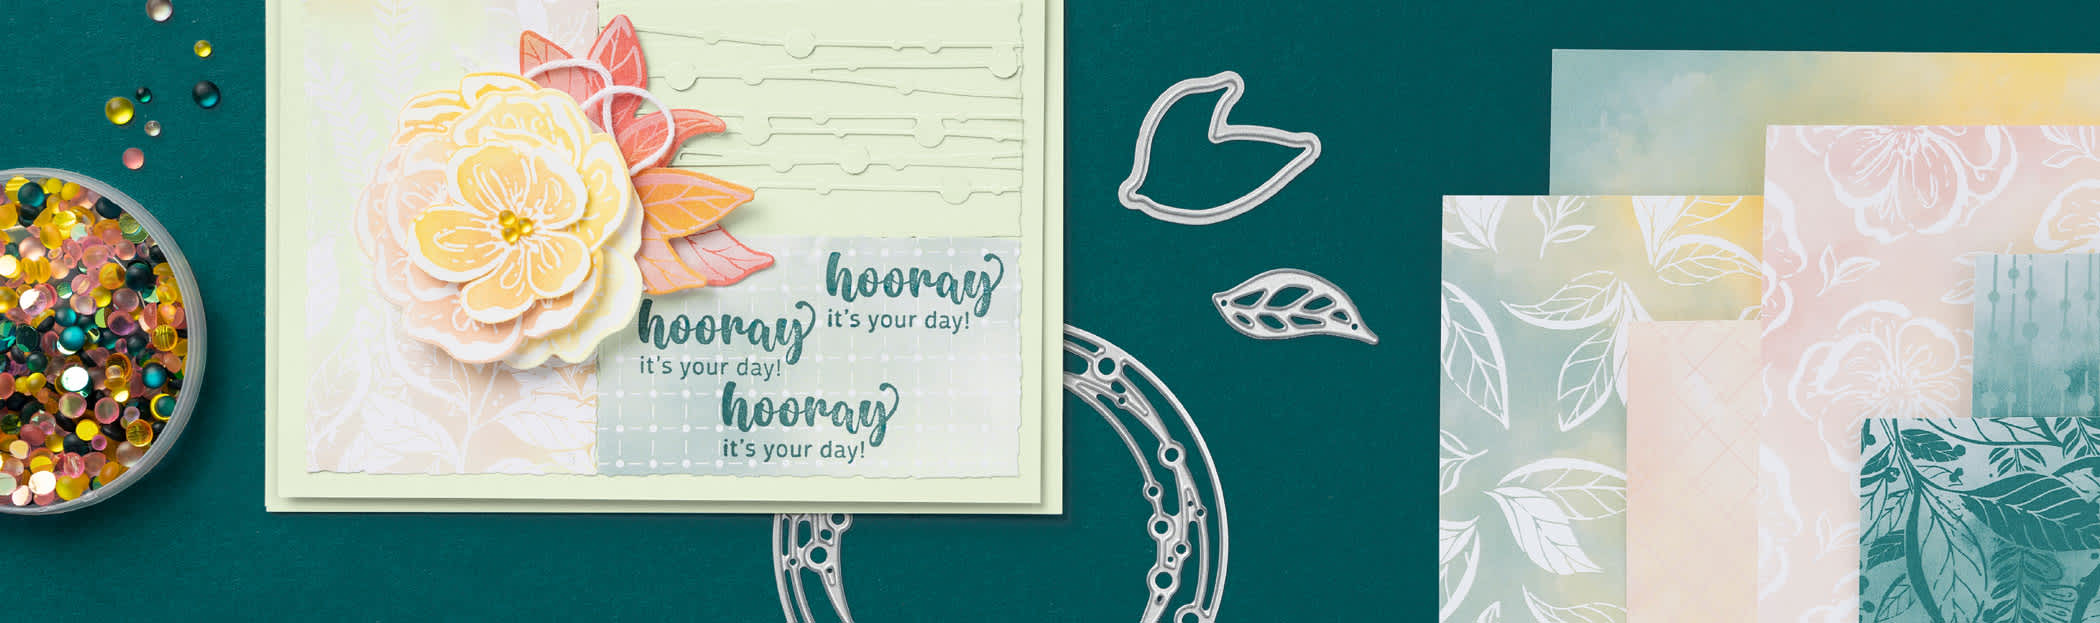
We all love beautiful Designer Series Paper, and in June, customers can enjoy a 15% discount on select Designer Series Papers from our new 2023–2024 Annual Catalog and Online Exclusives. Whether you’re a scrapbooker, a card maker or simply a paper lover, this is a great time to stock up and save on gorgeous paper so you have artistic and versatile paper designs on hand for your next projects!
Welcome to the SU! Demos May Fun Fold Blog Hop! I love fun folds, and am so grateful to Debbie Mageed from Secrets to Stamping for organizing this every month. When you finish here, I hope you will visit the rest of the demos participating in the hop. I’m always inspired by this hop and the creations each demo posts.
Here’s my card:
If this fun fold looks familiar, it’s because I’ve already posted a card with this fold,, and you can see that one here. I originally found this particular fun fold card on Mary Deatherage’s Stamps-n-Lingers page, which you can see here. I used Lemon Lime Twist cardstock, along with the Zoo Crew bundle and DSP from the annual catalog.
Measurements:
The Lemon Lime Twist base measures 4-1/4 by 8-1/2 inches, scored at 5-1/2 inches. This creates the front flap.
The black cardstock piece measures 3-1/2 by 8-1/2 inches, scored at 4-1/4 inches. This piece is larger than the original directions. I adjusted the measurements based on the die cuts from the Scalloped Contours die set.
DSP (designer series paper) pattern # 1 – 5-3/8 by 4-1/8 for the inside panels
DSP pattern # 2 – 3-7/8 x 4-1/8 inches for. the front flap panel. I used the Scalloped Contour dies for the front panel and the inside.
DSP pattern # 3 – 3-7/8 x 4-1/8 inches. I colored the flowers using Petal Pink and Lemon Lime Twist markers.
Don’t forget to trim a piece of DSP to 6 inches .by 2-1/2 inches for the envelope flap. Punch a 1 inch circle from coordinating DSP for the envelope seal.
I added the black and white gingham ribbon around the front flap. I did use by bone folder to get good creases.
The Zany Zoo die set will crop the animals out of the DSP, so I didn’t need to stamp and color anything.
I put dimensionals under the cutie pies on the front flap.
I used VersaMark and white embossing powder for the front sentiment, which comes from the Zany Zoo stamp set.
By following Mary’s directions, and with my adjustments, I’d finished this coordinated card, envelope, and envelope seal set.
Back to the SU! Demos Fun Fold Hop!
I hope you hop along with us today! As I said, the demos participating in this hop will provide you with a wealth of inspiration. If you get lost, please follow the links below
Welcome to the SU! Demo March Fun Fold Blog Hop! Each month, a group of demonstrators get together under the direction of our fearless leader, Debbie Mageed, to create fun fold cards. Being a part of this hop means I get to share a fun fold, but I also get the opportunity to be inspired by the fun folds the rest of the demos share in this hap.
I found my inspiration for this hop through Mary Deatherage’s video on the flying seagull card. This is the second time in the recent weeks that I’ve turned to her for inspiration, and you can see the other card here.
Here are some photos of my version of the flying seagull card:
As soon as I knew what papers I would be using, I contacted a work colleague/friend and asked if he’d be ok with the colors I chose. I knew it would be ok for two reasons. First, his mother’s favorite color is blue. Second, I’ve made so many cards for him to give out to his family that I just about have carte blanche to create whatever I want. Now, that’s trust, but I haven’t let him down yet, so it’s all good.
When this post goes live, I will be adding it to the gallery in the Creative Creases Challenge.
Measurements and Assembly:
I have to tell you that I followed Mary Deatherage’s video for the creation of the card. You can find that video here. Believe me, it’s much easier to follow her video than for me to try to explain all the steps myself. It’s truly not too difficult. I really think if you can do an easel card, or a double z-fold card, that this would be just a tad more involved. Mary’s video will help you.
Changes I Made:
Mary’s card is absolutely stunning! However, I needed an anniversary card. Therefore, I made a few changes
Before adhering the front patterned DSP to the Balmy Blue mat, I wrapped a length of the Night of Navy ribbon around the card and tied it in a bow.
I knew I wanted to use the swirly circle from the Irresistible Blooms die set. I cropped the swirly circle out of Pool Party cardstock.
Use multipurpose liquid glue to attach the swirly circle to the front panel of the card.
HINT: You will have to just snip the connecting dots to get the circle to come free of the cardstock.
Next, I stamped the outside sentiment in Night of Navy on white cardstock and cropped it using a circle die from the Stylish Shapes set. I made sure that my circle wouldn’t cover the whole swirly circle.
Place dimensionals. under the sentiment circle and adhere to the swirly circle on the front of the card.
Finally, I added some milky adhesive dots in Night of Navy to the sentiment circle. You can easily create your own Night of Navy dots by coloring a few layers of the dark blend to the pearl basic jewels.
I also added white cardstock to the back panels so that my friend has somewhere to write his own comments.
With that, I’d finished this coordinated flying seagull fun fold card, envelope, and envelope seal.
Back to the Blog Hop:
I hope you will follow the links below and visit the sites from the rest of the demos! Each month I find inspiration for future cards. When you create your own fun fold, please add it to the Creative Creases Challenge gallery!
Welcome to the February Stampin’ UP! Demonstrator Fun Fold Blog Hop! The demos in the blog hop all chose their own fun folds, and I always learn something fun. When you finish here, I hope you hop along with the other demos using the list below.
Another big plus for the fun fold blog hop is that the projects automatically qualify for the Creative Creases Challenge. Yeah!
Here’s my Fun fold card:
I’ve done this card using an 8-1/2 by 5-1/2 inch cardstock base. However, its much easier to do it with a 12 by 5-1/2 inch card base.
Measurements:
The white cardstock base measures 12 by 5-1/2 inches.
Score the base at 4-1/4, 6, and 7-3/4 inches.
HINT: I find it easier to score at 4-1/4 and 6 inches. Then, I flip the cardstock and score at 4-1/4 inches from the opposite end.
Trim 2 pieces of black cardstock to 5-1/2 by 4-1/4 inches..
You need two DSP pieces measuring 5-3/8 by 4-1/8 inches.
Trim two pieces of DSP to 1-1/8 by 5-3/8 inches for the inside folds.
Trim a piece of DSP to 6 by 2-1/2 inches for the envelope flap.
Punch a 1-inch circle for the envelope seal.
Assembly:
Using the Butterfly Brilliance die set, crop three butterflies’ bodies from coordinating DSP.
Crop three detailed butterflies in black cardstock.
Use an embossing buddy to clean off black cardstock to prep for Versamark.
Stamp your sentiment using Versamark. Cover the sentiment in white embossing powder and heat set with a heat tool.
Crop the sentiment panel and add dimensionals under it.
Adhere the black cardstock to the front and inside of the card using multipurpose liquid glue.
Wrap some baker’s twine around the front DSP and tie it in a bow.
Adhere all the pieces of the DSP to the outside, inside, and the two folded panels using multipurpose liquid adhesive.
After adhering the two pieces of each butterfly, add dimensionals under the two for the front.
Adhere the left side of the third butterfly using multipurpose liquid glue to the inside folds.
Finally, add three matte black enamel dots to the front of the card.
With that, I’d finished this coordinated card, envelope, and envelope seal set.
Back to the Demo Fun Fold Blog Hop:
Thank you very much for joining us. There’s so much inspiration to be found with each of these projects. If you get lost, follow the line-up below:
Welcome to the November SU! Demos Fun Fold Blog Hop. I am so happy that I am able to participate in this Fun Fold Blog Hop with these wonderful and talented demos. At the end of this post, I hope you will hop along with all of us using the line-up at the bottom.
Here’s my fun-fold card:
If this fold looks familiar, I made one for the November InKing Royalty Blog Hop. You can see that card here. I’m so happy that I found this card while searching Pinterest for a new to me fun fold earlier this month. Beth McCullough at Stamping Mom posted an awesome tutorial that you can see here. She posted templates, and then I made my own so I can keep them in my little journal of stamping.
Here are my templates:
What I Did:
The Merry Merlot cardstock back base measures 4-1/4 by 5-1/2 inches.
The second pieces of cardstock measures 4-1/4 by 11 inches. For scoring, you can do it one of two ways. First, score this piece at 2, 3-3/4, 7-1/4 and 9 inches. OR, you can score at 2 and 3-3/4 inches, then flip the paper 180 degrees and score at 2 and 3-3/4 inches on the opposite end.
Following another Stampin’ Pal from Mary Fish’s Stampin’ Pretty demo group, I have challenged myself to use all of the retired Beauty of the Earth DSP I still have. I used this beautiful pattern for the very front measures 3-3/4 by 4-1/8 inches. The second piece measures 1-3/4 by 4 inches.
.The two outside pieces of the same DSP pattern each measure 7/8 by 4-1/8 inches. The piece for the very inside of the card comes from retired Merry Merlot 6 x 6 inch DSP and measures 3-1/4 by 4 inches.
While I had the Beauty of the Earth DSP handy, I punched a 1-inch circle for the envelope seal. Then, I ran it through my XYRON to create a sticker.
I trimmed a piece of the Merry Merlot 6 x 6 inch DSP to 6 inches by 2-1/2 inches for the envelope flap.
I used scrap pieces of from the same Neutrals pack of retired 6 x 6 inch DSP for the leaves and branches on the front and the white cropped piece the inside sentiment.
I simply wrapped a piece of the faux suede ribbon around the front DSP piece. I adhered it in the back using two pieces of tear-n-tape..
Finally, I stamped the front sentiment in Soft Suede. Then, I cropped it using the banner die from the Stylish Dies set. Next, I used my Merry Merlot marker to outline the banner. I did put dimensionals under the banner to pop it up a bit.
HINT: Since the banner is thin, it was hard to get the banner to lay flat. In order to help the sentiment banner lay flat, I added three glue dots under the ribbon. That seems to have helped.
The sentiment on the inside comes from the Fond of Autumn stamp set. I used Early Espresso ink for this sentiment. Then, I cropped it using one of the deckled rectangle dies.
With that, I’d finished this coordinated card, envelope, and envelope seal set.
Back to the SU! Demos Fun Fold Blog Hop:
When you finish here, I hope you will hop along to the other demos’ sites. I know I am really looking forward to seeing what everyone else created. As soon as my card goes live, I am going to add it to the gallery for the Creative Creases Challenge. I can’t wait to see what you create and add to the challenge as well.
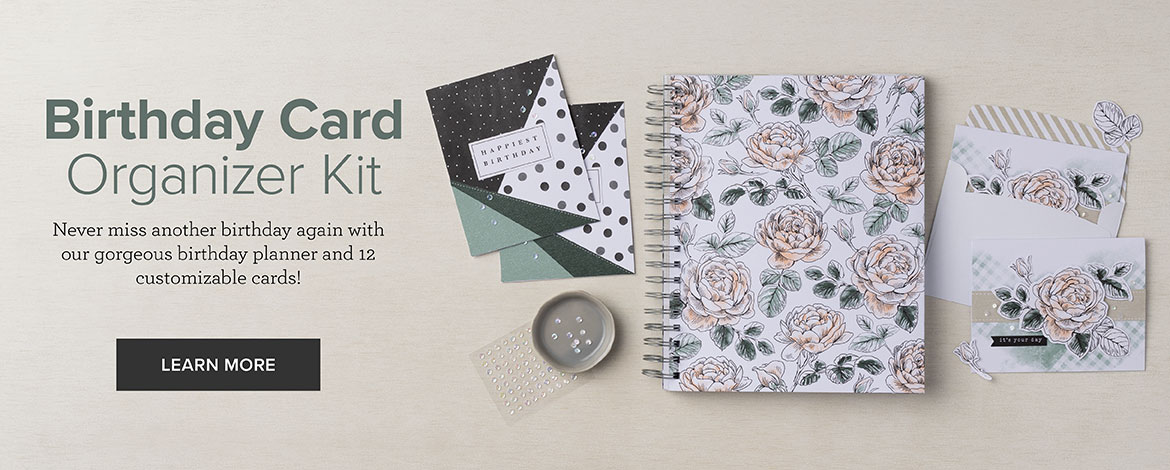
Take a look at this wonderful new kit, which became available on November 15, 2022:
One of the things I really like about this kit is that the cards have a more masculine feel to them. It’s on my next order so I can add these cards to the organizers I am making for Christmas presents for my mom and also my aunt.
If you’re not convinced using a kit is for you, check out this unboxing video:
This kit is a winner!
If you live in the U.S. and don’t already have a demonstrator, I’d be honored to work with you.
Do You Want to Place an Order?
Of course you do, especially since you can earn FREE products with a qualifying purchase!
If you are ordering less than $150.00, please use the host code shown. If you are ordering more than $150.00, please contact me first so you an get your stamping rewards! Any order over $50 will earn a little surprise from me.
The HOST CODE through December 31, 2022 is YPADJBGR.
Once again, thank you for stopping by my blog today! I hope you will take another minute and leave a comment.
Welcome to the October SU! Demos Fun Fold Blog Hop! Those of us in the hop are current Stampin’ UP! demonstrators. However, everyone, no matter the supplies you use, is invited to play along with the recurring Creative Creases fun fold challenge! I hope to see you in the challenge gallery!
I love fun folds, and I thoroughly enjoy learning new ones! For this month’s hop, I CASe’d (Copy and Share everything) Mary Deatherage’s fun fold from September. You can find her card, which is a modified z-fold card, here.
Here’s the card I created for this month’s hop:
Measurements:
The Night of Navy base measures 5-1/2 by 8-1/2 inches, scored at 2-1/8 and 4-1/4 inches. Fold the front fold back.
The smaller Night of Navy base measures 7 by 4-5/8 inches, scored at 3-1/2 inches.
I needed two pieces of Balmy Blue cardstock. The larger one measures 5-1/4 by 3-1/2 inches. The smaller one measures 3-3/8 by 4-1/2 inches.
Since I chose to add a piece of DSP (designer series paper) under the smaller fold card, I needed a piece that measures 4 by 5-1/4 inches.
Next, I trimmed another piece to 2 by 5-1/4 inches for the inside panel.
The front DSP panel measures 3-3/8 by 5-1/8 inches. The DSP piece for the very front of the card measures 3-1/8 by 4-1/8 inches.
HINT: If you are using an obvious directional DSP pattern, double check to make sure it’s going the right way before you cut it. Trust me on this one.
Finally, I trimmed a piece of the DSP to 6 by 2-1/2 inches for the envelope flap. Then, I punched a 1-inch circle of Balmy Blue DSP for the envelope seal.
Time to stamp, color, and assemble!
Stamping and Coloring:
This gnome is my favorite one from the Kindest Gnomes bundle! I stamped him in Momento Tuxedo Black ink and waited for him to completely dry before I colored him.
I started with the light neutral skin tones blend for his hands and face.
Next, I used the Night of Navy combo blends for his pants and hat. After the blends dried, I added white dots to his hat using a gel pen.
His sleeves are colored with the Balmy Blue blends combo. Then, I used the Balmy Blue Stamping Write Marker to create the diagonal lines on his sleeves.
I colored his beard with the light Smoky Slate blend.
I used the light Basic Black blend for his shoes. Then I outlined the shoes and added the lines on the soles with the black marker. At the same time, I decided to just outline all the way around the outside of this cutie pie.
I finished him off by adding dimensionals to the back side of him.
Then, I turned my attention to the front sentiment, also from the Kindest Gnomes stamp set. I stamped it in VersaMark on Night of Navy cardstock and covered it with silver embossing powder.
After heat-setting the powder, I cropped it using the banner die from Stylish Shapes. I outlined the banner using my clear Wink of Stella glitter pen. I added dimensionals under the sentiment banner as well.
The inside sentiment is also stamped in Momento Tuxedo Black. It’s from the retired Whimsical Trees stamp set, but it’s one of my very favorite Christmas sentiments.
Assembly:
I used multipurpose liquid glue to adhere all the panel layers on the card.
Before I adhered the front cardstock/DSP layer to the Night of Navy smaller card base, I wrapped some metallic mesh ribbon around the front and tied it in a bow. Amazingly, this ribbon is quite easy to use and this bow was done on my first try. YEAH!
At this point, I decided the gnome needed some sort of additional thingie on which he could rest. Therefore, I cropped a piece of vellum using the outside frame from the Scary Cute Silhouette dies. Then, I fussy cut two trees from the DSP and adhered them to the vellum. These trees help hide the liquid glue used to adhere the vellum to the DSP.
Then, I added the gnome and the sentiment banner, and finished adhering all the cardstock and DSP pieces.
This modified z-fold card will stand up on it’s own, which makes the whole card just perfect, at least in my humble opinion.
With that, I’d finished this coordinated fun fold card, envelope, and envelope seal.
Back to the SU! Demos Fun Fold Blog Hop:
When you finish here, I hope you will hop along to the other demos’ sites. I know I am really looking forward to seeing what everyone else created. As soon as my card goes live, I am going to add it to the gallery for the Creative Creases Challenge. I can’t wait to see what you create and add to the challenge as well.
When new team members purchase their Starter Kit, they will be able to redeem $155 USD of Starter Kit eligible products for just $99 USD. That’s $56 of FREE product! Contact me for more details about joining my team!
Have you started your Christmas shopping yet?
I did with the purchase of two of these NEW birthday organizer kits! I actually got my delivery with the two kits on Sunday (yes, it was delivered on Sunday)! YEAH!
Here’s an unboxing video explaining the kit contents:
I got one kit for my mom and one for my aunt, neither of whom get out as easily as they used to do. I’m in the process of making additional cards to include with this kit, that I will make for them before I give them as a present.
Again, thank you for stopping by today! Please take just another minute and leave a comment. I’d love to hear from you.
Welcome to Just Peachy Stamping by Sue Jackson: an independent Stampin' Up demonstrator.
Through Stampin' Up!, I happily share my love of papercrafting through sales, classes, small stamping group meet-ups and workshops. I think that being a teacher in my "real life", I have a unique approach to sharing my fantastic hobby. I look forward to connecting with you!